
Easily Create Captions in Adobe Premiere Pro

Creating captions can be a tedious process — but with Adobe Premiere Pro, you can easily create both open and closed captions, all from within the program.
Top image via Shutterstock
Captions are simply text over video. You can create closed or open captions, the main difference being that viewers can turn off closed captions, while open captions are always on screen. Whichever option you go with, captions are always a good idea.
Adobe’s latest update adds the ability to easily create open captions from within Premiere. Let’s take a look at how to add captions in Adobe Premiere Pro with a few simple steps. Watch the video tutorial directly below and then follow the step-by-step directions to add the technique to your skill set.
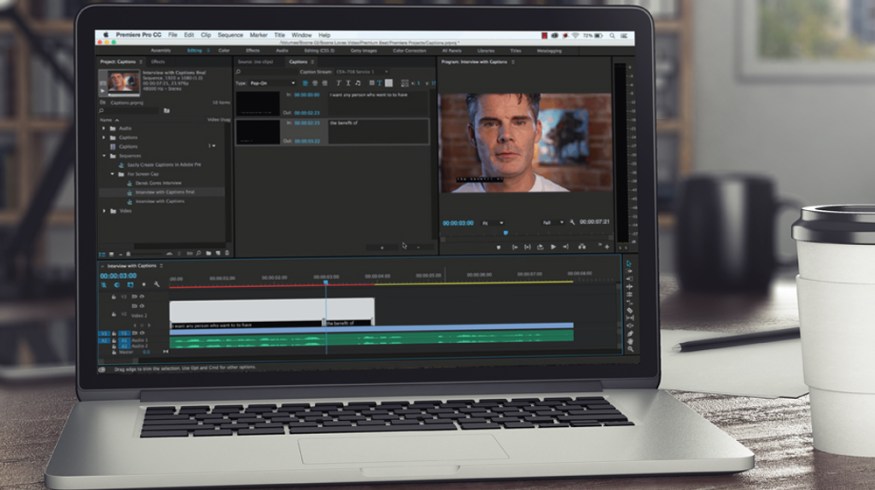
Step 1: Create a New Caption File

Click the New Item button at the bottom of the Project Panel and select Captions. The new caption file will be a video file, and the settings will match with the current sequence you have open. You can manually adjust width and height, frame rate, and pixel aspect ratio before creating your new caption file.
You have four choices of captions, including three options for closed captions. For the purpose of this tutorial, we’ll create a CEA-708 closed caption file. Be sure to Enable the Closed Captions Display in the Program Monitor and select the correct caption type. Drag the Caption video file onto the timeline.
Step 2: Adding, Timing, and Formatting Your Captions

Select the Caption file and use the Caption Panel to add text, time, or to format your text. If you can’t see the Caption Panel, simply go to the window menu, and select Captions. Click the Plus button to add a new text box. Make sure your In and Out points match up with the spoken word.
You can view the captions in the timeline by expanding the video track. You have a few formatting options, including the type of caption (pop-on, paint-on, 2-4 roll-up lines) and some simple positioning options. With open captions, you have a few extra options, such as additional fonts and size adjustments.
Step 3: Export

In the Export Settings dialog box, use the Caption tab to export the captions as Burn-in or as a Sidecar file. A Burn-in will naturally “burn” the captions into the video file, and viewers will not have the option to turn them off. When you export as a Sidecar file, you will be provided with an additional .scc file which you can upload or deliver with your video files.

For more helpful walk-throughs and video tutorials, head on over to PremiumBeats YouTube channel!


