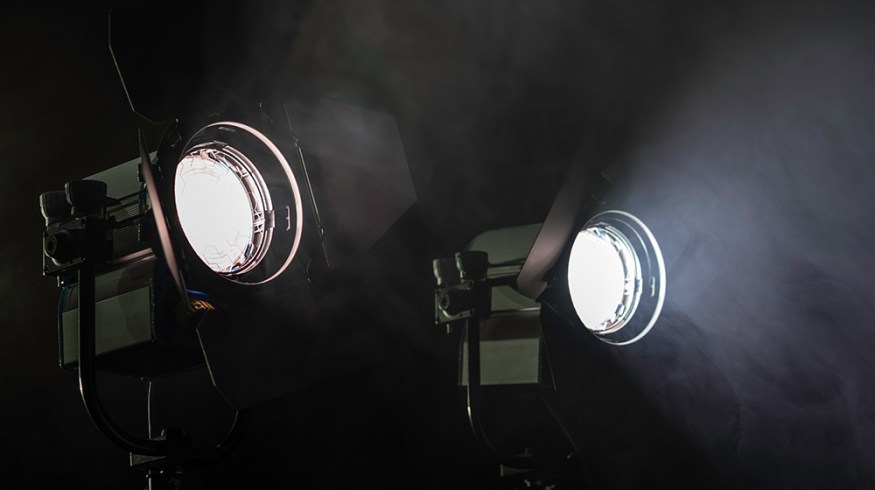
Cinematography Technique: Cutting Light and Creating Shadow
Sometimes perfect scene lighting is accomplished by preventing your lights from doing their job. Step into the shadows and explore techniques for cutting light.
Top image via Shutterstock
Remember the two things that define cinematography — light and shadow — where you place the light and how you create the shadows, also known as contrast. — Shane Hurlbut, ASC
In literature, it can sometimes be important to read what the text is not saying, rather than what it is. This can be the same with lighting — shadows can give a scene extra depth. There are several tools you can use to help cut and stop light from reaching your subject. But first, why do you need to cut light? Why would you bring in a set of lights and then stop them doing their job? Well, take the following location for example.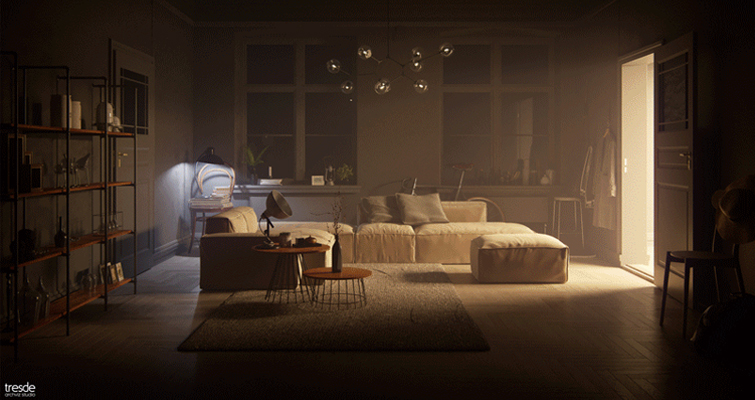 Image via Tresde — Architectural Visualization Studio
Household light enters through the doorway and illuminates the room in a particular fashion. If you were to film in this location, the household lighting likely would not sufficiently and properly illuminate an actor sitting on the couch.
You would need to replicate the lighting in a manner that mimics the household lighting, but also illuminates your talent. Placing a 650w Fresnel in the hallway and pointing it through the door isn’t going to have the same effect. The light would spill onto the floors and the ceiling in an unnatural fashion. To stop this from happening, the light would need to be cut/shaped through the use of flags.
Contrast is one of the most important tools a cinematographer can employ. By having light spill everywhere, it will lower the contrast ratio and make the image appear flat.
The Equipment
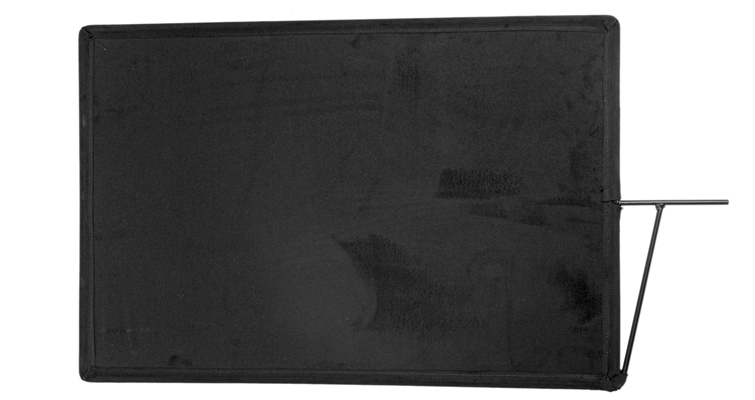 Image via B&H
A flag is a flag. They come in all shapes and sizes. Some can be as small as a few feet. Some can be as large as a vehicle. A flag will, however, inherit a different name depending on what it is being used for.
Topper: This a flag that is used to stop (or more appropriately, cut) the top of a light. You will find that toppers are primarily used to stop light spilling onto the ceiling and sometimes onto the background. You might have a 2K sweeping down onto your subject, but to keep the focus on your actor, your background needs to be darkened. Using a topper would isolate that light spill from the background. It’s also helpful to remove excess background light in which the boom operator is casting a shadow.
Bottomer: This is a flag positioned to cut the bottom of a light in order to stop the light spilling onto the floor.
Sider: A sider, as you might have guessed, is a flag positioned to cut the light from entering the side of a composition.
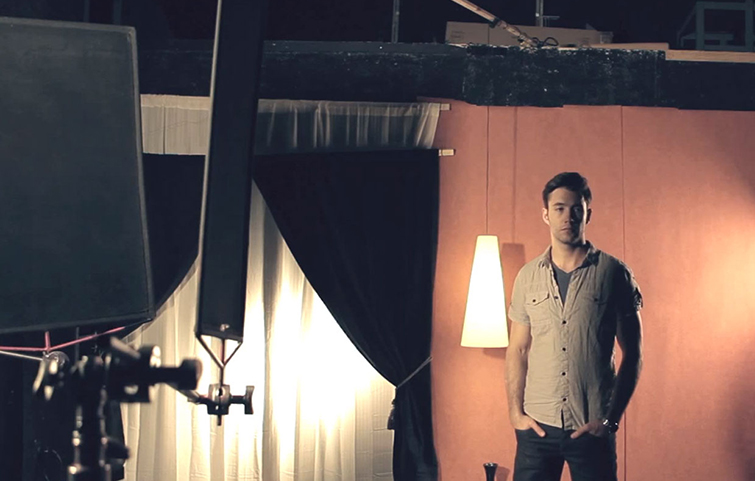 Image via Lights Film School
Of course, these will be used in combination with each other. It’s common to see a behind-the-scenes photograph of a set clustered with flags. As a side note, a flag which has been specifically set up to stop lens flare is called a lenser.
You might ask, what about barn doors — do they not direct and cut light? It’s an excellent point. However, because barn doors are close to the light source, they create a very soft cut; you wouldn’t be able to have a razor sharp cut in the light by just using barn doors. They are, though, perfect for when you need to feather the light across a subject and control the direction of a beam. (They also provide an extra security measure with protecting the lens if the light were to fall.)
There is also a courtesy flag. This is a flag that has been specifically set up to remove the light glare from a crew member on set.
Flags can come in all shapes and sizes with a variety of different names.You can acquire flags, fingers, dots, etc. Within different regions, there may be different names for the equipment. For example, a finger, which is a linear piece of fabric rather than rectangular, can also be called a blade or a cutter.
 Image via B&H
You can also cut light with the use of breakup patterns — the cucoloris and branchaloris. I know they sound like dinosaurs, but I’m sure you know the cucoloris by its more common name: a cookie. This tool simply cuts the light into a pattern formed by the design of the cookie. It will help create contrast within the light falloff, and also stop the light from looking like an artificial source. Here’s a cucoloris being used on the set of National Treasure.
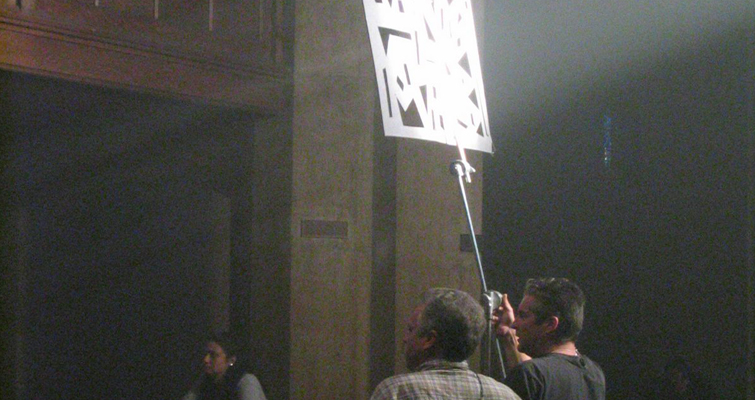 Image via Disney
Below is the shot within the film.
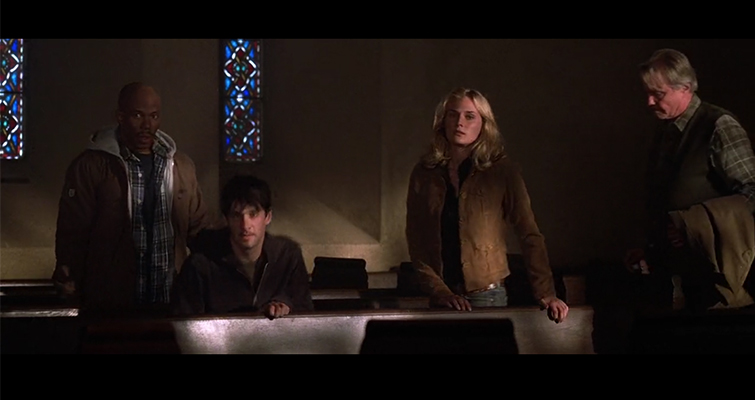 Image via Disney
Could you imagine the same shot without the actors being painted by shadows? It wouldn’t look natural; it would look artificial. You will find that the illusion of a breakup pattern will fall apart if you start to move the cookie. If you do want a moving breakup pattern, such as a tree branch, then you need a branchaloris, which is nothing more than a leafy branch placed in front of your light source. It can be manmade or a real branch taken (with permission) from a tree outside.
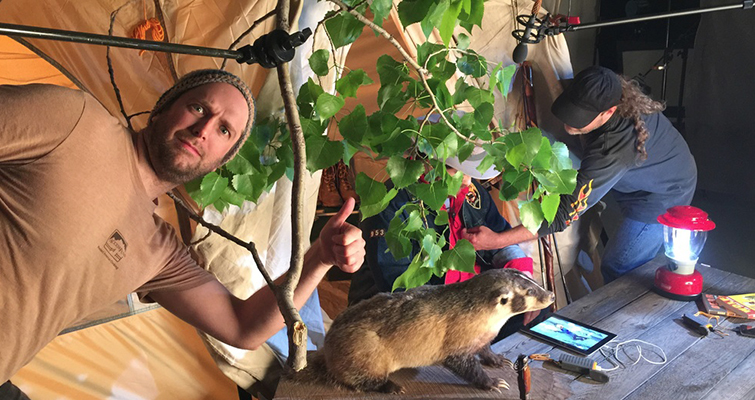 Image: Setting up a branchaloris via Stephen David Smith
As long as it results in the light breaking up to form the shadow of foliage, you’ve succeeded in using a branchaloris. In the National Treasure example, the shadow cut is quite feathered. If you would prefer your pattern to be very distinct and sharp, move your cookie closer to the subject.
Tips For Using Flags
- When cutting light, you will get a cleaner shadow if your light source is hard rather than soft.
- Light from a Fresnel lamp will be easier to shape than light from a 1×1 LED panel.
- Try to align the flag with the center of the light fixture rather than the edge.
- For a sharper cut, move the flag farther away from the light source. For a graduated cut, move the flag closer to the light.
The video below shows great use of flags in action. Be warned — although the video gives solid information, it does look like someone has accidentally applied a Warp Stabilizer to the timeline and not an individual shot!
Got any additional tips for working with flags? Share them in the comments below!


