Nesting Clips using the Compound Clip Command in Final Cut Pro X

Use the Compound Clip command to nest and organize your clips!
Final Cut Pro X’s timeline is built upon the “primary storyline” model, whereby accompanying video and audio clips are joined to the primary clips using brand new commands like “Connect to Primary Storyline” (Q key). This is certainly a different way of working from previous versions of Final Cut Pro (which, of course, worked on the independent track model), so it can take some getting used to in thinking of your Timeline as a main thread with offshoot threads attached to it. However, once you get the hang of it, you may find that navigating the Timeline is easier than you think.
One tool you may find useful as you begin building your primary and secondary storylines is the Compound Clip command. This command allows you to nest multiple clips together into one container, which can make it easier to move and navigate clips as you edit.
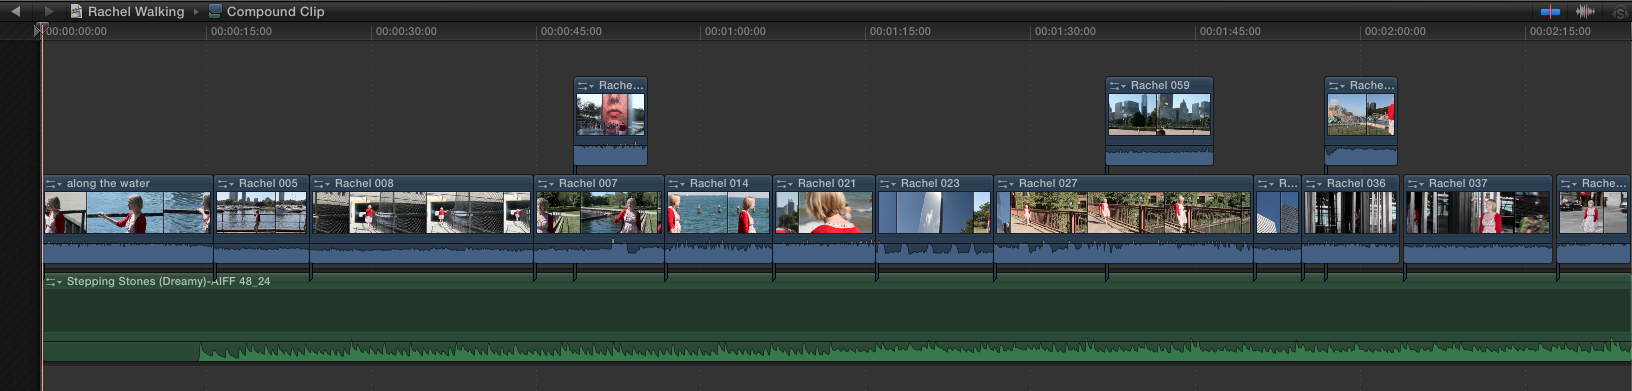
This section of my Timeline is beginning to be built with a primary and secondary storylines:

If I’m finished with this section, and as I continue to build my sequence, it may make sense for me to consolidate some of these separate elements in order to clean up my view.
To join these clips together into a compound clip:
- Drag a lasso around everything that you want to group. (If the clips are not adjacent, you can can also Command+click multiple clips to include them in the selection). All selected clips will be outlined in yellow.
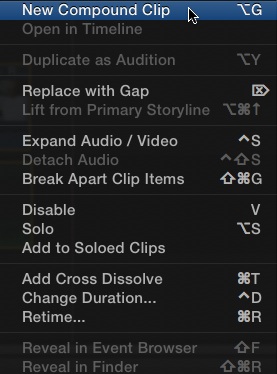
- With all desired clips selected, right-click and select “New Compound Clip” from the pop-up menu, or press Option+G.
- The selected clips will collapse into a nest called a compound clip.

Now, when you click and drag the compound clip around in the Timeline, all elements will move together. Additionally, you can apply filters and transitions to the compound clip, which is a great way to affect an entire group of clips with one effect.

If you need to step into the Compound Clip to make some changes—no problem.
To step into the Compound Clip:
- Either double-click on the compound clip, or single-click on the icon in the upper-left corner.

- The entire contents of the compound clip are displayed in the Timeline.
- Edit the clips within the compound clip as necessary. This includes manipulating anything (duration, effects, layering) within any of the video or audio clips, including adding or removing clips. Any changes you make will not affect any other clips outside of the compound clip in the main Timeline.
- To step back out of the compound clip and into the main Timeline, click on the left arrow in the upper right corner of the compound clip, or press Command+[.


If you want to separate the clips in your compound clip back into its separate elements, you can definitely do so.
To break apart elements within a compound clip:
- Right-click the compound clip and choose “Break Apart Clip Items,” or press Shift+Command+G. The compound clip breaks apart into its original elements in the main Timeline.
As you continue to learn all of the intricacies of working with Final Cut Pro X, I’m sure you’ll find that cleaning up your Timeline by creating compound clips will help you stay organized and keep track of all of your separate clip groups.