Adobe Premiere Pro: Slip & Slide Video Editing
Premiere Pro gives you specific tools to finesse your edits. The Slip & Slide is one tool that lets you adjust the timing of a clip. In this post, we take a good look at when to slip and when to slide!

In this post, we’ll take a look at two Premiere Pro video editing techniques that will make your edit to make your edits more precise and speed up your post production workflow: Slip and Slide!
Performing a Slip Edit in Premiere
A slip edit changes the timing, but not the length of a clip. The footage will roll forward or backwards in the clips current duration. In this way, it doesn’t effect the other clips in the Sequence like a Ripple Edit does. Many editors will use a slip edit to complete a motion (let a character move in or out of frame) or match an action from one shot to the next.
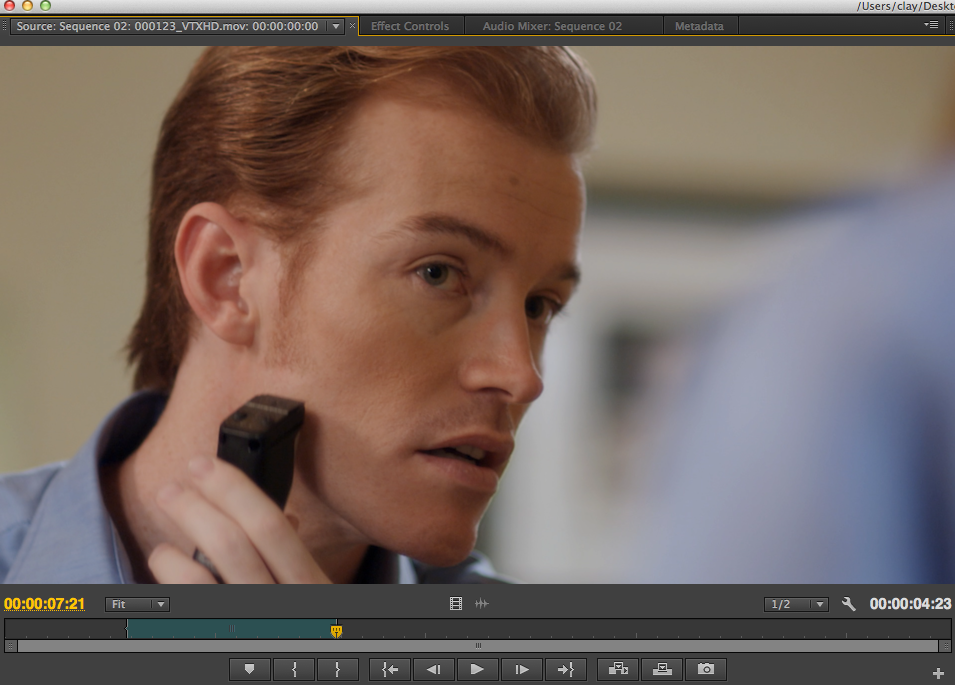
Im my example I have a clip of a guy shaving (from Digital Juice), and I want to him to complete the shaving motion with the shaver going out of frame.
In the screenshot below you can see the current outpoint of the clip.

There are 3 ways to perform a slip edit in Adobe Premiere Pro:
- Select the Slip tool (shortcut is Y) and click on the clip in the Sequence. Now drag the cursor left or right to roll the clip forward or backward.
- Select the clip in the sequence. On a Mac use the shortcut Option+Command+Left/Right Arrow to slip 1 frame. Similarly, you can use Option+Shift+Command+Left/Right for 5 frames. The PC shortcuts are Alt+Shift+Left/Right and Ctrl+Alt+Shift+Left/Right, respectively.
- Slip in the Source Window. This method is my preferred way, as I feel it gives me more accurate control. Clients are often specific about the frame, and this lets you pinpoint it easily. In the following example we’ll use this method:
Double click the clip in the Sequence to load it into the Source Window. Put your playhead on the frame where the shaver goes out of frame. Then move your cursor over the in/out grip, the textured area in the gray bar below. A hand icon will appear. Drag the in/out grip to your playhead to Slip the clip.
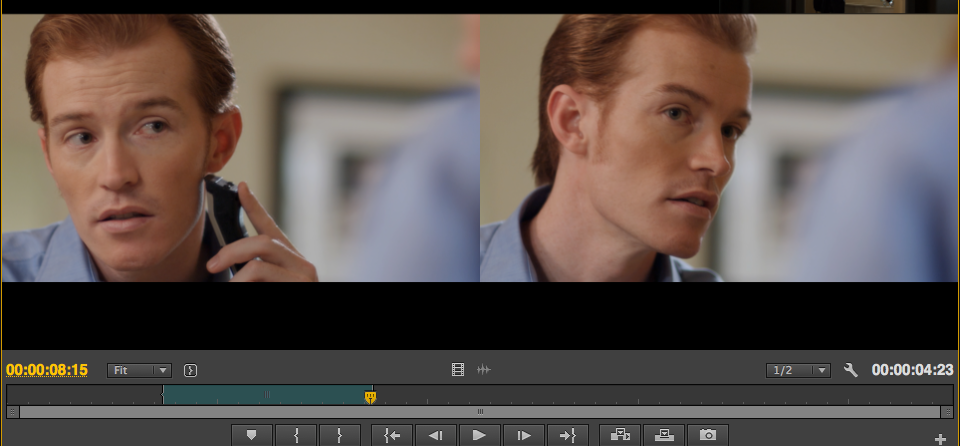
As you drag the in/out grip you see a 2 up view showing you the beginning and end frames.

This Premiere Pro editing trick will give you greater precision in your video edits.
Performing a Slide Edit
If you want a clip to occur earlier or later in a timeline/sequence you can use the Slide Edit. As the name implies, the slide edit actually slides a clip up or down your Premiere Pro timeline.
A Slide Edit looks at 3 clips, and slides the middle clip, with the other 2 clips changing in length to accommodate the clip being slid. Like slip, it doesn’t effect the other clips in the sequence.
There are 2 ways to perform a slide edit in Adobe Premiere Pro:
- Hit the shortcut “U” elect the Slide tool and click/drag on the clip in the Sequence. (shortcut is U)
- Use the shortcut Opt+Shift+, (Comma) for 1 frame or Opt+Shift+. (Period) for 5 frames. The PC shortcuts are Alt+, (Comma) and Alt+Shift+, (Comma).
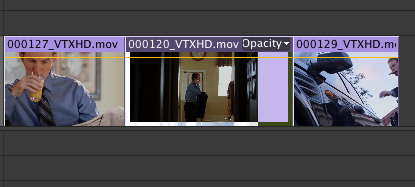
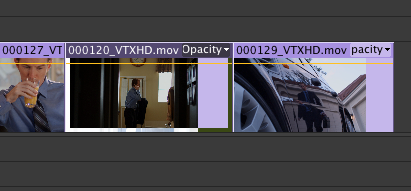
In my example the middle clip is slid left, so the clip to the left shortens and the clip to the right gets longer (the clip being slid stays the same length).
As always the Adobe Premiere Pro online help site is a great resource for additional information.
BEFORE SLIDE

AFTER SLIDE


