After Effects Quick Tip: Linking Layers to Checkboxes

Learn how to turn a layer on and off in After Effects using the Checkbox Control.
if you work in a team environment or want to create a template for multiple projects, the Checkbox Control is a handy tool you can add to your AE projects. Unfortunately, many people don’t use Checkbox Controls because they can’t be created without writing an expression, but don’t be intimidated! Once you have a Checkbox Control in place you can quickly turn layers on and off in any comp in your project. The controller is a simple way to turn on/off layers without having to track them down in your compositions.
1. Create a new adjustment layer.
The adjustment layer will simply be a place for the checkboxes to live. It doesn’t really matter what the adjustment layer is called, but you might want to call it something like “Controller” if you are planning on using this technique in a template.

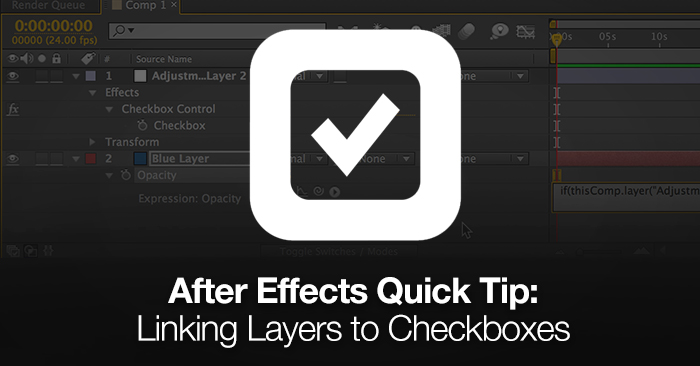
2. Add the effect “Checkbox Control” to the Adjustment Layer.
Simply grab the “Checkbox Control” effect from the Effects panel. It can be found under Expression Controls> Checkbox Control.

3. Open the opacity of the layer you want to check on and off.
Find the layer that you want to turn on/off with a controller. Select the layer and hit the “t” button on your keyboard. This will call up the Opacity options.

4. Add the expression:
if(“PICKWHIP TO CHECKBOX” ==0) 0 else 100;

Right click on the stopwatch next to the Opacity parameter. You will open up the expression box. Simply type in: if(
After you type in if( you need to grab the pick whip (the swirly logo to the left of the expression box) and drag it to the “Checkbox Control” effect in your adjustment layer. After Effects will drop in some code that looks like this: thisComp.layer(“Controller Layer”).effect(“Checkbox Control”)(“Checkbox”).
You will then type in: ==0) 0 else 100;
The expression basically says if the Checkbox Control is equal to 0 (turned off) than the opacity layer will be 0. The “else” parameter says that if the Checkbox Control is equal to anything other than 0, it will return a value of 100. So for the checkbox control it will either be 0 if unselected and 1 if selected. So 0 value for opacity if unselected or a 100 value for opacity if selected.
5. Your layer should now turn on and off depending on whether the checkbox is selected.

Your checkbox control should work perfectly now. One thing to note is that the checkbox control will work across multiple compositions. This is especially helpful if you are wanting to nest compositions.
Have any other uses for Checkbox controls? Share in the comments below.