Video Tutorial: Customize the Premiere Pro Timeline
The Premiere Pro timeline panel is where you’ll spend most of your time when editing video, so why not learn how to make it perfect for you? This video tutorial demonstrates how to customize the Premiere Pro timeline.
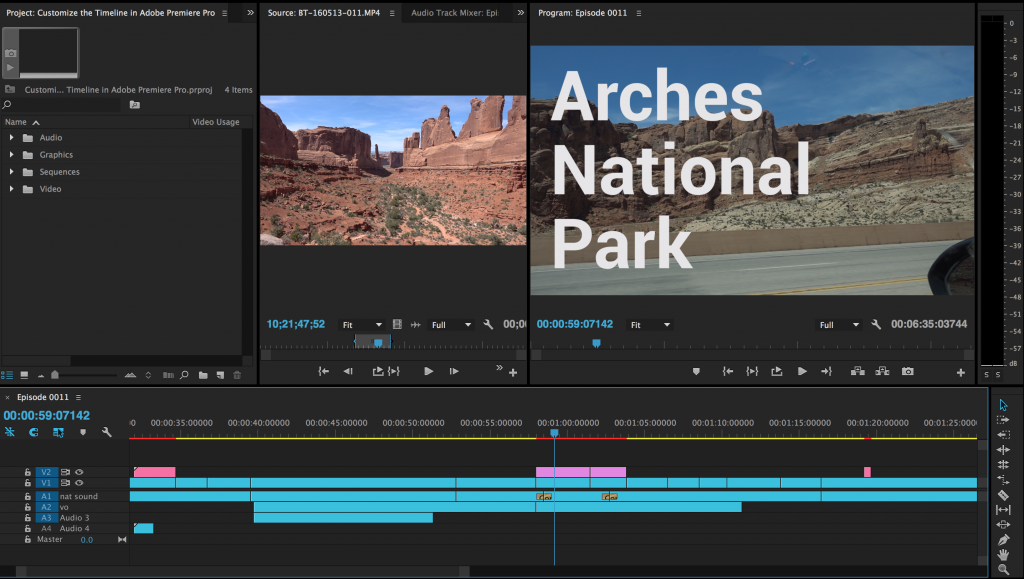
Customizing your Premiere Pro timeline can help you more comfortably navigate your project, and, in turn, streamline your workflow. In this tutorial, I’m going to show you how to customize various display options of your timeline in Adobe Premiere Pro. Let’s start with a very busy and cluttered timeline, and step by step we’ll slowly take away display options until we’re left with a very minimal look. Doing this will help you see the extent to which you can customize. Let’s get started.
Panel Menu and Timeline Display Settings
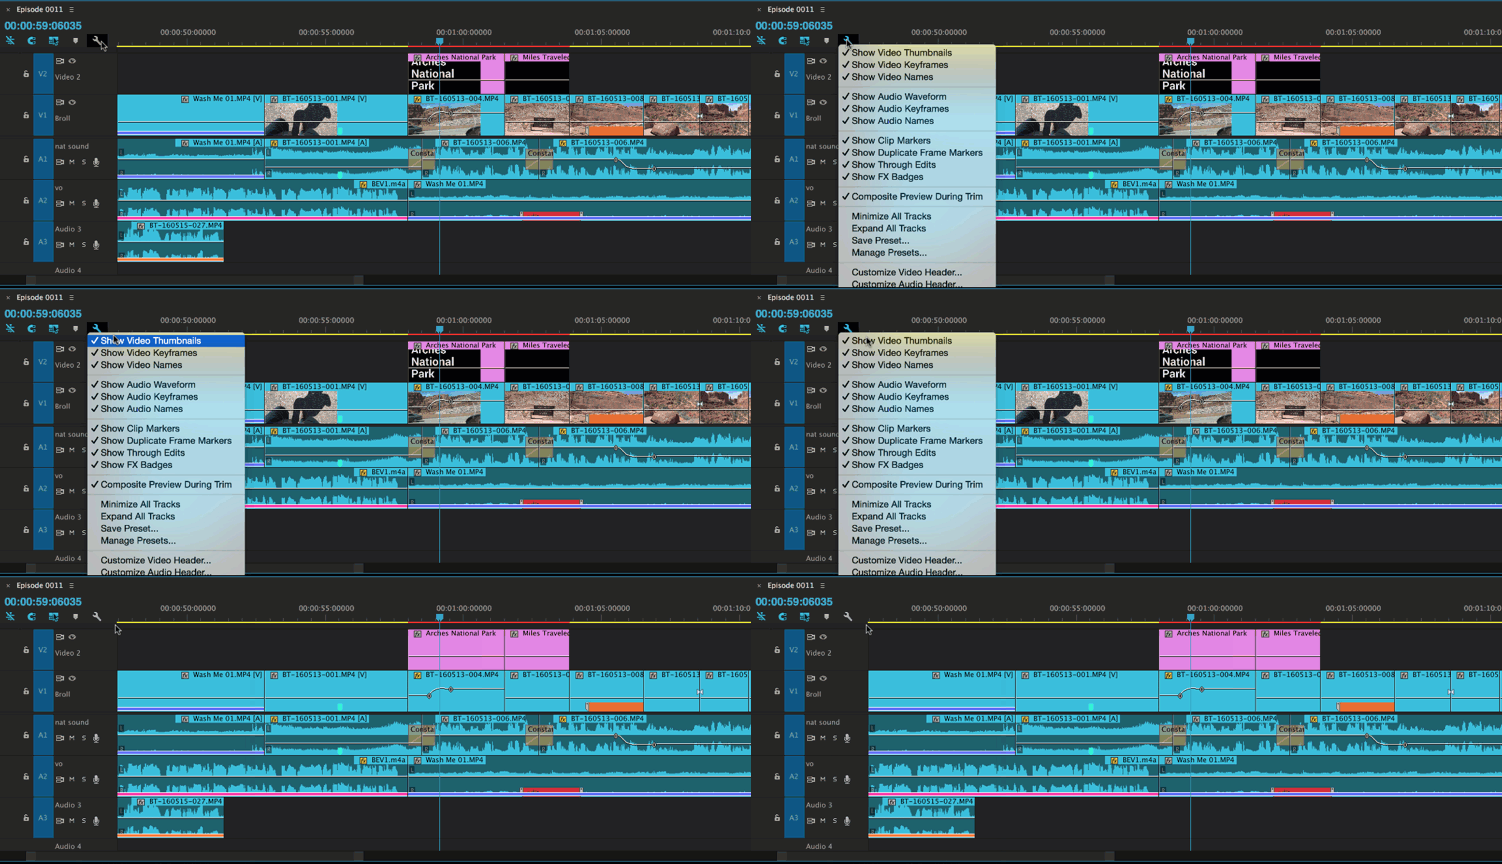
There are two areas in the timeline panel where you can do some significant customization: The panel menu and the timeline display settings menu. The majority of your customization options can be found in the latter. To open the timeline display settings menu, click on the small wrench icon in the upper left hand side of the timeline panel.
Video and Audio Clip Display Options
Show Video Thumbnails

Video thumbnails provide you a reference frame on each individual clip.
Show Video Keyframes

You can display keyframe information straight on your video clips. If you aren’t doing any keyframing or animating properties, it can be beneficial to remove this display.
Show Video Names
You may or may not want video names to display on your clips. I prefer to leave them on with the audio name displays turned off.
Show Audio Waveform
Once you remove this display, you’ll notice how much space audio waveforms take up in the timeline — and just how quickly you can become lost without them.
Show Audio Keyframes

Just as with video keyframes, you can display audio keyframe information on your audio clips.
Show Audio Names

Turning off audio name information can help to declutter your timeline. I personally find myself using only video names and turning off audio names.
Clip Markers, Duplicate Frame Markers, Through Edits and FX Badges
Show Clip Markers

Clip markers are a useful tool. If you use them heavily, but want to focus on something else, you can quickly turn them off.
Show Duplicate Frame Markers

Duplicate frame markers are useful and help keep you alert to any clips or frames being displayed more than once in your timeline.
Show Through Edits

Through edits also help keep you aware of any possible unnecessary edits on a clip. A through edit is an edit where no frames are missing within a clip.
Show FX Badges

FX badges are extremely useful. They have three different display modes: gray means nothing is going on with your clip, yellow means you have keyframes on a property somewhere, and purple means you have an actual effect on your clip.
Trimming, Tracks, Headers and the Panel Menu
Composite Preview During Trim

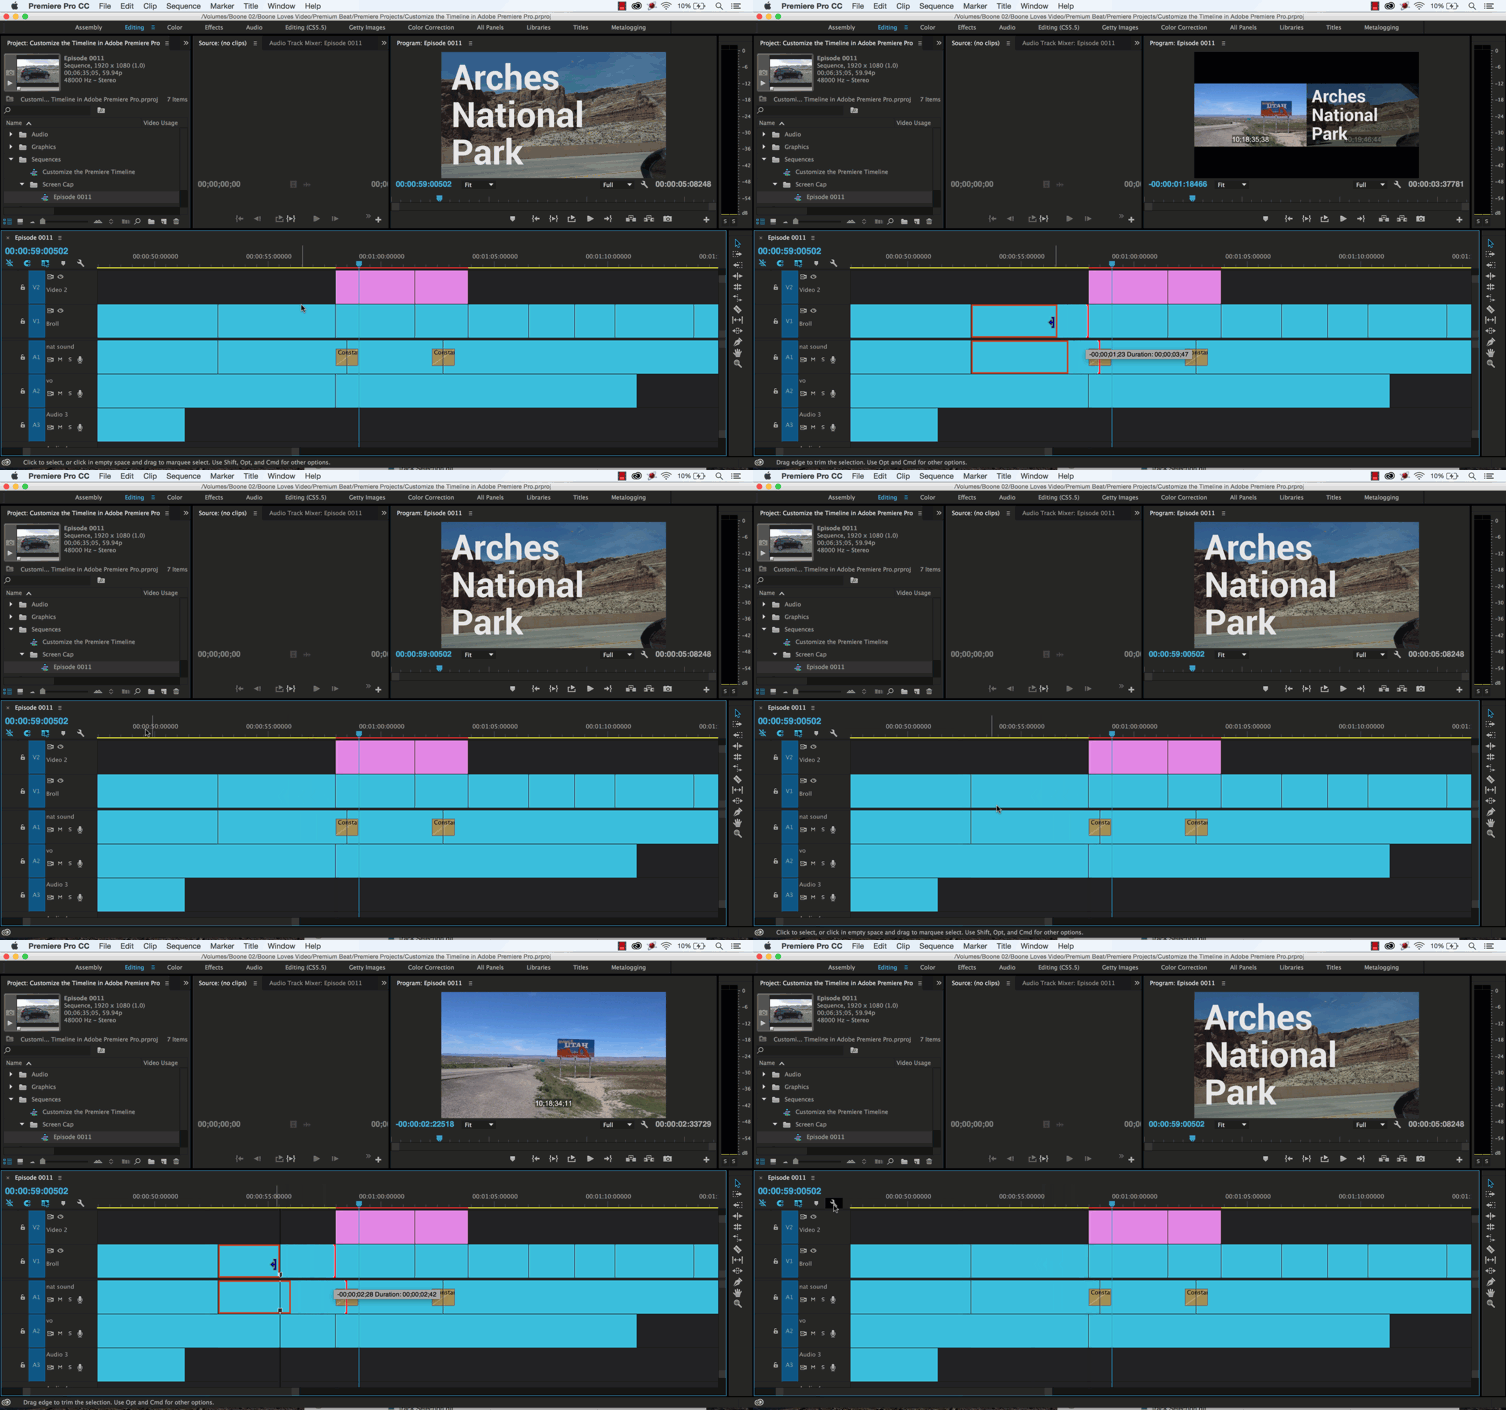
Composite preview during a trim simply shows you a composite of both the frame being trimmed and the frame of the adjacent clip on the timeline. Turn this off to see a full-screen preview of only the frame being trimmed.
Minimize All Tracks

A new feature of the recent update to Premiere, the minimize all tracks feature is one of my favorites. I edit on a 15″ Macbook Pro laptop, and screen real estate is in high demand.
Customize Video and Audio Headers

In the timeline display settings menu you can customize your video and audio headers to your heart’s content. You even have a button editor palette to explore.
The Panel Menu

In addition to the timeline display settings menu, the panel menu offers up several additional features, including adjusting video thumbnails, customizing audio waveform displays, adding a work area bar, time units, removing time ruler numbers, and creating a custom start time for your sequence timecode.
Conclusion

Check out our final timeline to see just how much you can customize the look of your sequence. I suggest you look around inside both the panel menu and timeline display settings menu to figure out which display options are best for you!
What does your Premiere Pro timeline look? Show us your work in the comments below!


