DaVinci Resolve: THE Total Guide to the Best Free Video Editor

Find out everything you need to get started in DaVinci Resolve with this complete, six-part video guide to the best free video editor on the market.
I don’t know about you, but I haven’t had a chance to master DaVinci Resolve yet. There are a lot of small details and techniques about Resolve that I’ve picked up from various videos over the years, but I haven’t been able to just sit down and take the time to learn the thing.
DaVinci Resolve has always amazed me — what was once the industry-leading color grading software that only a small group of filmmaking professionals could use (or afford) became the industry’s best free editing software, and it is still the industry-leading color correction software.

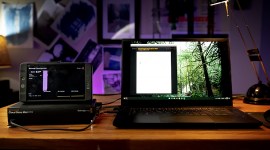
Image via Blackmagic Design.
Yes, that’s right, DaVinci Resolve is a completely free download, and if you don’t have a copy of it on your machine, click here: DaVinci Resolve Download. (You’ll find the download link at the bottom of the page).
It can be daunting to learn an entirely new NLE. Luckily, Lewis McGregor has our backs. Lewis is a certified Blackmagic trainer. So, just for you, he made a six-part video series that teaches you everything you need to know to get started. After you watch this series, you’ll be using the industry-standard color correction and editing software in no time.
How to Organize and Import Media In Resolve
One of the first snags I always hit when I hop into Resolve is that I don’t really know the right way to get my media organized and into a bin. I’m so very used to the Premiere workflows — and previously Final Cut, from way back, which was relatively similar.
Resolve is a bit different, but as McGregor shows us in this first episode, it’s not as different as it might initially seem. Creating a project and getting all of your media is very straightforward. There is a lot you can do with metadata and proxies, but it can also be simpler than that. It just depends on how you intend to use the software.
After this video, I felt empowered to hop into Resolve and get started immediately.
How to Use The Edit Page In Resolve
As someone who previously only used Resolve for color correcting a completed edit, I always had a little bit of trouble navigating the Edit Page.
In this episode, Lewis explains everything about the Edit Page from a layout standpoint — and how to get everything in an interface that makes sense to you. He also covers the various parts of the page and what their purposes are.
How to Edit Your Video In DaVinci Resolve
Now we’re getting down to the nitty gritty. In this episode, we learn about the various tools for editing and fine-tuning directly on the timeline.
In Resolve, it’s easy to find all of your favorite editing tools — trim tools, roll edit, ripple edit, slip edit, slide edit, and (of course) markers and flags.
Once you get comfortable with the selection methods and the various edits, you’re pretty much on your way to doing everything you need editing-wise in Resolve.
How to Edit Audio In DaVinci Resolve
Audio is always one of the first reasons I don’t switch NLEs. Editing and controlling audio is a very nuanced process, and I feel like it’s one of the hardest things for an editor to master. You get used to doing it a specific way, and you start getting good results with your program of choice.
In this episode, Lewis shows us how to edit audio in Resolve easily and effectively. As you’ll learn, Resolve actually offers one of the best sets of audio editing features of any NLE — the Fairlight audio page.
After watching this video, you’ll be able to find all of the audio tools you need in Resolve — like the track mixer, EQ settings, pan mixer, etc.
How to Render or Export In DaVinci Resolve
Now that your edit is done, you need to know how to export it.
In this episode, Lewis walks us through the Delivery Page. This is where you’ll find all of your rendering options. Resolve has included handy presets for various social platforms (YouTube, Vimeo, etc.), which stay up to date with the respective platform’s suggestions.
Aside from that, the render settings and options are exactly what you’re used to in any other editing software.
How to Set Up Basic User Settings In DaVinci Resolve
Resolve gives you a lot of control when it comes to GPU usage and memory settings. There are also a lot of settings for playback and audio input and output. As you are probably used to with other editors you’ve used, these settings are all among the basic user settings.
In this episode, Lewis covers all of these various settings. This way, you can put everything you’ve learned to good use — with all of the right settings for your machine.
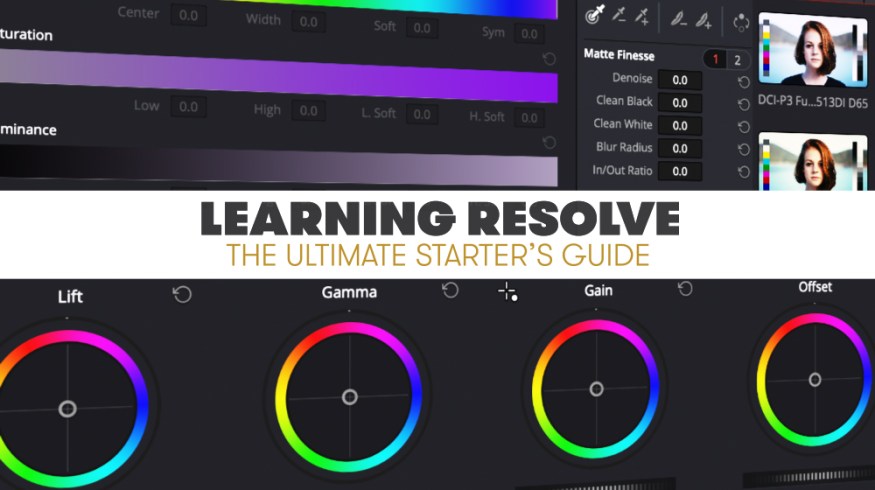
How to Color Correct and Color Grade in DaVinci Resolve
As an added bonus, we didn’t forget the thing we all know DaVinci Resolve for the most — color grading! In this video tutorial from RocketStock, Lewis shows us the ropes with the color side of Resolve. Check it out!
Looking for even more information on DaVinci Resolve? Check out these articles and tutorials.
- Using the Track Select Forward Tool in DaVinci Resolve 15
- Color Grading Tips: The Ins and Outs of Correcting for a Pink Sky
- Color Grading: Working with the Hue vs. Curves in DaVinci Resolve
- Revive Your Footage With Resolve 15’s Automatic Dirt Repair and Dust Buster Tools
- How to Use the Shared Node Feature in DaVinci Resolve
- Quick Tip: How To Use Optimized Media In DaVinci Resolve
- Remove Unwanted Shot Features With Resolve 15’s Patch Replacer
- Get To Know DaVinci Resolve 15’s Super Scale Feature
- Your Guide to Working with Project Files in DaVinci Resolve