Working with High Frame Rate Proxies in Adobe Premiere Pro
Working with proxy files in Adobe Premiere Pro is easy, but high frame rate footage requires a few extra steps. Here’s what you need to know.
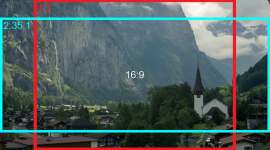
With droves of mirrorless cameras like the GH5 and Fuji X-T3 hitting the market at affordable prices, filmmakers and videographers can shoot 4K at 60fps, and beyond. For these shooters, proxy workflows are a mainstay in post-production.
Adobe Premiere makes it easy to create, attach, and edit with proxy files. For example, when working with non-high-frame-rate footage, the proxy workflow is relatively straightforward:
- Import your footage into Premiere.
- Interpret your footage (or use Premiere’s proxy ingest settings).
However, when working with high-frame-rate footage you’ll need to follow some additional steps.
Use this as a guide for organizing, ingesting, and creating high-frame-rate proxies for editing in Premiere.
Import and Interpret Your Footage in Premiere
Select the high-frame-rate footage you’d like to encode, and right-click.
Select Modify > Interpret Footage
In the dialog box, under the Frame Rate tab, select the radio button “Assume this frame rate,” and input your desired frame rate.
Click OK.
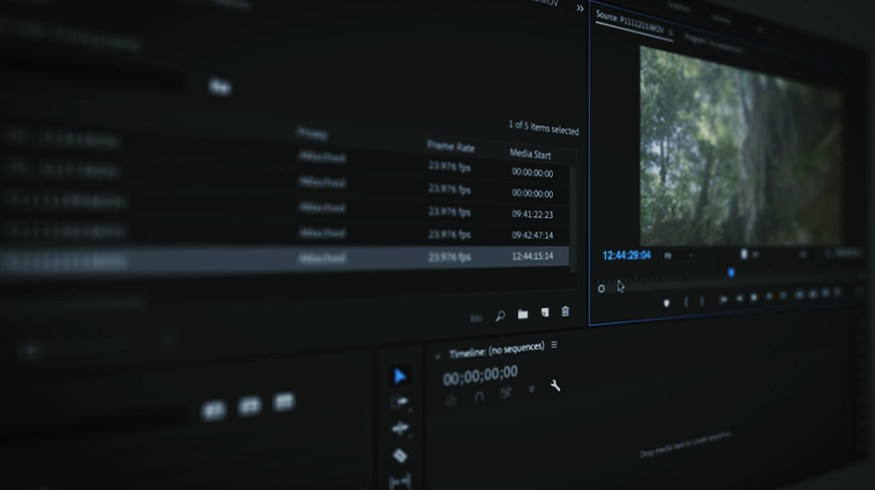
Create Your Proxies Using Media Encoder
Now it’s time to transcode your high-frame-rate footage into proxies using Adobe Media Encoder.
Select the conformed clips in your Project Panel, and right-click.
Navigate to Proxy > Create Proxies. Select your desired Proxy configuration. The Quicktime preset 1280×720 GoPro CineForm works well for most UHD projects.
Select OK.
At this point, Adobe Media Encoder will open and your clips will begin to populate the Render Queue.
Once your clips load into Media Encoder, stop the transcode by pressing the red square in the top-right corner of the window. Do not finish the current job. Be sure to reset the status of the unfinished transcode by right-clicking the clip and selecting “Reset Status.”
Next, select all of the high-frame-rate footage in the Render Queue and right-click.
Select “Interpret Footage.” In the dialog box, under the Frame Rate tab, select the radio button “Assume this frame rate,” and input your desired frame rate.
Select OK.
Hit the green play button in the top-right corner of the window to begin the transcode.
Check proxy status, and test your clips
After the transcode is complete, navigate to the Project Panel in Premiere. The proxy status for your transcoded clips should have changed. You can toggle the Proxy Status display in Premiere’s Project Panel by right-clicking the column headers and selecting “Metadata Display” and adding the “Proxy” display from the list.
You’ll have to attach the completed proxy to your first clip (that was cancelled at the beginning of the transcode). You can do this by right-clicking this clip and navigating to Proxy > Attach Proxies and selecting the proxy created in the transcode.
Interested in the tracks we used to make this video?
- “In the Light in the Dark” by Ferry Island Music
- “A Vibe Called Quest” by Sounds Supreme
- “Technology of the Future” by Denis
- “Street Signs” by Sound Force
Looking for more post-production tips and tricks? Check out these articles.
- The Audio Ramp-Up: The Best Transition You Should Be Using
- The 3 Easiest Ways to Cut Clips in Adobe Premiere Pro CC
- Roundup: 5 Awesome Editing Effects in Adobe Premiere Pro
- Isolating Image Channels to Work with Chroma and Luma in Premiere
- Post-Production Tip: Quick and Dirty Noise Reduction Without a Plugin