How to Simultaneously Edit Multiple Internal Camera Audio Files

Save time and energy by using this method to edit multiple internal camera audio files simultaneously.
Top image via Shutterstock
When editing in Premiere Pro, oftentimes the built-in audio tools simply fail to live up to the fantastic audio features found in Audition. In the following post, we’ll take a look at how to edit multiple audio files from internal camera audio. It’s a handy trick that is guaranteed to save you time.
If you’re more of a watcher, the following video tutorial outlines everything covered in this post:
Before you begin your edit, you can easily bring all of the audio recorded into the camera to a comfortable volume level so you aren’t constantly riding the master volume on your computer. By bringing the audio clips offline and replacing them with temporarily (or permanently) mastered audio, you can work more efficiently as an editor because you will have better sounding content to analyze.
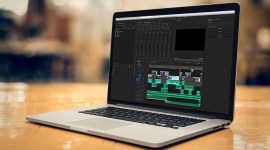
1. Unlink the Audio in the Timeline

Bring all of the clips from your bin that need audio editing into a new timeline and unlink the audio from the video. I like to name the sequence “Interview Pool,” as it will be the sequence from which I will later choose all of my content for the final edit. Select all of the clips in the sequence, right-click on them and choose Unlink. This will allow you to select all of the audio clips in the timeline separately from the video clips.
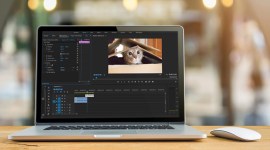
2. Send the Clips to Audition

Highlight all of the audio clips and send them to be edited in Adobe Audition. Once you have highlighted all of the audio clips you can right-click on them and select Edit Clip in Adobe Audition. By using this method, you will be editing from an entire clip instead of a truncated version after you’ve already begun editing.
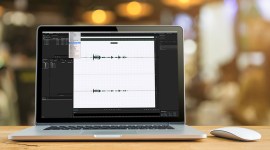
3. Apply Apply Your Edits

Double-click on any of the files listed in the window on the upper left to apply your edits to them… but don’t save your work just yet. Although you may have very specific things you would like to do to each file, at this point I am typically applying a limiter, normalizing the clips, and applying some light compression.
However, it is very important that you don’t save your work just yet. Instead, we will save the files in a new location so they are more easily accessible in a unified location.
4. Save Your Files in a New Folder

Choose Save As in the file menu and save in a new folder called “Edited Audio.” On the first file you are saving, you will be given the option to save in a specific location and to create a new folder. Hit Save As, select Browse, and browse to an easy-to-find location such as where you store your footage files, etc. Create a new folder called “Edited Audio” by clicking on the New Folder button on the lower left of the dialogue box.
Repeat this process for all of your files. To further streamline your process, learn how to create batch commands so your audio edits and save locations can be automated by your computer while you take a break from staring at your screen. Once you’ve completed all of your edits and saved them in the “Edited Audio” folder, you can close Adobe Audition and return to Adobe Premiere.
5. Offline Your Files

Take all of the audio clips in your timeline offline in Adobe Premiere. With all of the clips (which now have the new suffix, Audio Extracted) highlighted in your project window, right-click and select Make Offline.

A dialogue box will appear and it is important to select Media Files Remain on Disk so that Adobe Premiere doesn’t delete your unedited audio! Click OK and notice that the clips in the timeline are now red and there are question marks for icons in the project window — this is normal.
6. Relink the Offline Audio Files

Relink all of your offline audio files to the edited audio files in the “Edited Audio” folder. With all of your offline audio clips selected in the project window, right-click and select Link Media. In the dialogue box that appears, click Locate and browse to the “Edited Audio” folder. Click on the file name in the folder (it is helpful to have Display Only Exact Name Matches selected so it only shows files with the exact same name as your first file) and click OK.
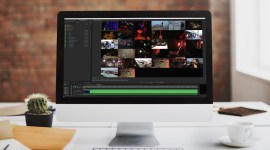
7. Edit Your Sequence
Return to Adobe Premiere and use all of the clips in your sequence as a source from which to choose content for your edit. I like to keep my final edited sequence separate from my interview pool so I can easily see which portions of clips I have used and what is still left as an unused option. Now that the audio is intelligible, you will be able to make more accurate decisions on what was a good take and you can focus on content instead of your volume buttons.
Have any tips for editing multiple camera audio on your projects? Share your workflow in the comments below.