Quick Tip: Fixing Rolling Shutter Flash with Opacity Blends
The rolling shutter in CMOS chips can cause flash frames. Here’s how you can fix them and get your project back on track.
The ease of use and the lower cost of CMOS sensors means they’ve seen widespread implementation in imaging devices, ranging from smartphones all the way up to cinema cameras on Hollywood sets. Even though CMOS came around six years before CCD sensors, CMOS has only come into its own in the past decade or so — as a result of its simplicity and low manufacturing cost.
The prevalence of CMOS chips causes some problems — most notably with rolling shutter. Perhaps the most tell-tale sign of a rolling shutter is the partially exposed frames from a bright, temporary light source such as lightning or strobe lights.
Today, we’re taking a crack at making these partially exposed frames far less noticeable with a quick trick you can do in any modern NLE.
What Causes Flash Frames?
Flash frames occur when there are short, bright light flashes during the roughly 25 microseconds it takes for a sensor to scan pixel readout that causes part of the frame to not register the flash. This is a side-effect of the rolling shutter found in CMOS chips.
Flash frames may seem tricky to repair at first because there’s an additional light source in one part of the frame and not the other; however, with the right opacity blend, and some quick adjustments, we should be able to reasonably recreate a similar light source for the unaffected part of the frame.
Before we start, keep in mind that we are doctoring single frames — we don’t have to perfectly blend the two regions of the frame together. We’re just roughly matching the luminosity and color values of the un-flashed to the flashed portion of the frame.
Repairing Flash Frames from Rolling Shutters
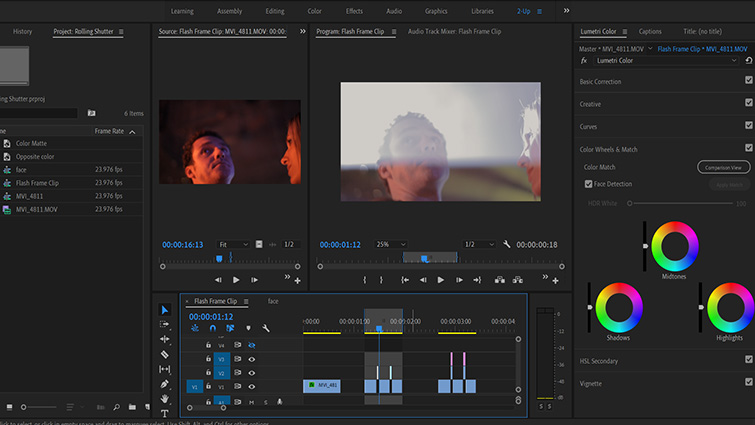
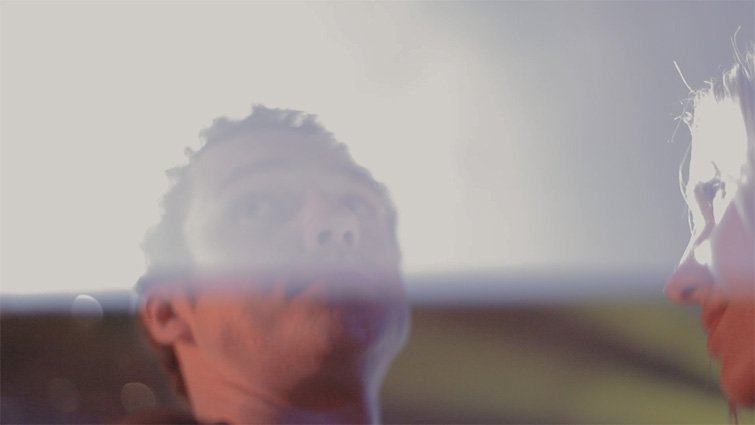
Here’s a clip of a night club scene with strobes causing two flashed frames in the shot.
First, locate the flashed frames and separate them from the rest of the video track so we can work on them independently. I’ve pulled mine to the second video layer.
First Flash
In the first flash, we can see that roughly the bottom 25 percent of the frame was scanned after the strobe turned off, leaving the top 75 percent with a hazy, lowered-opacity look and a slight purple hue.
Let’s see if we can duplicate the look of the top portion of the frame with some basic tools in Premiere.
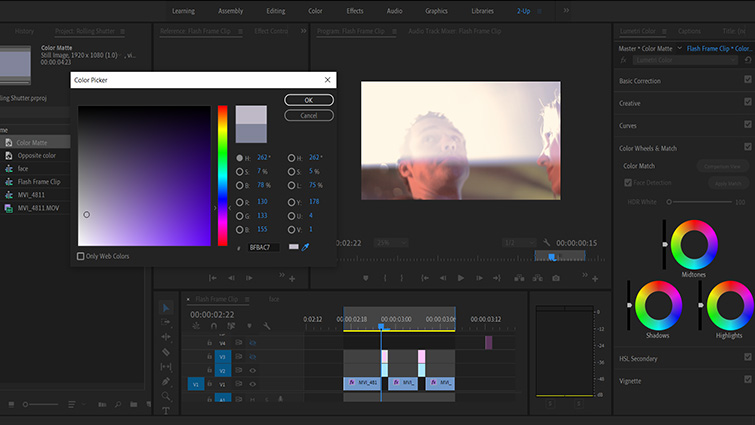
The first thing we’re doing is creating a new color matte in the New Item menu of Premiere. To select the closest color, I am using the eyedropper tool to target the area toward the bottom of the flash where the strobe begins to fade.
When flash frames occur, there is usually a very slight gradient effect from the variance in illumination when the light source was powering on or off. When repairing flashes, I usually target this area to help blend the results.
Now that I’ve eye-droppered the flash, I have a pastel violet color matte, which I will place on the video layer, above the pulled flash frame.
From here, we are simply dropping the opacity of the color matte to see the frame underneath before applying a mask to the un-flashed region of the frame.
I’ve set the blend mode to screen and the opacity to 86 percent to most closely match the look of the flash. It’s close, and we can get it even closer by tweaking the mask feather and expansion to hide the transition of the strobe.
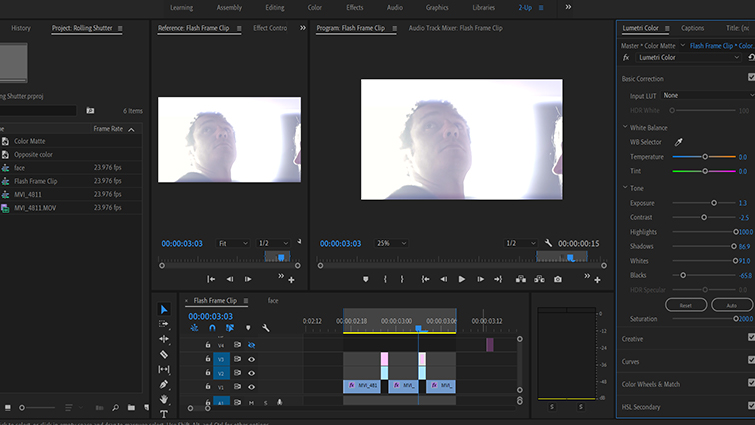
All that’s left is to apply tweaks to the Basic Corrections tab in Lumetri to match the color and illumination a little more closely, and we’re all set.
There is still a pretty clear difference between the two regions of the frame. Once we go back and play it at full speed, I think it’s close enough that it will be much less noticeable.
Second Flash
In the first shot, the un-flashed part of the frame blended with the flashed portion, making the rolling shutter’s side effects much less noticeable. Now, let’s see if we can use the same techniques to enhance the frame, rather than just hiding the error.
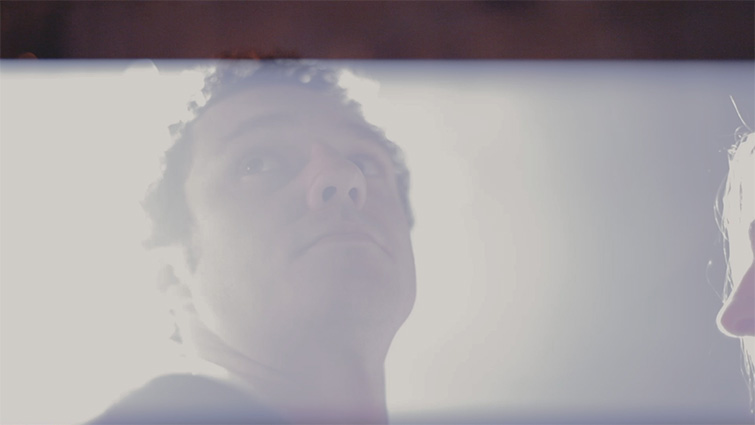
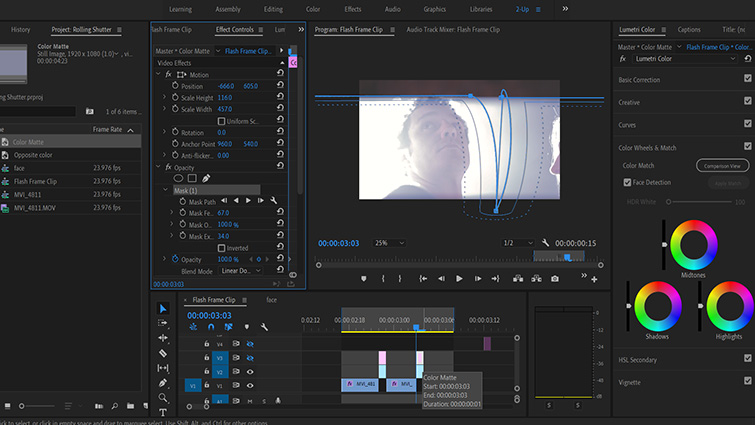
In this shot, we can see the top 15 percent was scanned before the strobe kicked in, leaving the bottom 85 percent with the same blue, hazy look as before.
We can see there is a bit of a spot effect behind the main actor; let’s try to emphasize that with our mask and blend.
I’ve dipped the mask down to include the far edge of the spot to the right of the actor because I want to flare the edge out a little bit.
To do this, we’ll need to use a fairly extreme opacity blend mode — linear dodge at 100 percent.
We’re pushing the Basic Corrections to get a flared, over-exposed effect.
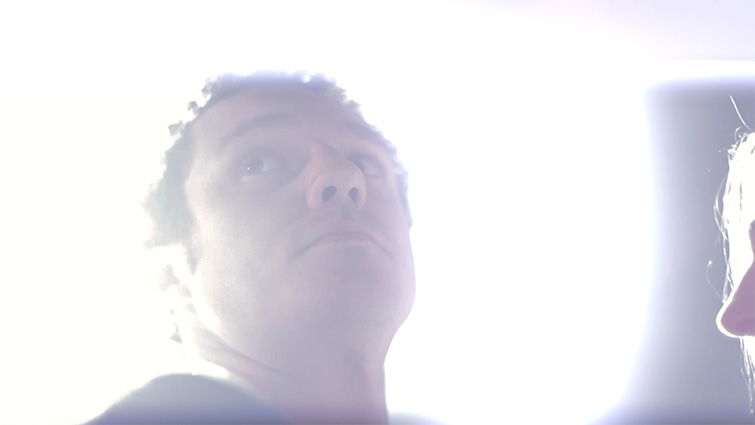
I think that works really well. I especially love the falloff and backlight on the actress’s hair.
All that’s left now is to go back and check the original against our repaired clip.
Here’s the original again:
And here’s our repair:
This should prove that even our simple fix on frame one is more than enough to hide the partially exposed portion of the frame.
Next time you load up your footage only to find it littered with flash frames, have no fear — you’re just a few seconds away from a fix.
Looking for more film and video production advice? Check out these articles.
- The Whys and Hows of Tracking: Handheld vs. Stabilized
- Production Tips: The Four Secrets of a Successful Documentary
- Video Tutorial: Determining The Best Lens for Your Project
- The Best Quotes from Directors, Editors, and Everything in Between
- Tutorial: Removing Audio Pops and Recording Audio Differently


