
Video Tutorial: How to Use Premiere’s New Freeform View

View and organize assets while simultaneously storyboarding a sequence in Premiere Pro — with Adobe’s new fabulous Freeform feature.
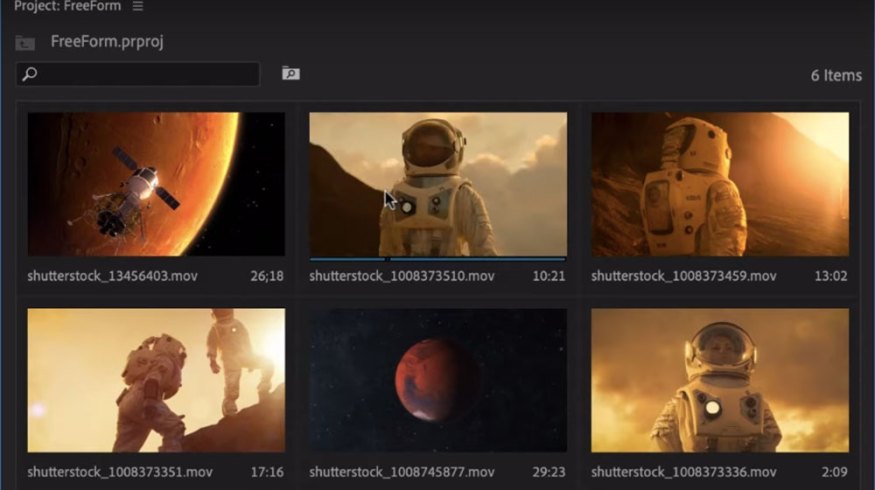
Adobe Premiere’s Project panel received a major upgrade in the latest release of Creative Cloud (Spring 2019). With the new Freeform feature, users can now view and organize assets in a uniquely visual way. Whether you want to simply group assets categorically by metadata, or create a complex storyboard, this new tool is here to help. You’ll find the Freeform button at the bottom left-hand side of the Project panel, next to the Icon and List view buttons. Let’s take a closer look at how it works.
Stay Organized

As the name implies, you can now move clips around freely in the Project panel. Unlike Icon view, your clips won’t automatically snap into a grid placement. You can, however, quickly align assets via a simple Right-Click > Align to Grid. Freeform also allows you to stack clips on top of each other to group them together. This can be very useful when you’re organizing assets, and it can be a substitute for bins. To quickly cycle between stacked clips, simply hover your cursor over an asset, or use the arrow keys.
In addition to the slider bar at the bottom, you can now right-click on a clip and change its size, independent of other clips. Use this to signify the importance of key shots or sequences. You can also display two lines of metadata information underneath a thumbnail. To specify which metadata you’d like to show, go to Panel Menu > Freeform View Options.
Storyboard Your Project

One of the interesting features of the Freeform layout is that you can use it to storyboard a sequence. Simply use the size adjustments, and drag and drop your clips into a sequence. As in Icon view, you can use the J, K, and L keys to play back, and even set In and Out points. For an easier storyboarding experience, customize the Poster Frame of each clip.
Once you have your In and Out points for each shot, grab and drag everything into your sequence. Now you have a rough cut and are ready to do some fine-tuning in the Timeline panel. Sorry, (Source Monitor, it’s time to pack your things. Security will escort you out.)
Save Your Layout
For a streamlined workflow, I can save custom Freeform layouts. In this example, I’ll create one for Grouping and one for Storyboarding. For this, simply right-click in the Project Panel, and select Save as New Layout. Now I can quickly jump between these views, and even create multiple storyboards.
Video is a visual medium, so why not organize your footage that way?
Looking for more video tutorials? Check these out.
- 6 New Features in Premiere Pro’s Essential Graphics Panel
- How to Perfectly Position Your Content in Premiere Pro 2019
- Tutorial: Getting Started with Content-Aware Fill in After Effects
- 5 Ways to Animate with Trim Paths in Adobe After Effects
- How to Create the Double Exposure Effect in Four Manageable Steps


