
5 On-Set Data Management Tips for Blackmagic Camera Users
Developing a good on-set data management system can free you to be more creative. Here are five ways to do it.
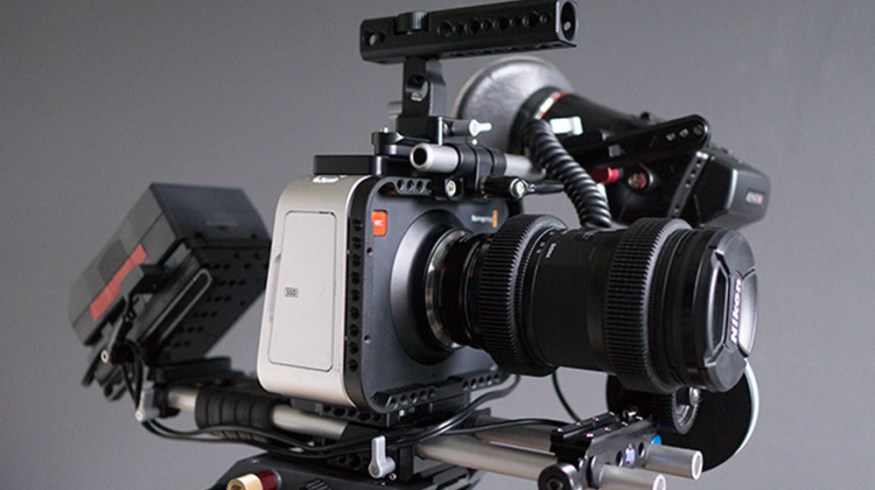
I’ve been shooting with the Blackmagic Cinema Camera since they first started shipping back in December 2012. I then added the Blackmagic Production Camera 4K to my set-up when it started shipping. I’ve used both cameras extensively since then. One thing that can become a tedious task is managing data and SSDs on set. It’s not something you want to be worrying about when you should to be focusing on craft of shooting, so it’s good to develop a system that makes this easier. Here are five quick tips that’ll make life a little easier on set.
1. SSD Tabs

Getting a hot SSD out of the camera in a hurry can be difficult. Even more so if you have fat fingers. Add a little tab to your SSD made from a strip of gaffer tape. Now you can grab the little tab when it comes time to swap SSDs. The tab fold nicely into the SSD bay when you close the door.
2. Reel Names and Camera Names

Naming your camera and the reels (each SSD) is important when managing a lot of data from multiple cameras. The system I use is to give each camera a letter. A cam, B cam, C cam, etc.
Setting the reel name in the camera metadata then writes that info to the name of the formatted SSD and to every clip name. Each time I change the SSD, I then update the metadata before I format the SSD. So on Cam A, the first SSD is named A01 and the second SSD is A02, etc.
Sometimes the A cam might be a B cam on a different set-up, so giving the camera a unique ID will also help identify which camera was used. Little things that can be very useful in post.
3. Fresh Format to Avoid Dropped Frames

While SSD’s performance on a computer might not suffer from fragmented data, when using them in camera this can be an issue. Simply deleting your clips from the SSD once you have copied them is going to eventually cause you issues. The camera now has the ability to format the SSD, so there’s no excuse not to. It’s best to always start with a freshly formatted SSD. It only takes a moment and it does not shorten the life of your SSD, as it’s not a low-level format.
4. Full or Empty?

Keeping track of which SSD has data on it and which is free to use can be tricky. A simple system I use when shooting solo is to have a green sticker on one side and a red sticker the other side. When the SSDs go into the case, all empty SSDs have the green sticker facing up. Once the SSD has been used, I put the SSD back in the case with the red sticker up. At a glance I can see which are free to use.
When working with a bigger crew, the AC labels each camera with strip of gaffer tape on the SSD door. This has the camera name and reel number written on it. This tape is then placed over the SSD contacts when the SSD is removed. This way, the DIT knows which SSDs have data on them and at a glance can tell what camera it came from.
5. Multiple Back-Ups and Checksum Verification

The data from a shoot is the most important bit. That’s what you are paid for. If it’s lost or damaged, all the other costs would have been money thrown away. So it’s really important that the data is backed up and verified. Simply using the Explorer (Win) or Finder (Mac) to copy the files is not secure enough. Data could be lost in the process.
You really want to do CheckSum verification on any back-up you make and make multiple back-ups. Three copies is ideal, two is the minimum. Give one copy to the Producer before you leave the set so that all the data is not in the same place.
I use Imagine Products ShotPut Pro on the Mac. They now offer a Windows version too. You could also use Blackmagic DaVinci Resolve’s Media Clone tool, as it too does CheckSum verification (added in Resolve 11). Other tools you might want to consider: RAW 4 PRO with Backup Champion (PC) or Pomfort ClipHouse (Mac). Both of those also offer tools to color correct and transcode your RAW files.
These are just a few things that make my life on set a little easier. Some might be of use to you or might inspire you to develop your own. Whatever the case, the more structured the technical side of your shoot, the more you can focus on the creative side.
Were these tips helpful? Got any data management tips you’d like to share? Let us know in the comments below!