Create Custom Vignettes for Premiere Pro

Use the Lumetri Deep Color Engine to create a custom vignette filter in SpeedGrade you can use in Premiere!

One of the cool new features of the SpeedGrade and Premiere Pro CC is the ability to save looks in SpeedGrade and use them directly in Premiere. While you can use this for any look you save, it’s particulary handy to fill a gap in your effects toolbox in Premiere: Vignettes.
By default, Premiere Pro doesn’t come with a vignette effect, and there’s not really an easy way to create one in Premiere unless you find/buy a third party plugin (or get busy with mattes). But using SpeedGrade, you can create your own custom vignette exactly the way you like it, then use it over and over directly in Premiere!
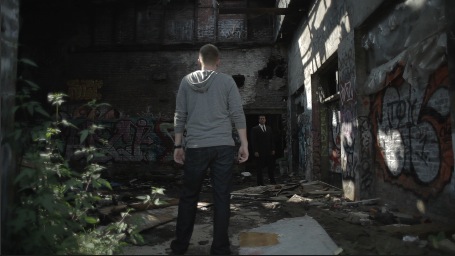
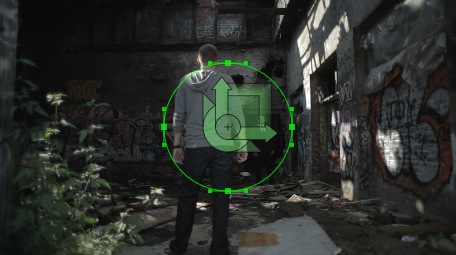
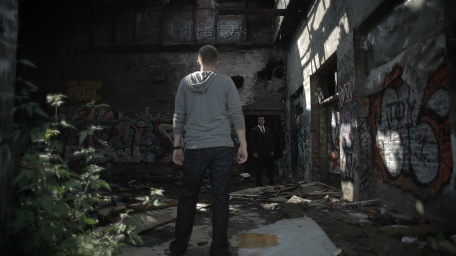
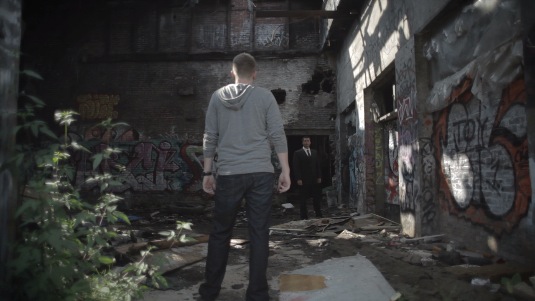
Let’s start off in Adobe SpeedGrade. We’ll be using this shot for the example:
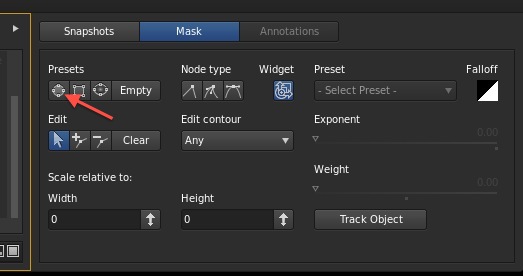
Twirl out the mask settings using the disclosure triangle on the right. There is a “vignette” preset, but I prefer a slightly different shape, so we’ll start with the default circle mask preset:
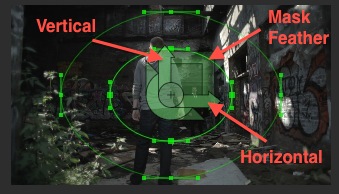
I usually adjust the softness and aspect first, using the on-screen widget. I preferred the shape below:
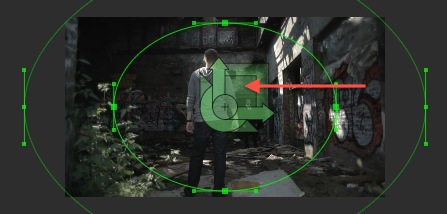
After that, scale up the mask using the widget. I wanted the edge of the feather just outside of the image area:
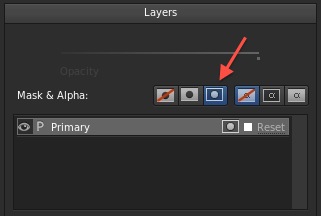
Before you make any color color adjustments, you need to set the matte to “outside” the mask:
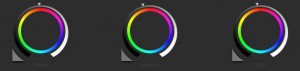
Now just adjust the color settings to taste:
Then save the look. You can even give it a custom name (which is probably a good idea):

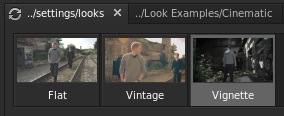
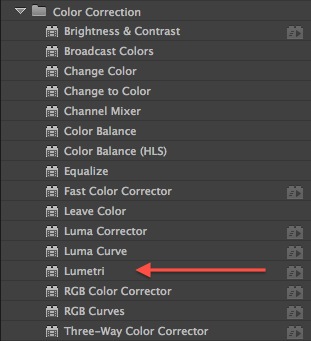
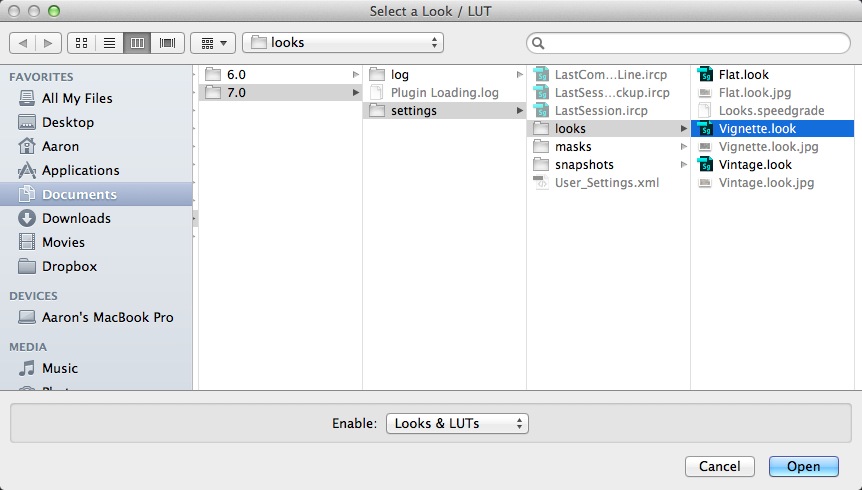
Over in Premiere Pro, all you have to do is add the “Lumetri” effect to your clip (or adjustment layer). You’ll be promtped to choose a look. You can find the looks in ~/Documents/Adobe/SpeedGrade/7.0/Settings/Looks:
Voilà…there you go! An easy to use vignette filter right in Premiere! Of course you can use this for any look you create, but saving a preset of just a vignette fills a big gap in Premiere’s effects and gives you a tool made exactly to your specifications.