Creating a Slide Projector Transition in After Effects

This custom After Effects transition simulates the classic look of a slide projector.
A quick and easy way to add some interest to transitions between pictures in a video (especially older looking pictures) is to create a “slide projector” effect, complete with sound effects. The analog nostalgia will add interest to your transitions. The effect is actually pretty simple to create in After Effects, and even easier to apply to multiple pictures once you’ve done it the first time.
I’ve created a comp at 1920×1080 with a few pictures in it. Your values for the keyframes below may vary depending on your comp’s resolution. One important note – your images need to be slightly larger than the comp. you’re going to be moving them around, so you’ll need a “bleed” on each side.
Slide Transition in After Effects
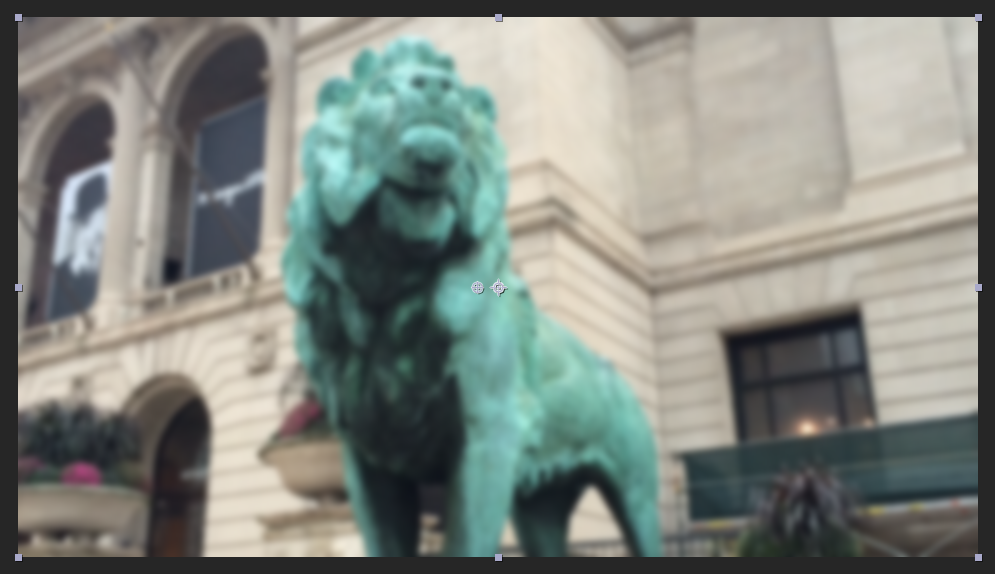
To start with, add an adjustment layer above your pictures, and add a blur effect to the adjustment layer. I used the Fast Blur for ease, but you can use whichever blur you’d like. Start by adding two keyframes at the default values of the blur. Put the first keyframe 3 frames before the beginning of the second picture (what we’ll call the “transition point”), and the second keyframe 2 frames after the transition point.
Both of these keyframes are set to the default value of “0”:

Next, 1 frame after the first keyframe, add a new keyframe and set the blur to 15.

Now, move to the transition point and increase the blur again to 20.

Now, add the Distort > “Transform” effect to the adjustment layer, and add keyframes to “Position” at the default values to the same places you did for the blur.

Add a new keyframe one frame after the first, and move the position a little to the left of center. Go easy…small changes make a big difference in this effect. I did it by eye and ended up with a value around 918.

I did this by eye to make it a relatively small move:
Go one frame forward and add a new keyframe where the position moves about an equal distance to the right of center. I ended up at 1016.

It should move about the same distance right of center that it did left of center the keyframe before:

Last, skip ahead 2 frames and move it just the tiniest bit left of center. I set it to 953. It’s just barely to the left. Only about 7 pixels in the example below.


That’s the whole effect! I usually do a few things to make it easier to copy from one transition to the next. First, add a layer marker at the transition point, then trim the layer to only the keyframes duration.


These adjustments let you easily duplicate the layer and move it to another transition. You can use the layer marker to line it up, and it will work perfectly!
It’s very easy to apply to other transitions:

Here’s a look at it in action:
One last thing you can do to enhance the effect is to add sound effects. PremiumBeat has several slide style sound effects that will work for this transition. I trimmed the sound effect to just the first click:

You can also combine this effect with borders! Check out an example here.