Creating Optimized Media in Final Cut Pro X

For video pros, transcoding recorded media is a necessity. Let’s learn the different ways in which we can create optimized media in Final Cut Pro X.
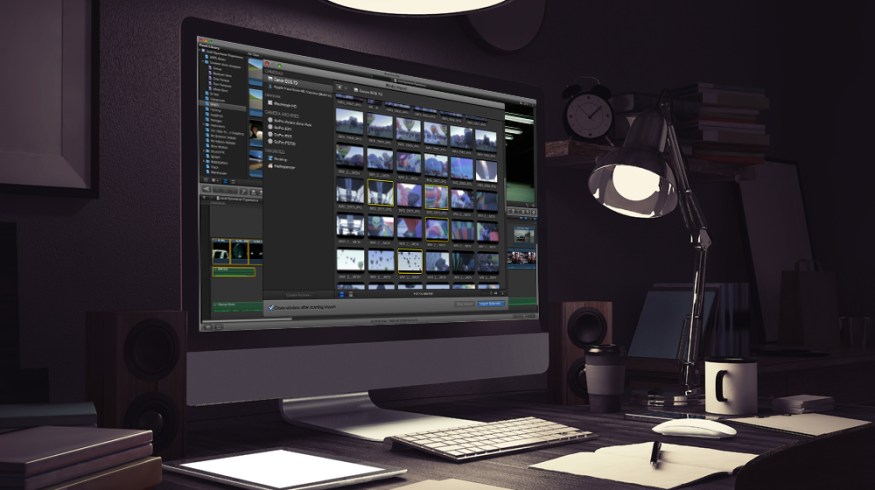
If you use Final Cut Pro X often, then you know it can handle a wide range of media formats (a list of which can be found on Apple’s support site). But you may not know that Final Cut Pro X can actually transcode that same media and optimize it for editing. Let’s run through the different options for creating optimized media within FCPX.
Why Create Optimized Media?
With many cameras now capturing footage in resolutions beyond standard HD, the file sizes of this media are growing rapidly. It’s great that FCPX can natively read a format like RED RAW, but editing with raw footage can be cumbersome. In order to make things easier on yourself, utilize optimized media and transcode that media to ProRes 422, which will increase performance while editing, as well as increase render time. Here’s a quick refresher in optimized media and proxy media from John Lynn.
How Do You Create Optimized Media
There are a couple of ways to create optimized media in Final Cut Pro X. The first is through the standard importing process. You can also optimize your media after import or while dragging and dropping your media into the NLE.
Standard Import Optimizing

As seen in the video above, optimizing your media during the standard import process is pretty simple. Go to File > Import > Media, then navigate to where your media is stored, and then select what you want to import. Before finalizing the import process, make sure to check the Transcoding option that reads Create Optimized Media.
Optimize After Import

If you’ve already gone through the process of importing your media and forgotten to create an optimized version, don’t worry. You can still make this happen. What you’ll need to do is head to the Final Cut Pro X Browser and select the desired clips. Once you’ve done this, simply select the Transcode Media shortcut and select the Create Optimized Media.
Optimize During Drag and Drop

If you’re the type of editor that just wants to drag and drop the media you need into an Event or Timeline, then there is an option for you as well — but it will require you to make some adjustments to the Preferences of the software. Just head to Final Cut Pro > Preferences in the Menu Bar above. Once you are there, head over to Import, where you can make adjustments to your import settings. Just remember… if you choose this option, all media from here on out will be optimized until you turn that option off.
Now you have the power to create optimized media in Final Cut Pro X. Hopefully this will speed up your edit and render time, making you a more efficient video editor.
Was this Final Cut Pro X Quick Tip helpful to you? Have you had success using optimized media in FCPX? Do you prefer proxy media? Tell us about your experiences in the comments below.