Gradient Maps and Blend Modes in After Effects

Combining gradient mapping and blend modes can be used to create fun, unique looks in After Effects.

In this post, we share a quick way to give your footage unique color grades in Adobe After Effects.
One of my favorite ways to add fun looks to photos in Photoshop is to combine gradient maps with blend modes:
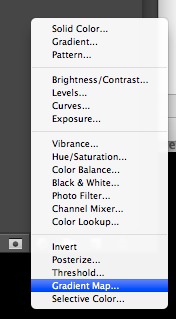
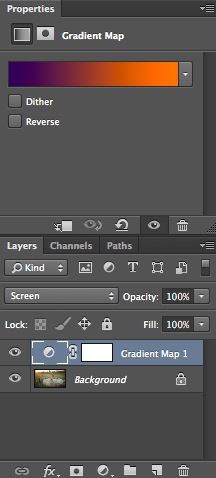
This particular gradient map combination is a favorite of mine that works well on a lot of images (especially outdoor):

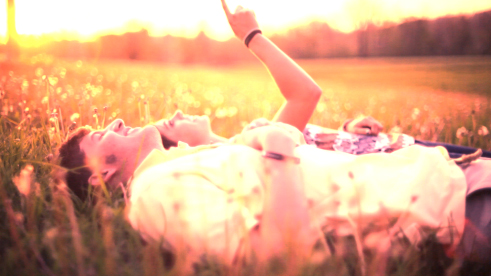
As you’ll see below, I added a gradient map to the image and changed the blend mode to “Screen”:

Gradient Maps in After Effects
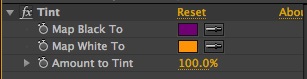
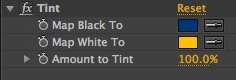
Technically, gradient map layers don’t exist in After Effects. However, you can mimic the effect with the tinting effects: Tint, Tritone, CC Toner, and Colorama. A gradient map recolors an image by using the gradient you set to replace the grayscale gradient in a black and white image. So, using a gradient like this:
Results in this:

Now that we can mimic the effect of a gradient map, put these effects on an adjustment layers and you get the ability to apply blend modes, just like in Photoshop!
We’ll start out by using the gradient above again and applying it to an adjustment layer. You can get a ton of different looks by changing the blend modes; some work better or more often with others depending on the colors you choose. This first gradient map has a lot of options that actually look pretty interesting:
(Click images for larger view)
Darken Blend Mode |
Multiply Blend Mode |
Add Blend Mode  |
Lighten Blend Mode |
Screen Blend Mode  |
Color Dodge Blend Mode |
Overlay Blend Mode  |
Overlay w/ Adjustment at 50% |
Soft Light Blend Mode  |

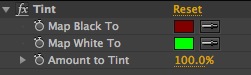
Here’s another gradient:
This particular combination of colors really only had good results with two of the After Effects blend modes:
Screen Blend Mode |
Soft Light Blend Mode |
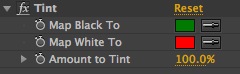
Here’s another gradient combination:
Lighten

And another:
Soft Light

Now here’s one that uses the tritone filter to add a third color to the mix:
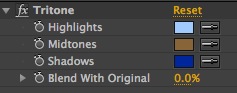
Overlay

With the CC Toner effect, you can fine tune your results even more, leaving the highlights and shadows alone to preserve good black and white points, but still adding a tint in those areas:
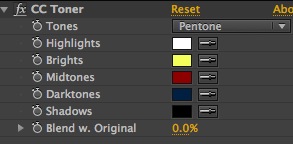
Screen:

Using a sepia color scheme gives some good results:
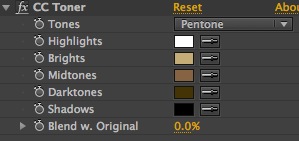
Screen:

Overlay:

You can even recreate the popular “Blockbuster” look:
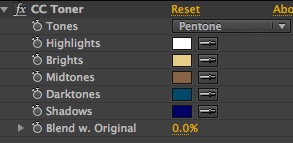
Overlay:

Soft Light:

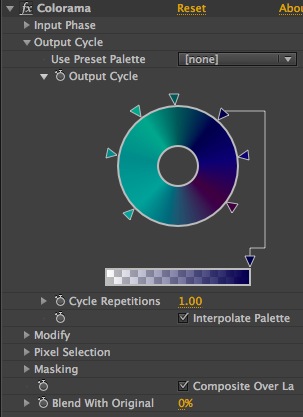
Gradients with Colorama in After Effects
For ultimate control of the gradient, Colorama is the way to go. It’s a little unweildly to use since its gradient tool is radial instead of linear, but you can really fine tune the results or use multiple colors:
Soft Light:

Color dodge (with the base image adjusted for exposure to compensate):

The color dodge effect made the shot too bright, so I dropped a levels filter on the original image to bring down the exposure:
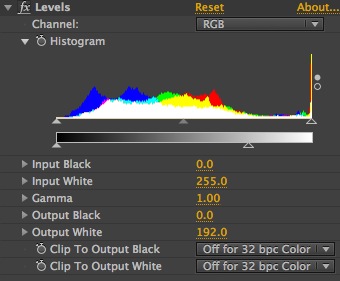
Experiment with exposure and contrast adjustments on the original image underneath the adjustment layer, as well as with different opacities on the adjustment layer to really get it looking the way you want it. After Effects does a great job of live-updating the look as you change your colors, so you can even pick a bland mode and fine-tune your colors live for the desired result!