Quick and Easy Vignettes in Adobe After Effects

Here’s a quick and easy way to create great looking vignette in After Effects!

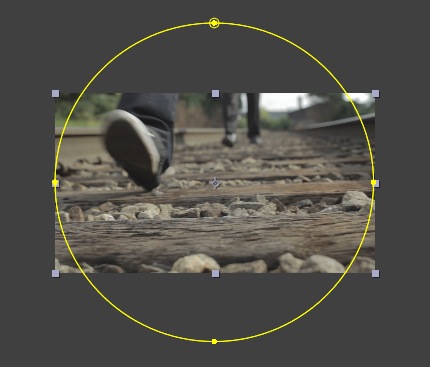
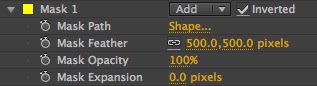
Vignettes are a great visual tool to add depth and bring focus to your subject. There are a lot of ways to create vignettes in After Effects, but here are my two favorites. Both use a layer with an inverted (or “subtracted”) circle mask, and the mask feathering set pretty high (500px in this example case):
Adjustment Layers
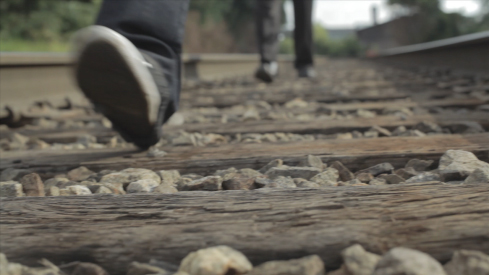
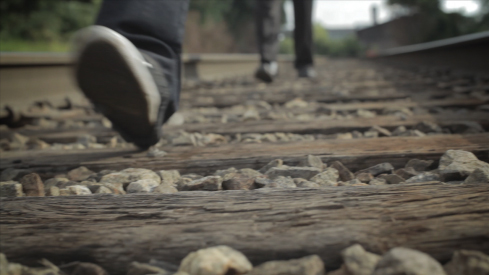
The most basic way is to use a filter on an adjustment layer with the circle mask applied. Here are a few examples based on this raw image:
The first way uses an Exposure effect with the exposure set to -3. It lowers the exposure across the entire tonal range:

This one uses the same Exposure effect, but instead of adjusting the exposure, the gamma correction is set to .5, which has the benefit of just increasing contrast, and leaving the highlights mostly alone:
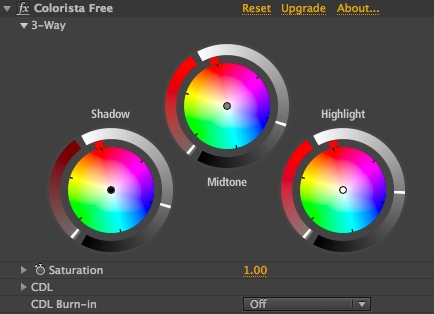
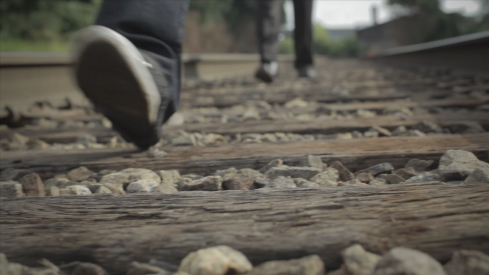
This way uses a 3 way color corrector (Colorista Free in this particular case), but the same effect could be achieved using levels, curves, Color Finesse, etc. You get a little more fine-tuned control this way, being able to choose how you affect each tonal range:

Black Solids
My preferred my of creating a vignette is to make a black solid with the circle mask settings mentioned above, then adjust opacity. Here’s a black solid at 40% opacity:
Things get a little bit more fun when you start experimenting with blend modes on the solid. This one uses the blend mode Classic Color Burn, which makes a pretty extreme change at first, but you can use opacity to dial it in to the desired amount. I used 18% opacity for this. Classic Color Burn leaves a lot of the highlight detail alone, crunches the shadows, and even saturates the colors a bit, for a very cool effect:

My absolute favorite way of creating vignettes in After Effects is to combine 2 black solid layers: one with no blend mode (“Normal”) at around 20% opacity and one above it set to Classic Color Burn at around 20% opacity. the combination of the two gets you a little bit of both worlds. This is what I do the vast majority of the time:

Vignettes for Motion Graphics
You can use the same technique to create vignettes for motion graphic pieces. It adds some nice depth when working with solid colors, like this:

Here’s the adjustment layer vignette with exposure set to -3:

In my opinion, you tend to get better results from the black solid method when doing motion graphics. Here’s the solid with no blend mode at 40% opacity:

Here’s the solid with the Classic Color Burn blend mode at 18% opacity like above:

And here’s the Normal/Classic Color Burn 20%/18% combination from above:

With motion graphics, you can often push the vignette a littler further than you can with footage for a really fun look. Here’s the Classic Color Burn solid set to 60% opacity. You can really see how Classic Color Burn starts to up the saturation:

And here’s the Normal/Classic Color Burn combination with both layers set to 60% opacity. It’s pretty extreme, but pretty dramatic too:

So there you have some fun, quick ways to make vignettes in After Effects.
What’s your favorite way to make vignettes in After Effects?
Share in the comments below!