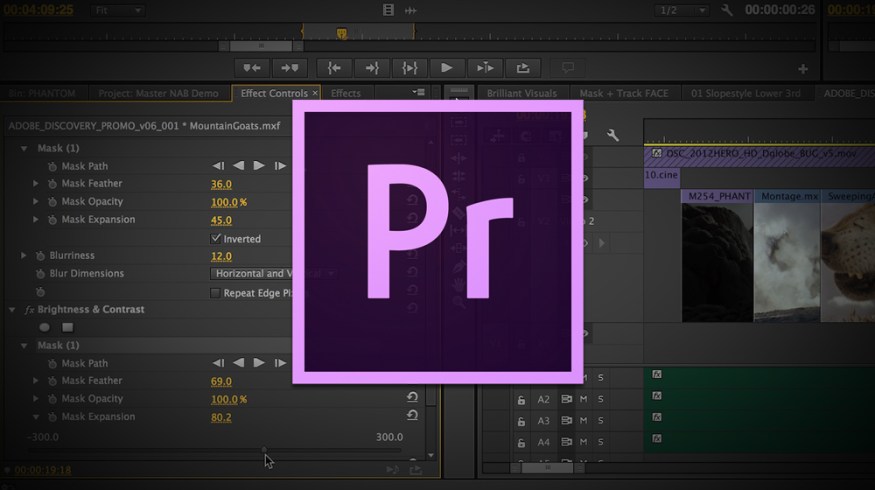
Premiere Pro: Subclips and Nesting

Maximize your Premiere Pro video editing workflow with subclips and nesting.
For video editors, having an effective workflow means faster editing. In such a demanding business, optimizing your workflow can result in major time savings – and more business. With all this in mind, we’ve found two tutorials from Peachpit TV that demonstrate how to subclip your footage and nest sequences to improve your video editing workflow in Premiere Pro. While this process not be new to seasoned Premiere Pro CC editors, it could help others who are just starting out or who have decided to make the move to Premiere from Final Cut Pro X or Avid Media Composer.
Subclips in Premiere Pro
When I first started out editing I made the mistake of dropping all the raw footage I had shot into Premiere Pro without generating subclips from that footage. This made it very difficult for me when going through the process of adding and removing clips from a sequence. To improve my workflow I began clipping important moments from my footage in the source monitor, then while holding the “CMD” key (“CTRL” Key on PC) I dropped the subclip into a new bin. A dialogue box then appeared allowing me to name the subclip. I’ve found this extremely useful, not only for documentary projects (it’s a lifesaver for interview footage), but also narrative work.
For reference, here is a video tutorial from Peachpit TV to show you how to create subclips in your Premiere Pro project:
Nesting in Premiere Pro
Nesting allows you to place clips/subclips in one sequence, then highlight those clips, right-click and nest into a new sequence that acts as single ‘clip’. This comes in handy when you’re wanting to add a an effect or color correction setting to your footage. Instead of going into each clip individually, you can now just apply that color correction to the nested set of clips. This cuts down on repetitive actions and helps to streamline your workflow.
Again, Peachpit TV put together a tutorial to show you exactly how to nest your clips in Premiere Pro CC:
If these tutorials helped you, or you have tips/suggestions, let us know in the comments below.