Working With RED RMD in Premiere Pro CC

Loading RED RMDs in Premiere Pro CC is simple. We’ll show you how to do it in 5 easy steps.
I’m always looking for ways to streamline my production process. When shooting with RED cameras I found that my post-production workflow was less than ideal. I’ve always favored using REDCine-X Pro to color correct my RED footage. The program is simple and being able to save the RMD (RED Metadata) is tremendously helpful…that is, until you take it into Premiere Pro CC.
Premiere Pro CC overwrites the metadata and applies a default adjustment. Because of this, you have to go into the “Source Settings” for each .R3D and reload the RMD once you have made your adjustments in REDCine-X Pro. For the longest time I would have to go into each file and select “Source Settings” then reload each RMD. This was cumbersome and extremely time consuming.
Then in 2012, Angelo Lorenzo from Fallen Empire Digital came out with a handy batch utility that could be used with Premiere, allowing editors to apply RMD adjustments to multiple files at once. By cutting out the extensive time it took apply adjustments to each and every file you could get on with the editing process much quicker.
Luckly for us, Adobe caught wind of this need and added this functionality in Premiere. To show you how to do it, we’ll run through the entire process in 5 easy steps.
RMD Workflow: STEP 1
Open your R3D files in REDCine-X Pro and make your color correction adjustments. You can download REDCine-X Pro for free here.

RMD Workflow: STEP 2
Save your adjustments as RMD in REDCine-X Pro.

RMD Workflow: STEP 3
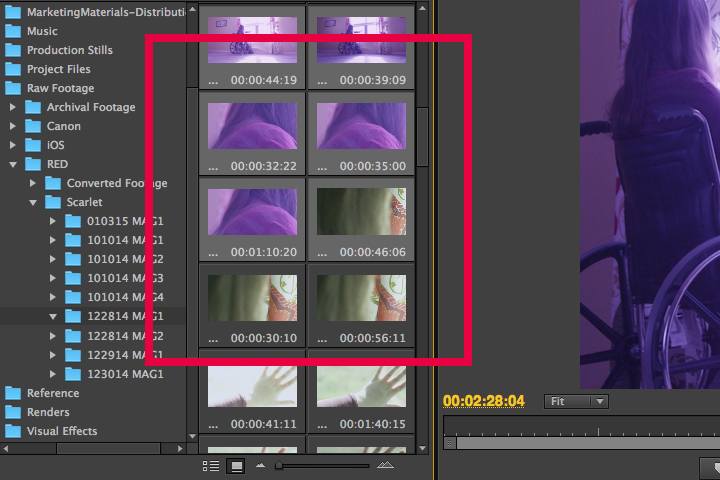
Import your footage into Premiere Pro CC using the Media Browser, or through File > Import. Media Browser shown below.
RMD Workflow: STEP 4
Highlight all of your imported R3D footage, right-click and select “Source Settings”.

RMD Workflow: STEP 5
In the window pop-up click “Reload from RMD” and you’re done.
You will now notice that all of your R3D footage is color corrected based on the adjustments you made in REDCine-X Pro. Utilizing this process has really made my RED-to-post workflow more efficient. Hopefully it will do the same for you.