Adobe Premiere Pro: Converting Stereo Tracks to Dual Mono

Learn how to convert a single left/right stereo channel into dual mono tracks in this quick Adobe Premiere Pro tutorial.
If you want to edit individual audio channels in Adobe Premiere Pro, it’s much easier to accomplish by converting your track to dual mono, rather than trying to edit each channel individually within the stereo track. However, you can’t simply drag effects into each individual channel unless you set up your audio clip to be a dual mono.
The following quick tutorial shows you how to easily convert your stereo track to dual mono:
1. Navigate to the Audio Channels Menu
Right click on your desired clip in the project panel and select Modify > Audio Channels.

2. Select Mono
In the dropdown menu, change the setting to Mono.

3. Click OK

4. Move the Clip into the Timeline
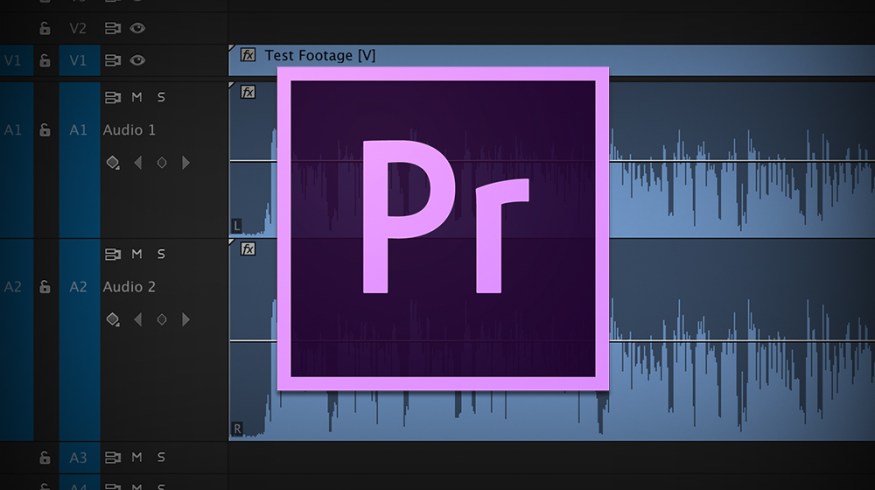
Instead of seeing a single stereo channel, you will see two separate mono tracks. By default the tracks will be linked. If you want to unlink them, you can right click on the clip in the timeline and select unlink. You can also select a single linked audio track by holding down the option key.

Want to learn a few more quick tips for Adobe Premiere Pro? No problem. Check out a few of the following articles:
- Quick Tip: Exporting Multiple Timelines in Adobe Premiere Pro
- Premiere Pro Quick Tip: Copying Multiple Effects
- Premiere Pro Quick Tip: Custom Workspaces
Have any other tips for working with dual mono tracks in Adobe Premiere Pro? Any audio hacks that you’d like to share? Tell us in the comments below.