
Manipulating the Invisible Spectrum With ND Filters

When it comes to the finer points of ND filters and the resulting color shift, things can sometimes seem overwhelming. Here’s everything you need to know.
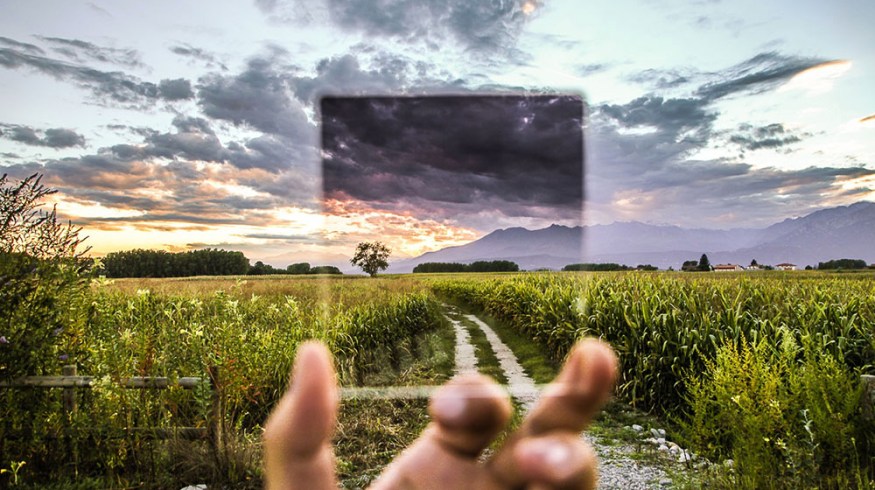
Photo via Photography Element
Placed in front of the lens, ordinary neutral density (ND) filters reduce light with no effect to image color or contrast while giving more control over exposure and depth of field. For celluloid film, ND filters only need to block light in the visible spectrum. However, many of today’s silicon-based digital sensors are sensitive to wavelengths the human eye cannot see, including the infrared spectrum, resulting in the need for “far-red” filtration as well.
Without ND filters, the IR wavelengths are typically a non-issue. However, upon adding heavy ND, compensation for the IR spectrum becomes necessary. For example, if you add a 1.8 ND, providing six stops of non-infrared blocking exposure, you gain an imbalance in frequencies. In essence, your sensor is effectively being contaminated by the far-red, resulting in a muddy color shift across your image, particularly in the blacks and reflective synthetic materials. With proper IR filtration, however, the dark areas of your image are rendered crisp and clean.
In the digital era, there has been a sizable array of ND options, but until fairly recently, no manufacturer has produced a truly neutral infrared ND filter. How is this far-red filtration achieved? There are a few different methods:
1. Dyes

Many manufacturers will place a film of specialized green resin on top of (or sandwiched between) panels of optical glass. These types of filters are called Infrared Neutral Density Filters (IRND) and have been optimized for digital sensors. When light passes through the dye, it filters out an amount of the infrared spectrum by absorbing unwanted frequencies. Unfortunately, all IRND filters come with their own set of colorcast problems, and there is a varying degree of consistency across manufacturers and ND intensity.
2. Hot Mirrors

The second method of infrared filtration is called a hot mirror. Hot mirrors are essentially infrared cut-offs and work through reflective interference: transmitting the shorter wavelengths and reflecting the far-red. Hot mirrors are made by placing fine dichroic coatings onto the surface of optical glass. Unfortunately, their high reflectivity is also a major drawback, as they have a tendency for ghosting. For this reason, they should be placed farthest from the lens in front of any other filtration.
3. Carbon Coated

The third and most recent form of infrared-blocking ND filtration utilizes a carbon metallic coating, which creates a truly neutral ND. The coating is bonded to the glass and provides impressively neutral color while blocking out infrared contamination. Unlike dyed IRND filters, carbon-coated IRNDs do not suffer from dye variance and thus produce the most color-consistent image available.
Some digital sensors already have an amount of internal infrared filtration built in through the Optical Low Pass Filter (OLPF) placed directly in front of the sensor. So it is important that you research and perform tests ahead of time before deciding whether or not dyed IRND, hot mirrors, or carbon-coated IRND filters are right for your project.
Here’s a great video from B&H that covers the basics of ND filter usage in both video and photography.
Got any thoughts on ND filters? How many do keep in your kit? Let us know in the comments below!