Organizing your clips in FCP X: Part 2

Filter your user-defined data in FCP X!
Once you’ve organized your clips by applying keywords and ratings information (as was discussed in Part 1 of this tutorial series), you can effectively drill down and filter this information so you can quickly extract the exact clips you are looking for. In this post, we will explore how to set up filters to isolate the appropriate clips.
Filtering clips based on keywords
After you’ve assigned keywords to your clips, you are ready to use this information to your advantage by creating filters.
To display the clips that all match a specific keyword:
- If you need to filter just the clips that meet one keyword requirement, simply click on the desired keyword collection in the Event Library. (The keyword collections appear as a list under the event after you add keywords to your clips.)

To display all the clips that match multiple keywords using folders:
If you need to combine several keyword collections into a group, you can create a folder. Then, you can see all of the clips that meet multiple keyword requirements.
- Right-click on the Event, and choose New Folder.

- Name the folder appropriately.
- Move the desired keyword collection icons into the folder.
Now, when you click on that folder, all of the clips with keywords that reside within that folder will be displayed. And because each clip can have as many different keywords as you want to assign, each clip can fall within multiple keyword collections, and multiple folders.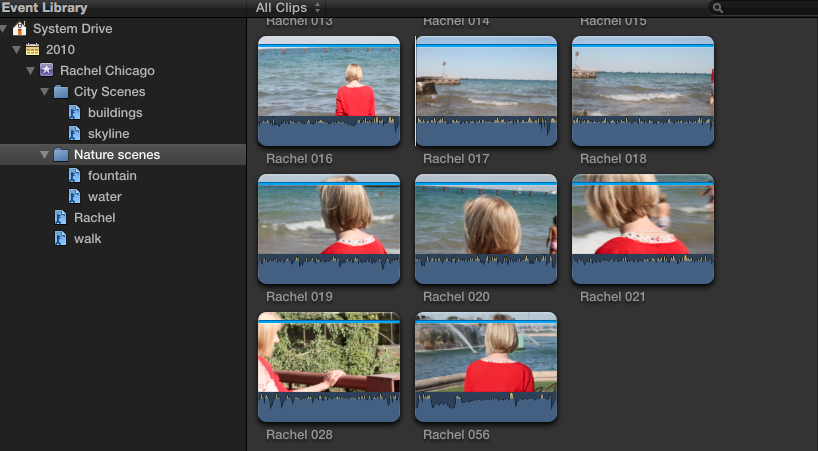
All of the "Nature" shots, which have the keywords "water" or "fountain" will appear in the search results.


To display all the clips that match multiple keywords using the Filter Search Box:
The above folder method is just one way to create a filter. Another more powerful and complex method of isolating data is to use the Filter Search box.
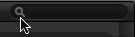
- Click on the magnifying glass icon to the left of the search field to display the Filter Search box.
- Type the text by which you want to initially search.

- Click the plus button in the upper-right corner and choose another criteria by which you want to to search:

- Choose the specific criteria by which you want to search.

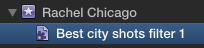
You can continue adding as many search terms as you want. - To save this filter out as a Smart Collection, click the New Smart Collection button in the lower-right of the window. This will save the filter to your Event Library, where you can access it at any time.


Filtering clips based on rating
FCP X makes it easy to filter clips based on rating. You can easily sort your clips based on Favorites, Rejects, and other criteria.
To sort clips based on rating:
- First select the event, folder, smart collection, or keyword collection that you want to display in the Event window.
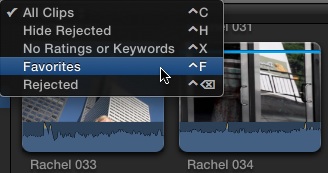
- From the “All Clips” drop-down menu, choose the desired option: All Clips, Hide Rejected, No Ratings or Keywords, Favorites or Rejected. Note the keyboard shortcuts for each.
The clips filter appropriately, based on your selection.
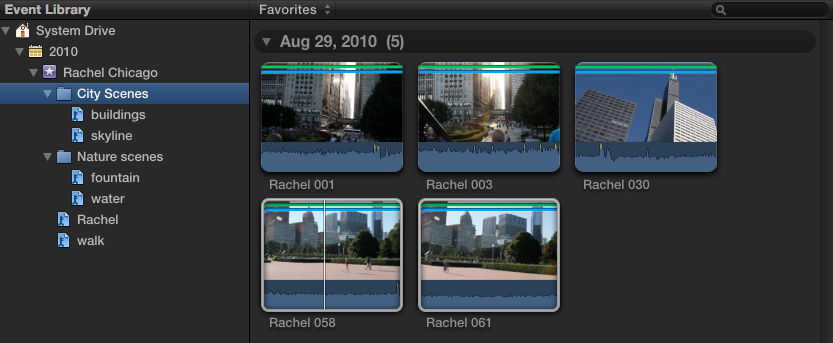
The picture below shows all of the Favorite City Scenes (which include clips with the keyword “buildings” or “skyline”). Favorites are marked by the green line that runs across the top of each clip.


These organization and filtering options are just a couple of the ways that you can quickly find the clips you need. Make sure to master these skills so you don’t waste your time searching through dozens, or even hundreds of clips. Instead, let FCP X do the searching, while you concentrate on building your story.