
Simulating Depth Using Vanishing Points in After Effects

Turn your 2D images into 3D worlds with the astonishing Vanishing Point feature in After Effects.
Vanishing Point is one of those really cool effects in After Effects that will always be impressive no matter how many times you use it. In a nutshell, Vanishing Point simulates a 3D environment by creating a simulated 3D projection. While it doesn’t work in every situation, if you have a room with good four-corner perspective, you can create some amazing results.
Here’s a quick example. We can take this image:

And convert it to this using Vanishing Point in After Effects:
Let’s take a look at this awesome feature inside of After Effects and discuss a few ways to make your Vanishing Point videos even better.
Step 1: Create a Vanishing Point Grid in Photoshop

In order to create a Vanishing Point in Photoshop and After Effects, you need to use a combination of both Photoshop and After Effects. First things first, you need to open your photo in Photoshop then navigate to Filter>Vanishing Point or simply hit Option+Command+V.
You will see a window pop up. In the window, select the Create Planes tool (C). Make a small rectangle around the back wall of your Vanishing Point image. Make the box as straight as possible.
After you set the edges of your base plane, you can drag the edges of the frame to create the Vanishing Point effect by holding down command. You will probably have to adjust the edges if they aren’t 100% flush with the edges of the walls. You can do this by holding down command and adjusting one edge and corner at a time. If for any reason your plane turns red, you may need to stretch the edges of your frame further in z-space.
Step 2: Export for After Effects

After you’ve created all four edges in your frame, it’s time to export your video to After Effects. Before you hit that ‘OK’ button, navigate to the menu button in the upper left of the Vanishing Point window and then hit Export for After Effects. You will need to designate a place to save the .vpe file on your computer.
Step 3: Import Vanishing Point File

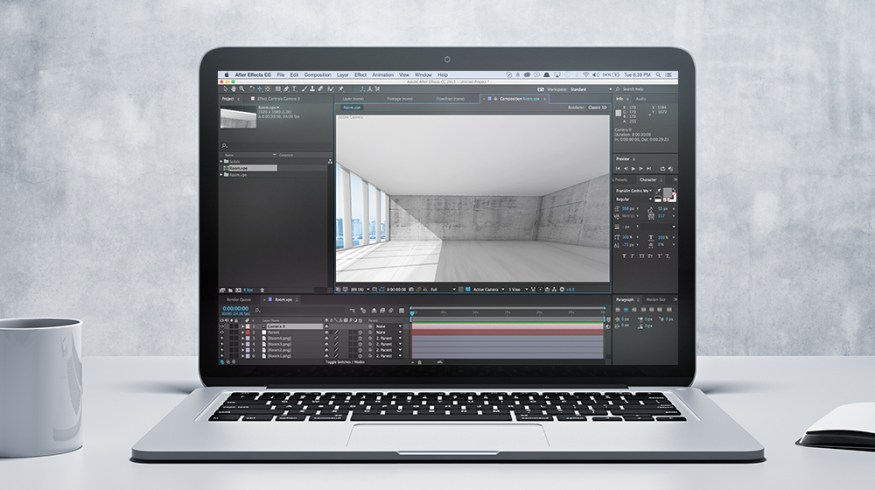
Open up After Effects. With an After Effects project open, navigate to File>Import>Vanishing Point. Now select the Vanishing Point file on your computer and hit ‘OK.’ You should now see a folder with five images pop up in your project panel along with a new composition.
Step 4: Adjust the Composition

Click inside the new composition and you will see a composition made up of five images, a parent, and a camera. By default, the width of the composition will be the same as the width of the image file in Photoshop. You will likely want to change the width of the composition to a standard 1080p composition, but you can simply select one of the presets in composition settings.
Depending on your scene, you may need to adjust the rotation of your parent. If you need to move in or out of the scene, I recommend using the zoom feature versus physically moving the camera in 3D space.
Tips for Creating Better Vanishing Points
Depth of Field

If you want to make your new 3D Vanishing Point look even more real, you should try adding a simple depth of field to your scene. A depth of field can simulate a real-life environment and really help sell your composition.
To do this, navigate to the camera options in your timeline turn the depth of field on. You can then adjust the depth of field by messing with the aperture and blur level.
Lights

One of the cool things about working with a Vanishing Point: the layers created in photoshop will actually work in 3D space. So like any other 3D composition in After Effects, you can adjust your layers to accept 3D lights. This can create some really cool results if you are wanting to integrate 3D motion graphics into your scene.
3D Models and Text

There are a lot of reasons why you may want to put text or objects into your 3D scene. No matter what the reason, it’s easy to do. Simply turn 2D layers to 3D and place them in your scene. You can also use 3D effects like Trapcode Particular and Element 3D in your Vanishing Point ‘room.’
Tutorial on Vanishing Points in After Effects
In this video tutorial from Mikey Borup at PremiumBeat, we learn how to use the technique listed above to create a Vanishing Point room. In the tutorial, Borup shows us how to create simulated shadows using text layers and rotation. The tutorial also outlines how important it is to use depth of field to really sell a shot.
Ever messed around with Vanishing Points in After Effects? Share your experiences in the comments below!


