
Use Track Targeting to Navigate Premiere Pro’s Timeline

Speed up your Premiere Pro post-production workflow with the power of track targeting.
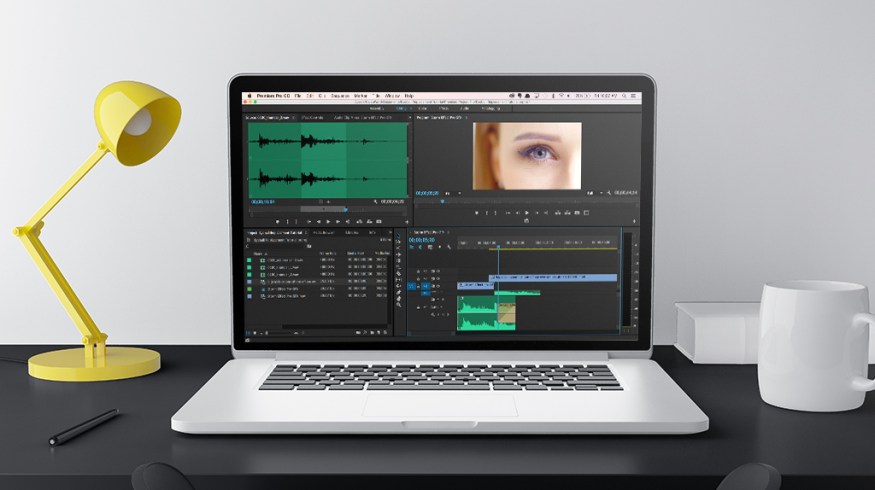
The Adobe Premiere Pro timeline can be a confusing area, even for seasoned editors. With source patching, track targeting, sync and track lock, you can quickly become confused with how to navigate and properly use all of the tools within Premiere’s timeline panel. Let’s focus in on the power of track targeting.
What’s a Track and How Do You Target It?
Premiere’s timeline consists of both video and audio tracks. Video tracks are represented with a V and can be found above the audio tracks, which are denoted with an A. You’ll notice that every track in the timeline has a number. You can add, delete, and rename tracks as needed. To target a track, simply click on its number. Targeted tracks are highlighted with a blue color. You can target multiple tracks at a time.

Three Benefits of Track Targeting
1. Navigation
Learning the ins and out of track targeting will help you to become a significantly faster editor, since targeting helps you navigate quickly through the timeline panel.
Use the up and down arrow keys to immediately snap your playhead to in and out points of clips on targeted tracks. Again, you can have multiple tracks targeted at any given time, which will allow you to navigate the in and out points of any clip on the timeline. Target a track in your timeline and hit the up and down keys to give it a try. You’ll quickly realize how useful this feature is.

2. Copy/Paste
Track targeting also gives you additional control over clips on the timeline when using copy/paste. When you copy and paste clips within your timeline, Premiere will always paste the clips to the lowest numerical track targeted. If you have no track targeted, the clip will paste to track 1.

3. Match Frame
Track targeting also correlates with match frames. Match framing allows you to find the source frame of any frame in a sequence clip on the timeline, and brings it up in the source monitor. Premiere Pro will only match frame a clip when a track is targeted, and will always match the frame in the highest targeted track.

As you can see, learning the ins and outs of track targeting will significantly speed up your post production workflow.
Got any Premiere Pro workflow tips you’d like to share? Let us know in the comments below.


