Video Tutorial: 2D to 3D in Adobe After Effects
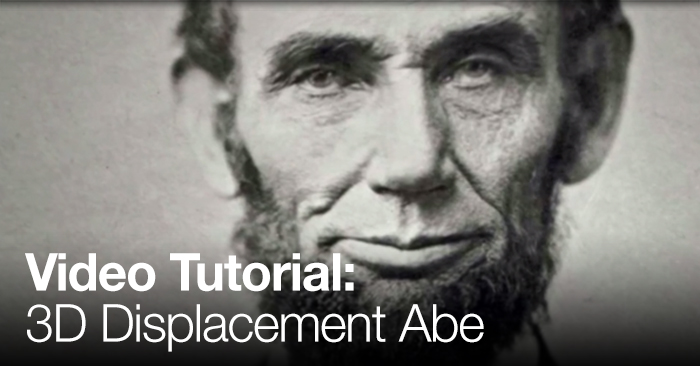
In this Premiumbeat exclusive video tutorial you’ll learn how to use a displacement map in Adobe After Effects to give your still pictures a 3D effect.

Add life to your two dimensional still pictures by giving them a simulated 3D look. There are multiple ways to achieve this in After Effects…and in the following video tutorial we’ll show you how it’s done with a displacement map. The 2D to 3D animation is surprisingly simple.
This video tutorial covers:
- Using the puppet tool
- Using the displacement map effect
- Creating a 3D depth map
This is just one of the many scenarios in which using a displacement map might be helpful – so it’s a useful After Effects feature to know.
Don’t want to watch the video? Follow along with the step-by-step tutorial below. Click any image for larger view.
If you have any questions regarding this tutorial or if you have any quick tips for using the displacement map in After Effects, please comment below!


