
The Five Lens Filters Every Video Shooter Should Own

Post-production and color grading can go a very long way in making your images look amazing, but in order to achieve a truly cinematic image, it’s what goes in front of the lens that matters most.
When DaVinci Resolve Lite was released for free, just about every editor and shooter that I knew became an amateur colorist. At around the same time, many of my colleagues had started shooting with RAW cameras, or at the very least cameras that could shoot to ProRes, and they started to over-emphasize the post-production process to the point of neglecting some traditional elements of cinematography. The general trend over the last few years has been to ‘fix it in post’ and focus far more on color grading and post-processing than nailing the image in camera. As such, the use of lens filters has almost become an afterthought for many enthusiast level DPs, as they mistakenly believe that they can replicate the look of any given filter in post.
I personally am of the belief that if you want to achieve the most cinematic image possible, you need to get as much done in camera as possible. In this post let’s focus on the use of lens filters, as they are silently becoming a forgotten trick of the trade. The first two are the most critical (you may already own them), but the others are also extremely valuable.
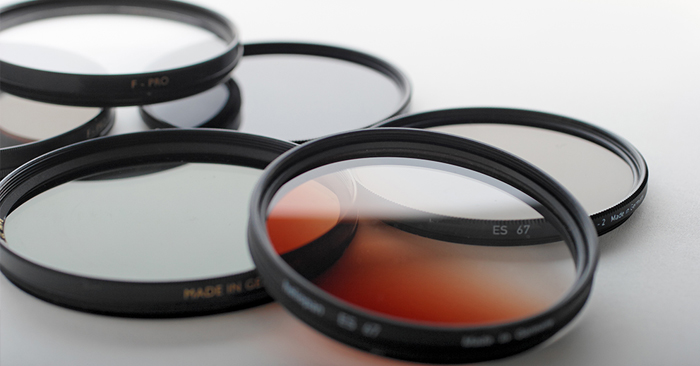
1. UV Filter
 Image from Shutterstock
UV filters do exactly what it sounds like – filter excess UV light from hitting your lens/sensor and negatively affecting your image.
Truthfully, most modern cameras don’t really require a UV filter, however I highly recommend that you buy one simply as a means to protect your lens (and investment). Many professional shooters like to keep a UV Filter on their lenses at all times to protect the surface of the lens from scratches and also to take the impact if the lens is dropped. You need to be careful when using UV Filters as some of them can actually cause strange reflections/flares when shooting, but it is just good practice to keep one on your lens whenever possible. Just remember to take it off before shooting if your lens in prone to flares.
2. ND Filter
 Image from Robert Emperley on Flickr
If you don’t already own an ND filter kit (or a variable ND) you need to get one. If you’re really new to this – ND filters essentially are like putting sunglasses on your lens. They allow you to control the exposure of your image without having to adjust your shutter speed, iris, or ISO setting. They are invaluable to have, and a complete necessity for achieving specific depth-of-field looks in camera.
ND filters can be purchased as a kit and stacked together to bring down the overall exposure in small increments, or a variable ND filter will get gradually darker as it is rotated. Variable NDs are the easiest and fastest to use on set, but are often lower quality and can cause a slight color cast on your image.
3. Polarizer
Next to an ND filter, the polarizer is arguably the most important creative filter that every DP should have. Polarizers effectively cut out glare, reflections, and other unpleasant sources of light without darkening the entire image substantially. In very simple terms – they are designed to cut out the light that you don’t want in your image, but leave all of the light that is giving you your exposure. Take a look at this example below:
 Image from PiccoloNamek on Wikimedia
Polarizers are particularly useful when shooting through a car window, or any other piece of glass that is causing a reflection, as the filter will help the camera to see right through the glare. They also work beautifully when capturing shots of the sky and clouds, bringing out fine detail and an overall richness that isn’t possible without them.
4. Diffusion
With today’s cameras being as overly sharp as they are, there has never been a better time to own a diffusion filter. As the name implies, diffusion filters soften your subject slightly and can often create a beautiful but very subtle glow around certain parts of of the image.
When diffusion filters are used with soft cameras, they can often create a final image that is almost too-soft and somewhat dream-like. However, when coupled with cameras like the Lumix GH4 or Canon C300, which are very sharp to begin with (almost to a fault), they help to get the image looking less digital and more organic.
5. Color Filters
I personally don’t use color balancing filters often, however I do own a couple and they can be very useful from time to time. Color balancing filters can effectively warm up, cool down, or otherwise add some sort of color effect to your image. Custom white balancing and color correction can certainly replicate the look of a color filter easily, but the end the result will never be exactly the same.
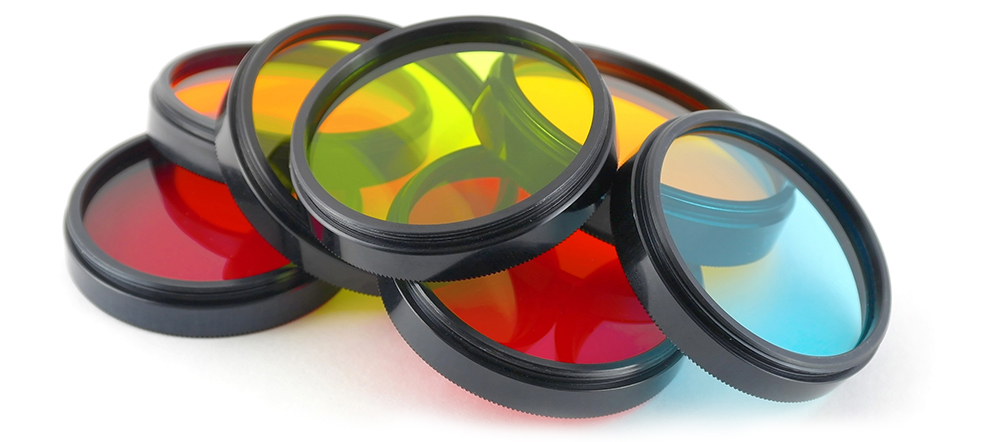 Image from Shutterstock
These filters are especially useful if you’re shooting with a camera that doesn’t allow for custom white balancing or recording to a heavily compressed format, as it will allow you to capture your look in camera and avoid having to grade the image too heavily in post. That said, they can be fun to use and experiment with regardless of which camera you’re using. They often create unpredictable and unique stylistic effects.


