
5 Reasons Your Day For Night Footage Doesn’t Look Right

Shooting day for night is a technique that has been around for ages, however many filmmakers make critical mistakes both during production and post that completely give away the effect.
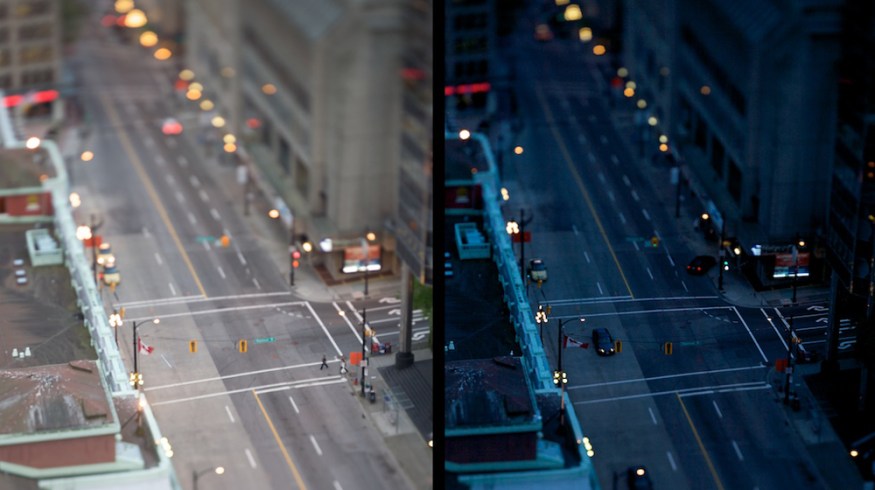
[Above image from Hejl on Flickr)
For any of you that are hearing the term ‘day for night’ for the first time, I’ll take a moment here to explain exactly what that means. Essentially day for night shooting quite literally involves shooting a scene during the daytime that is supposed to be set at night in the context of the story. Most often it’s achieved by underexposing the image in camera, setting the white balance to a cooler setting, and color correcting the footage in post to sell the look.
This technique is often used on smaller scale productions that don’t have massive lighting budgets, as it can become extremely costly to attempt to light a large night time exterior, and shooting day for night often allows for a much more efficient and inexpensive solution. That said, it isn’t all about cost either. Many large scale productions opt to shoot day for night for various creative reasons.

When done well, the practice of shooting day for night can look really great and become almost completely unnoticeable (to the untrained eye at least), but the key lies in the execution. The truth of the matter unfortunately, is that most filmmakers attempting this look for the first time come up short as it can be a challenging task to handle.
1. The talent was placed in front of the sun
Probably the number one rule when shooting day for night is to be aware of where the sun is in relation to your talent. In order to really sell this effect, you need to get the sun light to behave light moonlight on camera, which involves placing your talent in front of the sun. Just like you would if you were shooting a person in the middle of the day, you want to use the sun as a backlight when shooting day for night so it creates a rim behind your talent. This is the first step in achieving a day for night look – if you were to shoot with the sun glaring down on your talents faces and creating harsh shadows, you would immediately be giving away the day for night look.
2. You aren’t shooting at the right time of day
On days with really harsh sunlight, it doesn’t matter where you place your talent – the sun may just be too strong. For example, if you place the sun behind your talent (with no diffusion) and the sun is blowing out their shoulders, it doesn’t matter how you try to color correct that shot later, it’s going to look funny. Another example would involve wide shots, where you might be revealing hard shadows on the ground or on walls that again are synonymous with sunlight. If either of these potential problems arise while shooting, your end result will suffer as the audience will read it as a day for night scene, or even worse they will assume it was shot at night with really poor lighting.
Whenever possible, try to avoid shooting right in the middle of the day. Around noon is typically when the sun is at it’s highest point and will cause the most issues for you. If possible, aim to shoot later in the day when the sun is getting a bit lower so that you have more wiggle room while shooting.
3. The exposure isn’t set right
Shooting day for night means exposing your image as if it was actually shot at night, or in other words – underexposing. A very common issue that filmmakers run into when shooting day for night material is that they neglect to exposure their footage in a way that will allow them to later color correct their footage to help sell the effect. Put differently, they simply expose their image in the same way that they would in a daytime scene, and this can be hugely problematic when it comes time to color the shots.
While there is a lot of work that can (and should) be done in post, in order to get the best possible results you need to be working with an image that was exposed intentionally for this type of look. I always recommend underexposing by at least one stop (sometimes even two or three, but use your discretion), so you are putting your levels in a place that is much closer to what real night time footage would look like. This way you don’t need to push things as drastically in post, and your final look will be far more organic.
4. The white balance is off
Most cameras don’t shoot raw (and rather shoot to a compressed codec like H264 or ProRes), which means that you really need to nail your white balance in camera when shooting day for night. Imagine you were to shoot a day for night scene with a daytime white balance applied (let’s say 5600K). When you get to the editing room and attempt to color correct the footage to actually look like night footage (likely bringing it closer to 3200K), you will have to push the colors around so far that the image may start to fall apart.
Compressed codecs offer a finite level of color correction ability, so always make sure that you are white balancing to a cooler setting in camera so that you don’t force yourself to push things too far in post and completely degrade the image. Obviously codecs like ProRes will give you more wiggle room than H264, but as a general rule of thumb try to nail your white balance in camera as much as possible no matter what, to be on the safe side.
5. Color correction is way off
Even if you do everything right in production – expose your image properly, place the talent in front of the sun at an optimal point of the day, set your white balance accordingly, etc. your footage is still only as good as your color pass. The source footage that you’re going to work with is never going to be perfectly believable, and as such it’s really important that you understand how to properly color grade your footage to emphasize the day for night look.
The biggest two issues I see with regards to color work on day for night footage are: Highlight levels and color balance. The highlight levels need to be brought down as far as possible (without going overboard) to take away from any harshness in the image that may have been caused by the sun. And the color balance also needs to be carefully adjusted (often times by desaturating, moving the midtones and highlights to a purple-blue color, and neutralizing the shadows). By doing so the final image looks far more believable and will have that extra bit of polish to it.
Do your research and never skimp out during the color stage as this is where at least 50% of the magic happens!


