
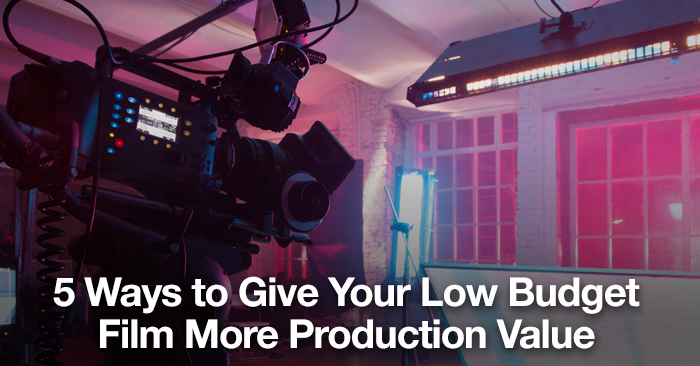
5 Ways To Give Your Low Budget Film More Production Value

It’s easier than ever to make a low-budget film with high production value, yet so many filmmakers still create films that look unpolished. In this post, we share 5 details that are often overlooked on smaller-scale films.
More often than not, poor production value on independent films is a result of putting emphasis and effort in the wrong places, not as a result of not having enough money. For instance, a filmmaker may spend weeks and weeks dwelling over their camera choice, but spend little to no time focusing on their audio setup. It’s not that one element is more important than the other, but it is important to throughly focus on each and every facet of the process so the film can have a solid foundation on which to stand. There are literally hundreds of elements that are overlooked on low-budget films, but the 5 that I’ve outlined below are some of the most common misses, and in my opinion some of the simplest to remedy.
Use More Locations
Often times independent films will limit their locations severely as a means to keep costs down as much as possible. While this may in fact help to save a bit of money, it can also make a film feel very hollow and cheap. There may be some specific instances where a film needs to take place in a single location, but for the most part if you are making a film that takes place in multiple locations, try not to consolidate them (out of convince) to the point where it starts to look like a stage play. If you have a 7 minute scene in one single location, it is going to feel really tired and boring by the end (unless your dialogue is absolutely mesmerizing), yet if you were to simply break that 7 minute scene up into two scenes and show it across two locations, it would instantly make the film feel more substantial and engaging.
Understandably you might want to save money by using a single location, but if you feel it’s important to have two locations, then figure out a way to do it – even if it means shooting guerilla (at your own risk of course!) or asking a friend for help. Do whatever it takes to change things up and create a dynamic setting within your film, and I assure you that you will thank yourself later.
Camera Stabilizers
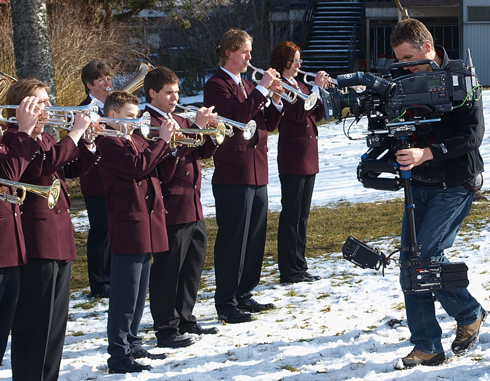
Image from Matthias Münzer on fotocommunity
Nothing screams “cinematic” more than beautiful, stabilized camera movement. The type of camera movement you choose to use will depend on your specific film and the aesthetic that you are going after, but generally speaking there is nothing that adds more production value to a scene or sequence than a nice fluid camera move. For instance, let’s assume you are introducing a new character in a scene. You can use a slider or dolly to reveal that character and this will immediately give the scene more power as you draw the viewer into the moment, as opposed to just cutting to that character from a tripod shot (or handheld).
Personally speaking, I don’t like to over-use stabilization in my films, and have always felt that less is more. If you can only afford to rent one type of stabilizer for your project, consider a gimbal based stabilizer like a Movi. These are particularly easy to learn and can take the place of a slider, jib, or Steadicam all in one tool.
Use a Hair Light
It goes without saying that it is crucial for you to place a premium on lighting when producing or directing a film, but one of the most overlooked lights on lower budget productions is the hair light. For those of you that don’t know, a hair light (also called a rim light, or edge light) is commonly placed behind and above your talent, and is directed at the back of their head. It creates a beautiful and subtle glow around the edge of their hair that separates them from the background.
Traditionally, audiences are used to seeing this technique employed on higher budget films, and since so many low budget films neglect to use a hair light, when you are able to implement one on your shots, it really shows. Not all styles and genres are going to call for the use of a hair light, but most can work really well with one. And achieving this look can be quite easy – in fact you don’t necessarily even need a light at all. For example, if you’re shooting outside in the day time, you can use a reflector board from behind to add an edge to your talent and separate them from the background.
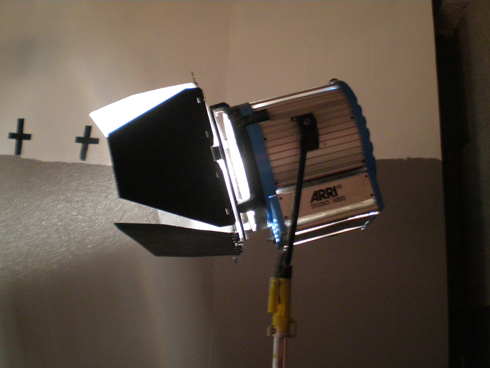
Place A Premium On Post-Audio

Image from Victorgrigas on Wikimedia.
We all know that capturing quality audio on set is integral to making a good film, but how you treat the audio in post is just as important. The slightest tweaks when mixing your audio can make a world of difference in the way the audience perceives the scene and the film as a whole. For example, if you have two characters driving along in a car and their audio sounds really flat (because the car is so padded inside), then adding a little bit of reverb to the dialogue track can make the entire scene come to life.
But It’s not just dialogue editing/sweeting that needs your attention though – you also need to pay close attention to other elements like sound design and foley. It doesn’t need to cost you anything to go out and record a phone ringing or a door slamming, all it takes is a little bit of effort and time – but in the end these little details can make your film feel so much more polished and complete. Imagine watching one of your favorite films with no sound design, effects, or foley in it… It wouldn’t even come close to providing you with the same experience. So do whatever you can to pay attention to detail during the post-audio stage (with regards to dialogue, mixing, and foley), and you will increase your films value dramatically.
Don’t Just Color Correct, Color Grade
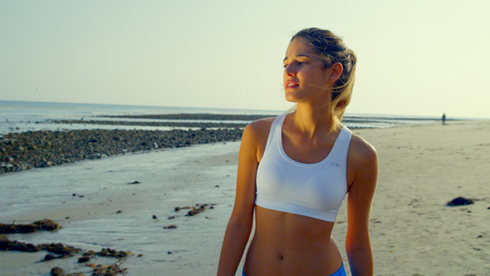
From “Color Grading for the Blockbuster“
Having a strong knowledge of color is fundamental to visual storytelling, as it subtly creates a mood for your audience and allows them to subconsciously understand the world they are immersed in. Most filmmakers recognize this fact and do attempt to do some some of color processing on their film, however they often don’t fully understand the difference between color correction and color grading. Many filmmakers inadvertently choose to just color correct their film, but never really grade it to give it a look and feel of it’s own, which can end up leaving their film feeling somewhat unfinished.
Color correction always needs to be done first, and is essentially the process of matching the color temperature and contrast of individual clips to achieve a consistent appearance. Only once this is done, can the color grading stage can begin – and it’s here where the visual tone of the film is set. Color grading will allow you to control the sensory experience of the audience by making scenes feel warm and inviting, cool and bleak, or any other variation in between.
One popular technique that many films utilize to achieve a higher production value is the ‘blockbuster look’. Essentially this is the technique of pushing the shadows to the blue side of the color spectrum, and the mid tones and highlights to the orange side. This allows for skin tones to feel warm and pleasant, while shadows feel cooler and unsettled – ultimately creating a nice amount of color contrast in the image. See our previous posts on creating a ‘blockbuster’ style color grade in After Effects or DaVinci Resolve.


