

6 Useful Blending Modes in After Effects

We shed some light on our 6 favorite blending modes in After Effects.
One of the quickest ways to add stylization to your video or images in After Effects is to use a blending mode. With just a few clicks you can radically change the look and feel of your composition.
Blending modes (also called transfer modes) are ‘mini-effects’ that can easily be applied to any layer in your composition to make it interact with the layers beneath. Transfer modes can serve as a quick keying utility, a color effect, or even a silhouetting tool.
Below we’ve rounded up a list of our 6 favorite blending modes to use in After Effects. However, you can use the transfer modes mentioned in this post in Premiere and Photoshop as well.
1. Screen
Screen is a blending mode that is used to get rid of the dark parts of your image. The Screen blending mode allows you to composite elements on a black background into your scene. You will typically use this blending mode in a VFX context as most VFX elements usually come either pre-keyed or on a black background.
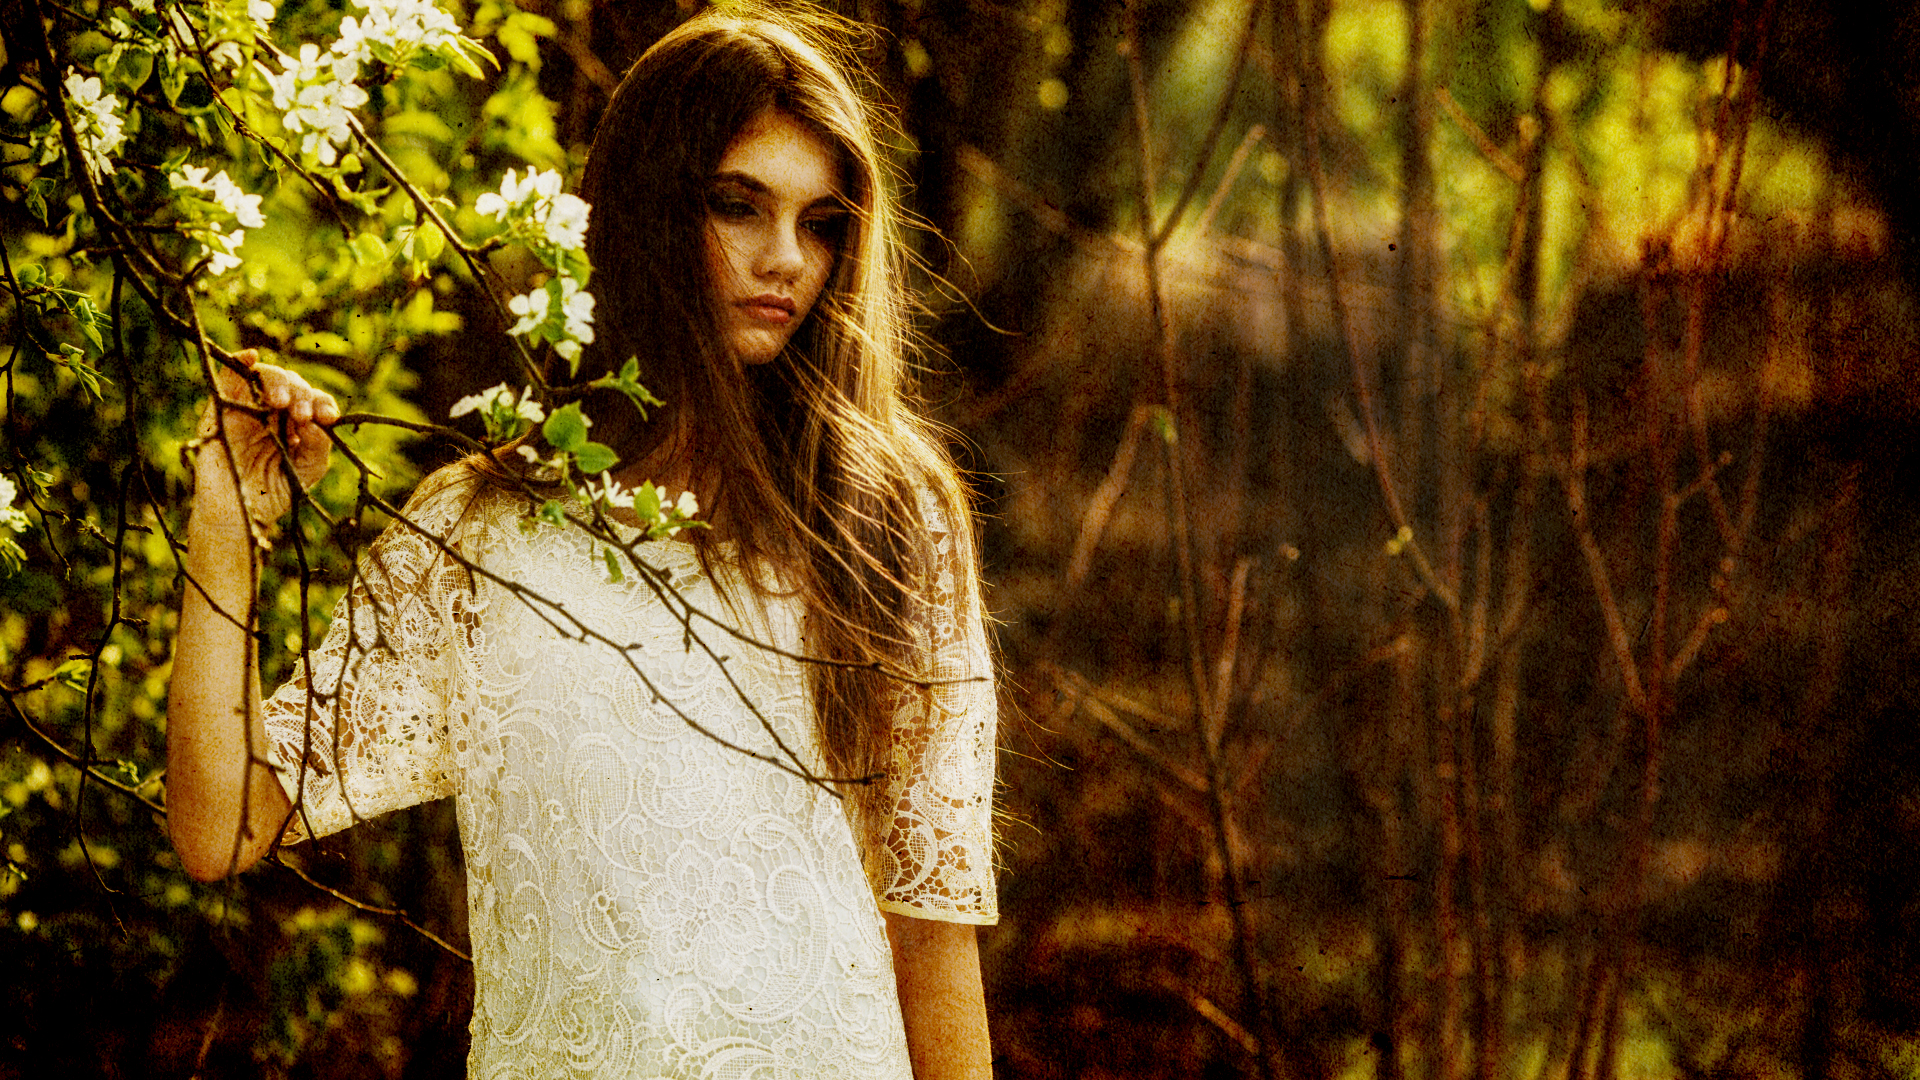
For example if we had this image:

and put in this snow element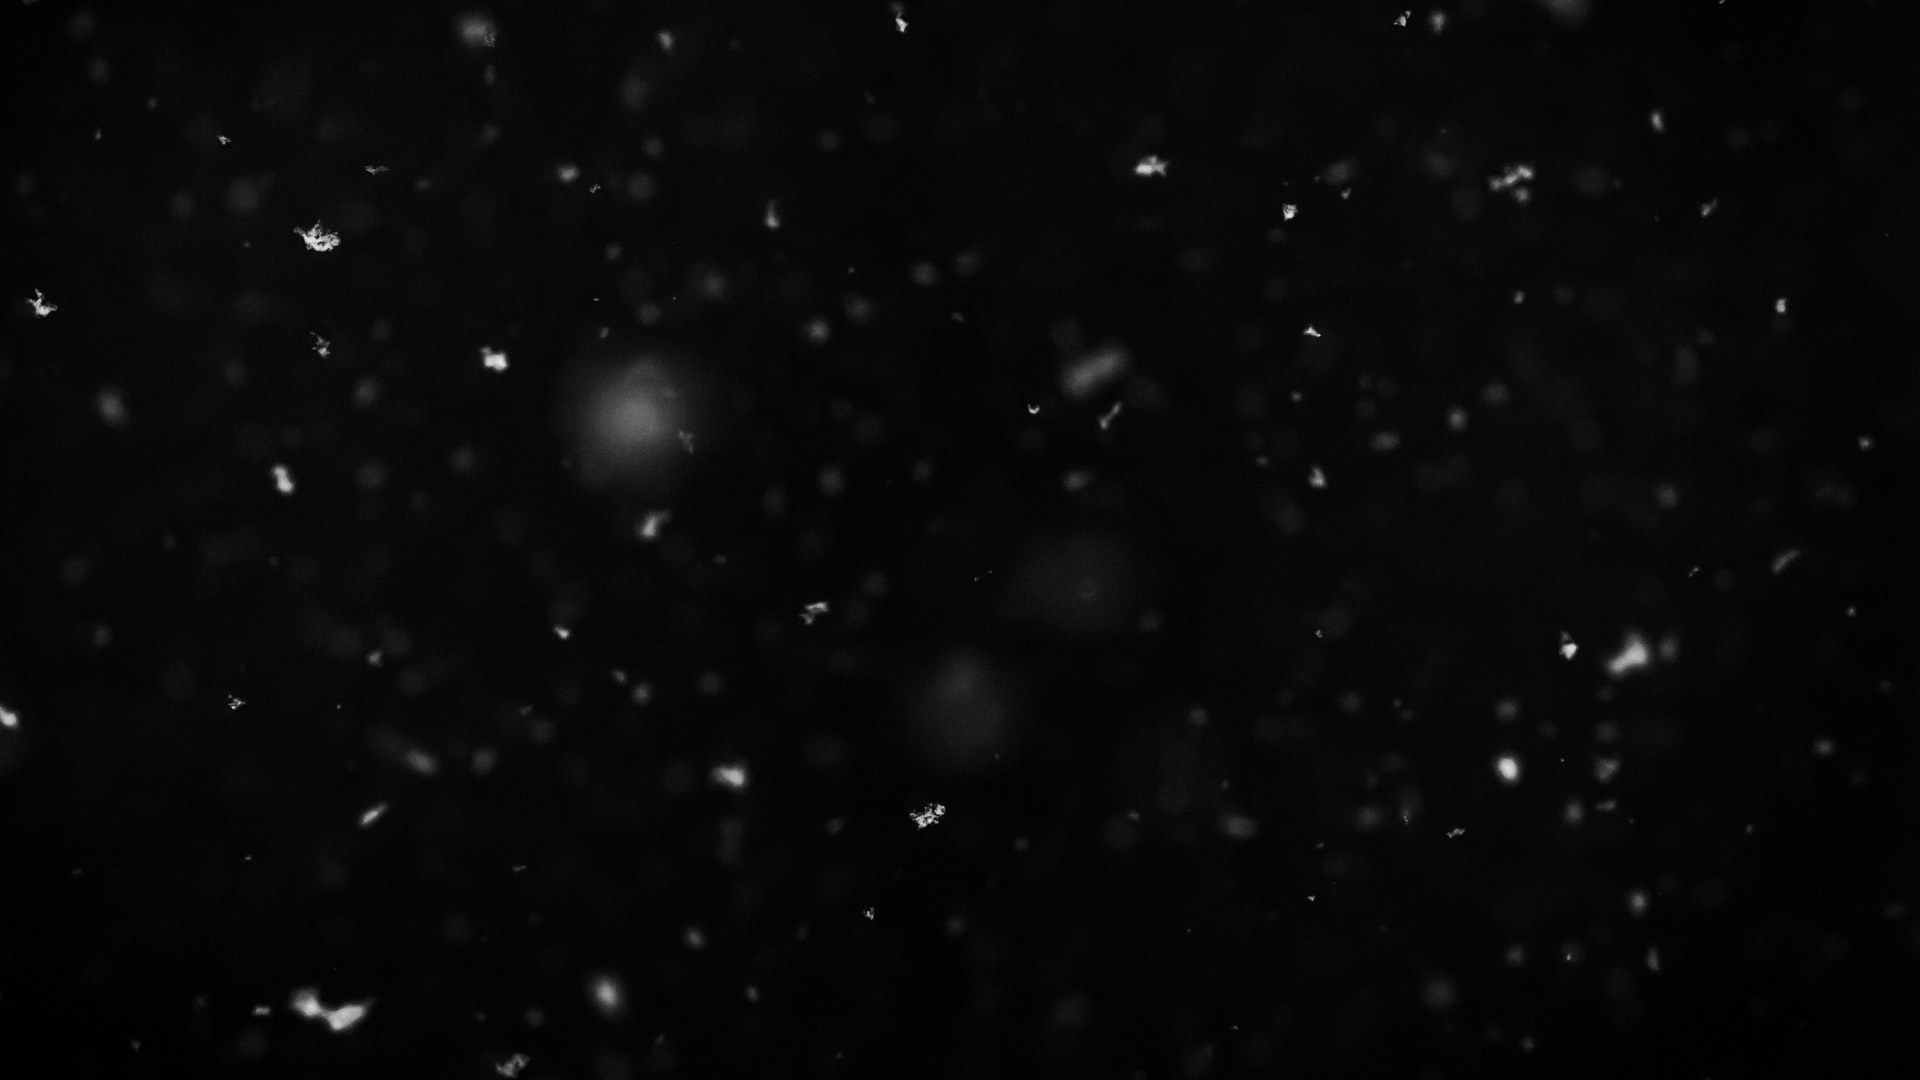
We can apply a the Screen transfer mode to composite the snow into the final image.

2. Multiply
Multiply is the exact opposite of Screen. Instead of taking out the dark parts, Multiply takes out the light parts of your image. While Multiply can be used for a variety of different circumstances, I typically use it to add grungy textures to my compositions.
For example if we had this image:

and wanted to add this image:

We could simply add a Multiply effect to create a grungy effect.

3. Add
Like Screen, the Add transfer mode leaves only the highlights of the image while removing the dark parts. However, Add goes one step further. Add, as the name implies, adds its color values to the image below causing the image to greatly increase in brightness.
Practically this can be used for any number of purposes. I typically use this transfer mode to simulate lighting in my composition such as lens flares or light leaks.
For example if we had this image:

And wanted to create a ‘Hipster’ style light leak we could put this masked out solid layer on top.

Then we could apply the transfer mode Add to create this stylized light leak look.

4. Classic Color Burn or Color Burn
In line with Multiply, the Color Burn transfer modes will darken your image. However, Color Burn differentiates itself in a way that it blends with the background. As the name implies it creates a burned look, making it great for grunge and vintage looks. Highlights are retained when using the color burn effect. Color Burn is typically used to add a dirty vintage effect.
For example if we had this image:

and applied this image to the top of the composition:

We would end up with this:
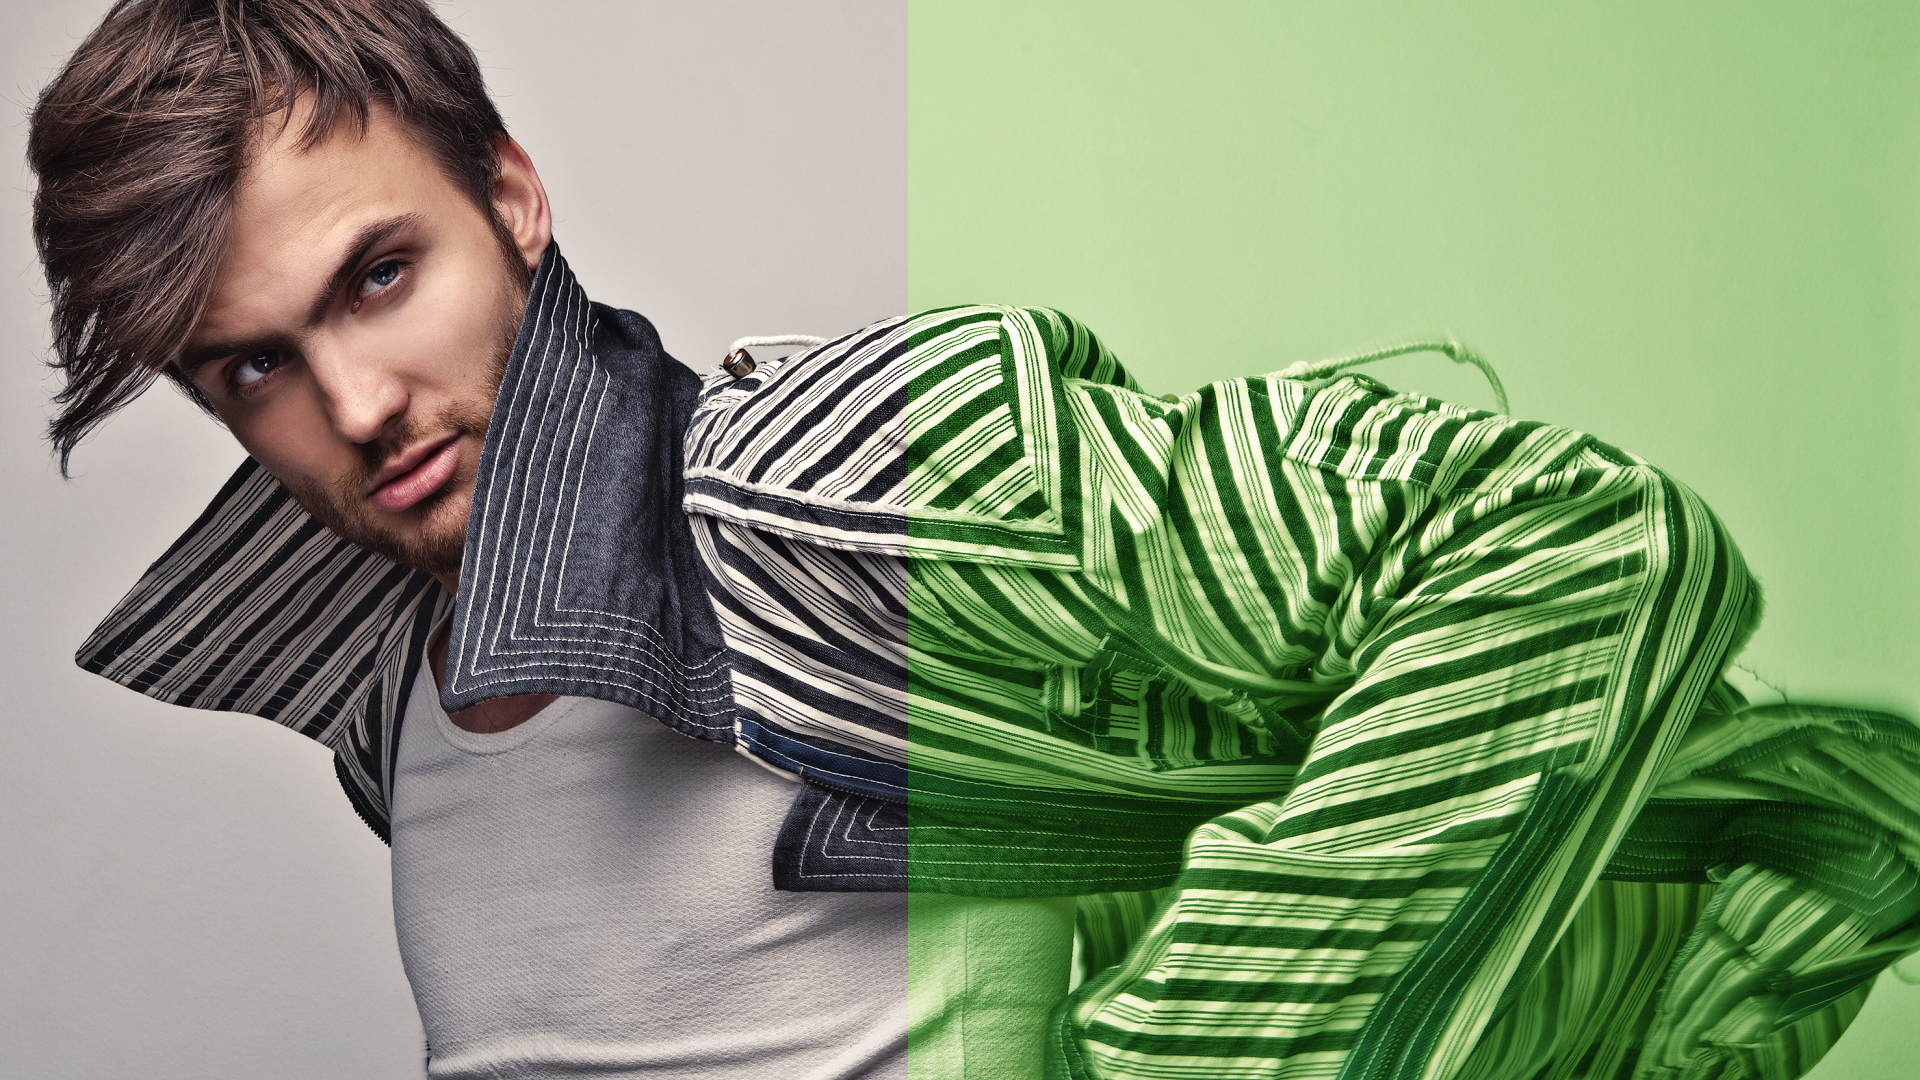
5. Overlay
Overlay changes the color of the mid-tones while preserving the light and dark parts of your image. Overlay is typically used to add stylized elements into your composition. The following example is an image with a green solid with the Overlay transfer modes applied.

6. Soft Light
Soft Light is very similar to the Overlay transfer mode. However, Soft Light tends to be very subtle whereas Overlay is more noticeable. Here’s the same layer on the same image with the Soft Light transfer mode applied instead of Overlay.
If you want to learn more about using blending modes check out a few of the following resources:
1. Adobe Premiere Pro Blending Modes – Adobe
2. Photoshop Blend Modes Explained – PhotoBlogStop
3. Gradient Maps and Blend Modes in After Effects – PremiumBeat
Want to take our After Effects skills to the next level? Check out the After Effects section of the PremiumBeat blog where we have hundreds of articles and tutorials dedicated to helping you become a better motion artist.
What transfer modes to you use the most? Share in the comments below.


