
DaVinci Resolve Workflow: How to Prep for a Color Session

Be prepared! When you’ve got a color session looming, do yourself a favor and take these steps to set yourself up for success!
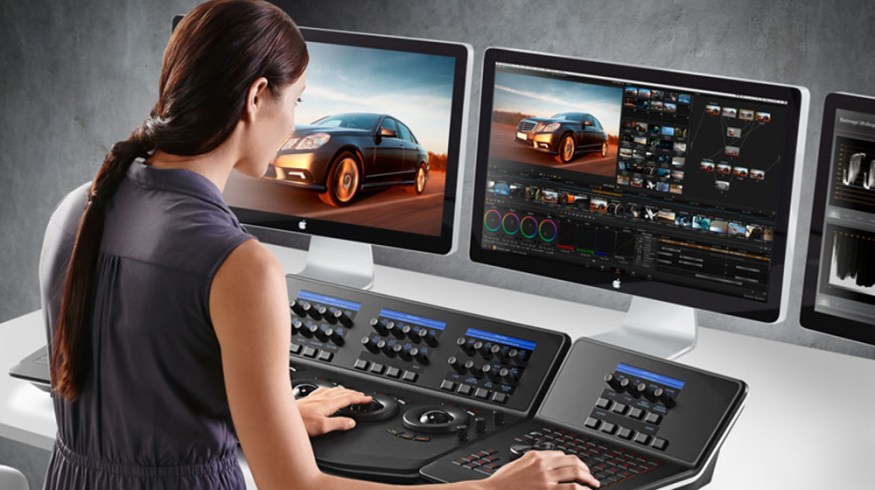
All images from Blackmagic Design
Prepping for any color session entails optimizing elements from one piece of software and translating them over to another platform for further work in the post pipeline. For most jobs, once the offline edit has been locked, the editor must prep the timeline for the colorist. How files are prepped for color can make a huge difference in how much work the colorist must perform before he can actually begin grading the project. If the prep has technical issues, it can add time to debugging, extending the session time, or leaving less time for the creative aspects of the job. Let’s discuss the elements that make a good color prep.

1. Before anything else, it’s necessary to duplicate your timeline. Since you’ll be simplifying the sequence, which means destructing it, you’ll need a way to get back to the original edit in case there are revisions or you need to create other outputs and preps. The original timeline can also be used to create a reference movie for the colorist.
2. Remove any unused clips that won’t be graded. Often, editors work loosely and have lots of extraneous clips scattered across the timeline. Many editors also toss extra clips at the end of the timeline. Delete all of them.
3. Remove the audio tracks. Most of the time, audio will not be an aspect of a color session, unless I play a rough cut for a client for their reference. Having audio tracks come in with the XML is a distraction to the colorist and they are most often removed right away.

4. Simplify the timeline by moving all of the video clips down to the base video layer as much as possible. Sometimes you’ll need multiple video layers, but the XML format can support this.
5. Contact your colorist. While these prep steps make sense to me, each colorist works differently, and they’re only a call or an email away. Don’t presume to know the best way to prep. You’ll cover yourself with a simple five-minute conversation, ensuring the session will move along smoothly.
6. Create a reference picture. Output a low-res Quicktime that shows the cut as it stands. This is critical for the colorist so he can make sure the prep comes across correctly and can diagnose if it doesn’t. The reference file helps to see how shots are used in context of lower-third text overlays and other graphics, and will be used to match resizes. I discuss using a reference picture in Resolve in further detail here.

7. Export an XML. For some reason, people still provide EDL files, which is a legacy format. EDLs only support one video layer, so it’s annoying to receive several EDL layers for a multitrack project. EDLs also don’t contain resizing information and may not interpret speed ramps as were intended in the edit. An XML, a more modern file format, better handles all of this. It’s not a bad idea to include an EDL as a backup, but I haven’t had an XML file fail in a while, and often the clips conform better than with an EDL.
8. Clearly label the color prep on the drive. Something like “for color” works great.
9. Provide the footage. You may want to media-manage your project for quicker copying into the colorist’s system if time allows.

Going Further
While the above steps will cover you in most scenarios, they proceed from a very automatic and mechanical standpoint, not taking the material itself into account.
I often ask for the project so I can rectify any issues with the conform. I’ll frequently prep the timeline myself to use the multiple-track XML to my advantage. Sure, having everything on the V1 layer is great, but using several video layers won’t kill us.
One scenario in which I use multiple video tracks is for projects that were shot using different cameras. Let’s say we have a Canon DSLR and an Alexa. I know beforehand that I’ll be processing the Alexa footage with a LUT, but I won’t want to hit the Canon footage with this processing. Separating both cameras on their independent video tracks means I can mute the Canon track to apply my LUT quickly at the beginning of the session. This also becomes helpful if your client asks which camera a clip has been shot on. I can reference the track to answer the question immediately.

I may also use multiple tracks for interview scenarios, placing b-roll on a different track than the interview footage. I can then mute the b-roll track to just look at all of the interviews independently.
While this discussion can cue you into one way a colorist can work, the main point I want to impress is that it’s important to actually consider the footage, not to prep for each session in the same automatic way. If you’re unsure, contacting the colorist to discuss the workflow beforehand will go a long way to ensuring a successful color session.
Hopefully this article will help you be better prepared for your next color session. Here are a few more articles you mind find helpful.
- Tips for Coloring Talking Head Interviews in DaVinci Resolve
- DaVinci Resolve Workflow Roundtrip Breakdown
- DaVinci Resolve Tutorial: Using Offline Reference Clips
Got any good tips for your fellow color professionals? Share your knowledge in the comments below!


