Enable/Disable and Link/Unlink Clips in Final Cut Pro X

Take control over your footage in Final Cut Pro X! In this post we’ll take a look at two fundamentals for working with clips in your FCPX project timeline: separating a clip’s audio and video tracks and enabling/disabling media using a quick shortcut.
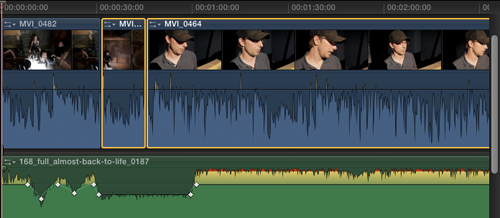
Like in earlier versions of FCP, clips in to your timeline as a “linked selection”…meaning by default the audio and the video are stuck together. If you delete one you’d delete the other. However, there may be instances when you want to “disconnect” the audio and video tracks of a particular clip in your FCPX project so they can be edited independently of each other. In Final Cut Pro X, a simple shortcut can be used to “break apart clip items.”
- Choose a clip (or several clips) in your project timeline.
- Use the shortcut COMMAND+SHIFT+G to break out the audio from the video. If you have trouble remembering a three part FCPX shortcut you can also right click the footage and choose “Break Apart Clip Items”.

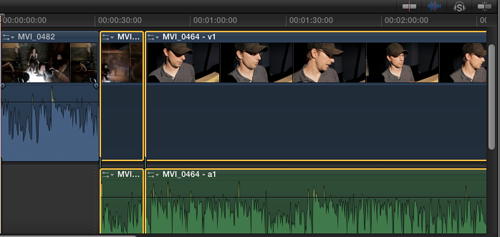
- The audio and video will now appear on separate tracks.
You can disable or “mute” audio and video tracks in your project timeline…
- Choose a clip (or several clips) in your project timeline.

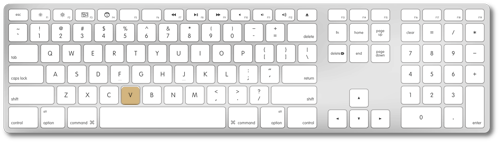
- Use the shortcut V to enable/disable clips.
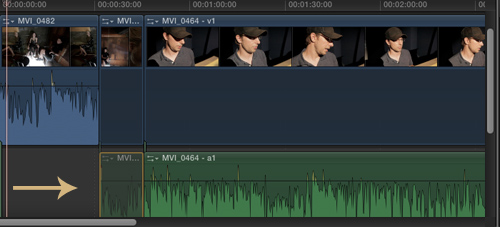
- Disabled items will turn gray in your timeline.
Looking for info on how to do this in earlier versions of FCP? Check out our previous post, “Enable/Disable Clips in the FCP Timeline”
If you’re unsure about using a particular piece of media in your project, I’ve found that it’s beneficial to simply mute those elements instead of deleting them. As an example, if I’m not sure which music track a client may like more I’ll lay two of them down in the timeline. I’ll disable music track 2 and export an approval video with music track 1. Then I’ll go reverse it, muting 1 and enabling 2…and export again. I’ll have both versions ready to go when I get client approval. Having the ability to “turn on/off” media is also quite beneficial when working with graphic elements.
Typically once a project goes through final approval I’ll go back through my project timeline and strip out any disabled clips — leaving the project clean and well organized!