

Tutorial: The EQ Effect in Adobe Premiere Pro and Audition

In this post we’ll show you how to take advantage of the EQ tools in Premiere Pro and Audition – valuable for making audio sound richer and more impactful!
You may be used to seeing lots of sliders when you think of EQ, but when modifying EQ in Premiere Pro (and Parametric EQ in Audition) what you’ll see is a much different panel. For first time users this can be a little confusing, so in this blog post we’ll show you how to navigate this EQ panel and use it to improve the audio in your projects.
Modifying the EQ in your video editing projects can be useful for making spoken word ‘pop’. You can either apply it to a clip or an entire track. If you have a single track for each of your on-camera talent it would make more sense to apply this effect to each track (rather than each clip).
EQ Applied and Open for an Audio Track in Premiere Pro
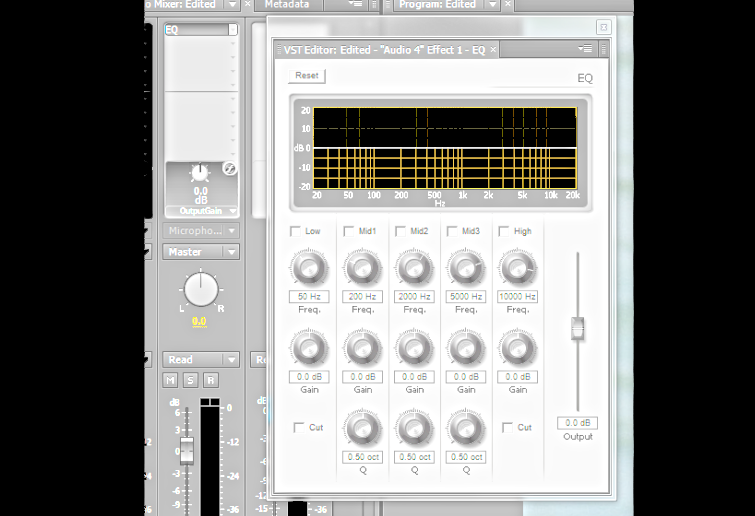
When you first look at the EQ panel it looks like all dial and check boxes. Yes, you can certainly adjust the dials, but this effect also allows you to click and adjust items in the graph part of the interface which is actually far easier to work with in my opinion.
To get the points that can be adjusted on the graph we have to first check the boxes for the areas we want to adjust. In this case, I have checked the boxes for all 5 parts of the range.
Boxes Checked for all Five Parts of the Range
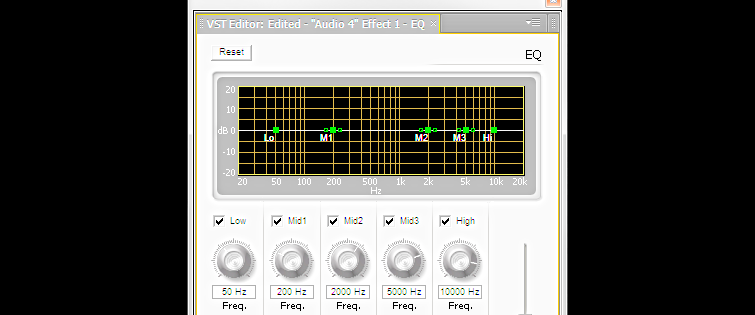
As you can see, this gives you five bright green boxes in the graph – the middle three of which have handles.
The ‘Low’ and the ‘High’ ranges are often known as ‘shelves’ and used to cut/boost any lower frequency (rumbles) and/or higher frequency noise. At this point, let’s jump over to Audition to take a look at the same type of effect.
First, if you want to add the effect to multiple clips at once in Audition, it is easiest to be working in the multi-track view with the clips end to end in one track and all selected before you add the effect. It is probably more common to be working with one clip at a time in Audition.
The closest thing to Premiere Pro’s EQ effect in Audition is the Parametric EQ. Note there is also a Parametric EQ effect in Premiere Pro, but it is a much more limited version of this effect. Now that’s clear, lets have a look at the Audition version.
Parametric EQ in Audition
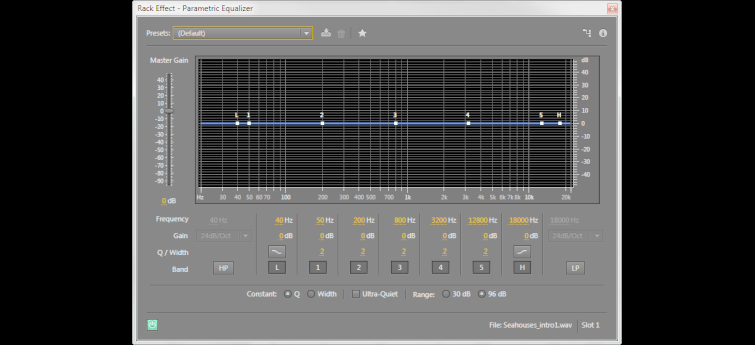
What you can see is that the Audition version is easier on the eye and has more points that can be adjusted in the interface – all of which are turned on by default.
Again you have a low ‘L’ frequency shelf and a high ‘H’ frequency shelf but in Audition you have 5 points to play with compared to Premiere Pro’s 3. Otherwise, they are pretty much the same effect, although in my opinion easier to use in Audition because of the extra 2 ‘ranges’ to play with.
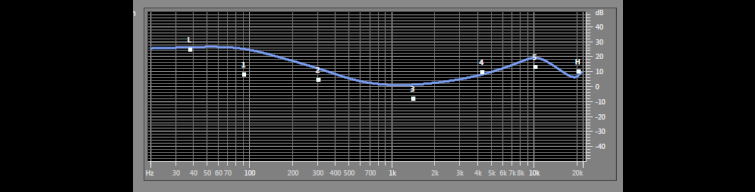
Below is a typical Audition graph I use for audio that is recorded during a presentation. I have found that the system used to record the audio, the ambience of the room, the depth of the speakers voice and even the placement of the mic on the speaker can all have an effect on the quality of the audio recorded.
Often the audio comes out rather ‘thin’ when originally recorded. It’s all there, it just doesn’t have much depth. This is exactly where Premiere Pro’s EQ and Audition’s Parametric EQ come in handy – bringing back in the depth, warmth and cutting or boosting sibilance as needed.
A Typical Audition Graph for Audio Recorded During a Presentation
Rather than just boosting and dipping bands of frequencies as you would with an ordinary band based EQ control, this effect allows you to boost or lower a frequency range while having a proportional effect on the surrounding frequencies. This leads to a much more natural enhancement of the audio.
The Purpose of the Handles or ‘Q’

As you can see from the picture above, the handles in the Premiere Pro version affect the shape of the curve such that if they are wide apart the curve looks smoother between points. However, if they are closer together you will end up with a much more ‘notchy’ looking curve.
The reason for this is that there may be a problem with a specific frequency range that you either need to reduce or boost. By being able to be very specific with that frequency by keeping the handles close together (or having a low ‘Q’) you can end up dealing with problems very effectively. In general, this isn’t the main way I use this effect and so I tend to try and keep the handles wide apart to give me a smoother curve.
Q/Width in Audition’s Parametric EQ

Rather confusingly, in Audition to make the curve smoother you reduce the Q value and to make it more notchy you increase the value. However, if you look at the bottom of the above image you will see that Audition also offers you the option to work with ‘Width’ instead of ‘Q’. The end result is the same, it just allows you to specify the ‘width’ of the effectual curve in terms of a frequency range rather than the somewhat obscure ‘Q’ value.
Otherwise using these effects is a pretty straight forward raising and lowering of the gain (or strength) of frequencies either by playing with the dials or by pulling the points around. The only other major function is simply choosing what frequencies to affect.
Because I have Audition I try to take advantage of it’s better EQ effect unless it is a very simple and quick adjustment. The reason for this is that I find the 5 frequency ranges in Audition’s Parametric EQ seldom need to be moved around except to raise or lower the gain (moving the points up or down). Whereas in Première Pro with the EQ effect I often find that I need to move the points right or left to get the best placement and this can be a little more involved (and less effective) than with Audition’s 5 points.
Lastly, if you are moving these points up to get a better overall sound, you will be boosting the gain of the whole thing which means you are in danger of distortion – a major ‘no-no’ for any editor.
Note that in both Premiere Pro’s EQ (on the left hand side) and Auditions Parametric EQ (on the right hand side) that there is an ‘Output’ (PP) or ‘Master Gain’ (Audition) which basically both deal with the overall gain. So, if you have raised or lowered the points and you start to go into the red during playback, go back to the effect and pull the appropriate ‘Output’ or ‘Master Gain’ up or down until you get the right level for your project.
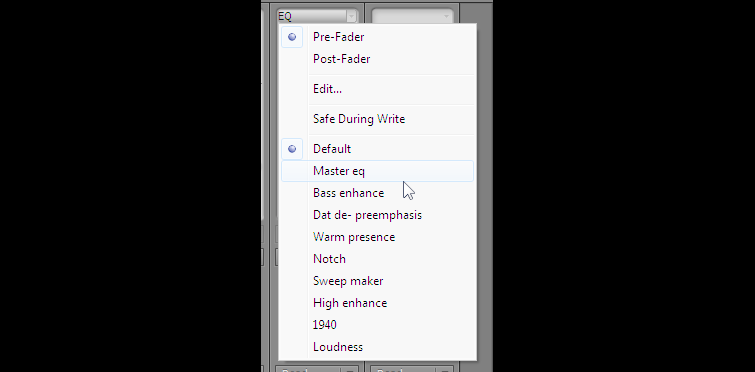
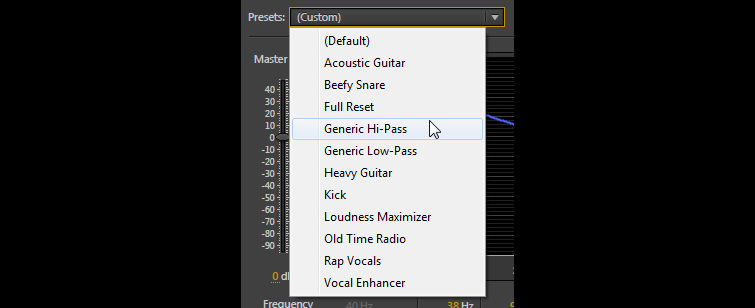
PS – Don’t forget to try out the presets. In Premiere Pro, you find them by right-clicking on the slot with EQ in it and in Audition they are found from the drop-down at the top of the effect.
Presets for Premiere Pro’s EQ
Audition’s Parametric EQ’s Presets
Premiere Pro editors, do you do all your audio finishing in Audition?
Share your thoughts/experiences in the comments below!


