Premiere Pro CS Next: Synchronizing Footage Options for Multi-Cam Projects

A powerful new feature in the next version of Premiere Pro will aid in synchronizing footage for multi-cam productions. Sync up footage based on AUDIO. In this post we’ll show you how!

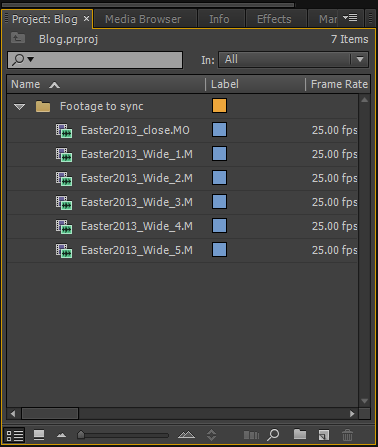
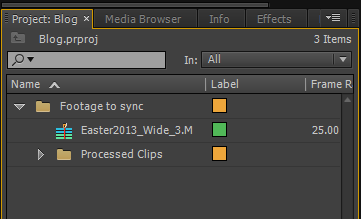
The next version of Premiere Pro (dubbed “CS Next”) offers up a new way for working with multi camera footage. This ability to auto sync footage based on clip audio will speed up your post production workflow! The first step in working with the new audio sync feature in Premiere Pro is to create a new bin and import all the footage you wish to sync into that bin.
Footage to Sync in a New Bin
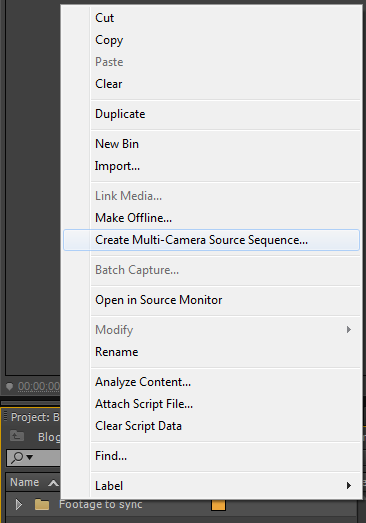
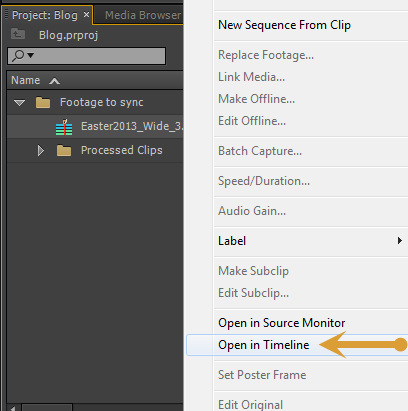
Next, right-click on the bin and look for the option ‘Create Multi-Camera Source Sequence…’ option.
Right-Click on Bin – Menu Options
This will give you the following options box:
Create Multi-Camera Source Sequence Options Box
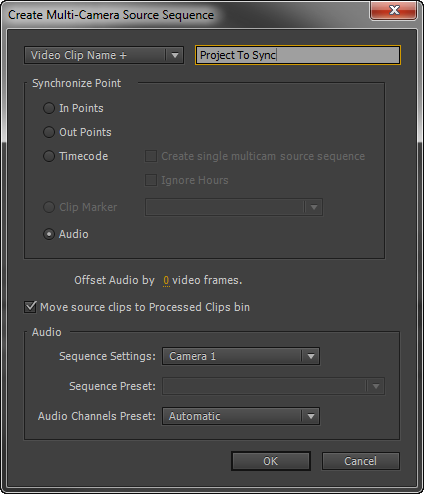
Note all the options to sync your footage multi-cam footage in Premiere Pro (including, In and Out Points and Timecode). The most exciting thing though is you now also have the option to sync the audio of your clips. As an example, if you have lots of different clips say camera phones from a gig and each one is from a different part of the gig you can add them to the bin and still get them to sync perfectly as long as they have audio! Think of the creative possibilities of this function! You can get crowd footage as well as professional footage and create multi-camera perfectly synced sequences.
In my Premiere Pro bin I have footage from 2 sources, however, one of them was recorded on a hard drive recording device that uses a FAT32 based file format. Because of the structure of FAT 32, it breaks up the footage into 4 gig clips. So in effect I now have 6 shots or 6 cameras that need to be synchronized!
In the dialogue box you will also see that I have the ‘Move source clips to Processed Clips bin’ checked. What this will do is move all clips that have been processed to a new bin created inside your present bin. This shows you instantly is if any clips have not been synchronized for any reason, which you would then either need to sync with another method or sync manually.
When you click ‘OK’ you will get the following dialogue box showing the processing progress.
Processing – Won’t Take Too Long
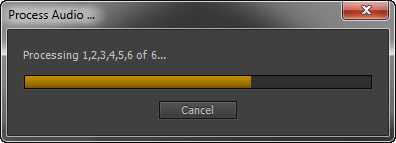
This project with 6 cameras and a 20 min talk only took a couple of minutes to process. Once processing has taken place your project panel will look like this:
Project Panel After Audio Sync
If you need to ‘tidy up’ your multi-cam sequence you will have to open it with a right-click option (as double clicking it will only open it up in the source monitor).
Right-Click Options on Multi-Cam Sequence
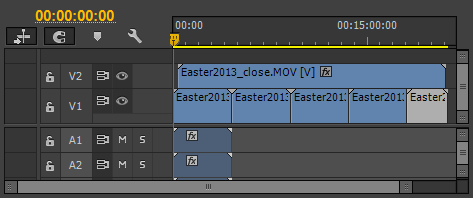
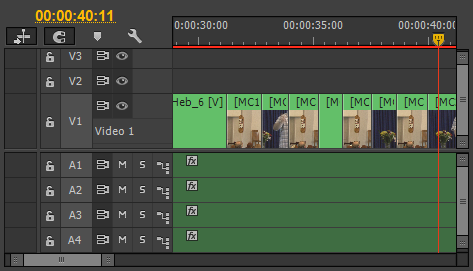
Multi-Cam Sequence Opened Up in Timeline

Notice that the clips for the hard drive recorder are perfectly lined up showing a perfect sync. Also, each 4 gigabyte section has been treated as a separate camera. For my purposes I will need to move all the 4G clips onto one video track as they are all part of the same talk.
Clips Moved to a Single Video Track
Now I am ready to move ahead with my multi-cam edit.
First, right click on the Multi-Camera sequence in your project panel and choose ‘New Sequence From Clip’.
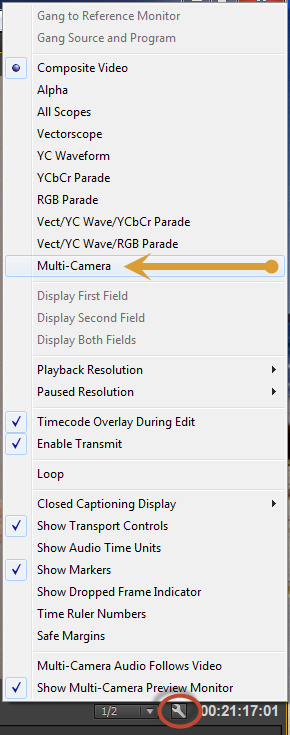
This will create the sequence that you will actually do your multi-cam edit with. Now you need to look for the little spanner icon at the bottom of the ‘Program Monitor’, click on that and choose ‘Multi-Camera’ which is about a third of the way down the list.
Spanner Menu in Program Monitor
This opens the Multi-Camera window inside of the Program monitor (a change to the workflow for CS6).
Multi-Camera Window in Program Monitor

You may notice that the clips are not well matched because of a white balance issue – this was addressed with RE:Visions’ RE:Match plug-in in a previous blog post.
When multicam editing in Premiere Pro, you can switch between cameras by either clicking on the camera you want to use in the left hand side of the program monitor or use the keyboard shortcuts (which are 1 – 9 in the normal part of your keyboard, not the num pad). Once you hit the play button or push the space bar or ‘L’ to play your timeline any change you make to the active camera will be recorded and you will be making your multi-camera edit.
Multi-Cam Edits in the Timeline
This new multicam feature in Premiere Pro will quickly synchronize a footage bin and (especially to synchronize by audio) and is a timesaving addition to Premiere Pro. Now that you know how to use this feature and the small changes to the multi camera workflow, you should be up and running as soon as the new version is available to the public!