How to Clean up Audio in Premiere Pro in 30 Seconds

Need to get good audio fast? Just follow these quick steps in Premiere Pro and Audition.
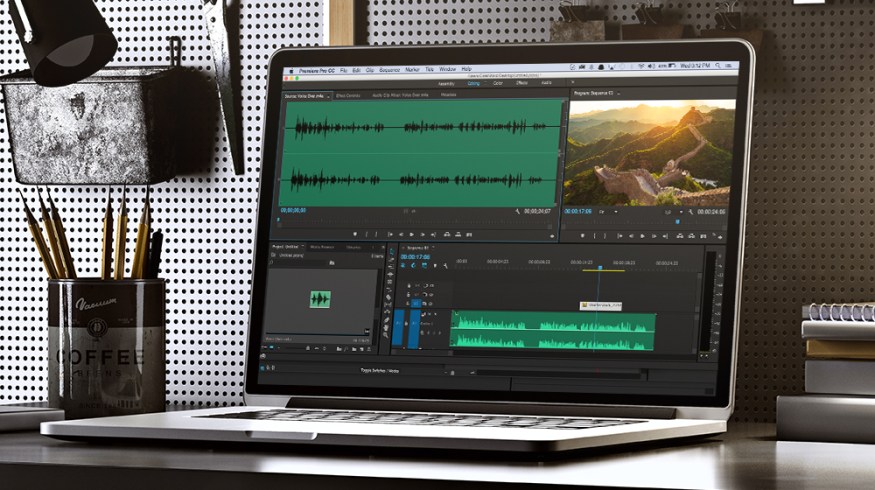
A video is only as strong as the audio supporting it. But if you’re in a pinch, you may not have the time to perfectly finesse your audio. Let’s take a look at how to quickly fix your audio in Premiere Pro — with a little help from Adobe Audition.
1. Send to Audition

No matter your individual circumstances, if you have unneeded background noise in your audio, the best tool to clean it up is the Noise Print feature in Adobe Audition.
Luckily for you, if you’re editing with Premiere Pro, you should have Audition already installed on your computer. To send an audio clip to Audition, simply right click on the track and select Edit Clip in Adobe Audition.
2. Capture Noise Print

The first thing you need to do before you apply the Noise Print effect is capture your background noise without the vocal parts. You can do this by selecting a voiceless area in your track with the Time Selection Tool. Play your track to make sure you’ve selected only background noise and no voice.

Now it’s time to capture the background noise. To do so, simply navigate to Effects>Noise Reduction>Capture Noise Print or hit Shift+P. Your background noise is now saved into Audition.
3. Apply Noise Print

After you’ve captured the Noise Print, it’s time to take the noise print out of your original audio clip. First you will need to deselect your noise print area. To do this, click anywhere in your timeline with the Time Selection Tool selected. Now navigate to Effects>Noise Reduction>Noise Reduction. A window will pop up that looks like this:

You’ll see two important effects:
- Noise Reduction — the amount of noise that will be reduced.
- Reduce By — the number of decibels that the noise will be reduced.
The best way to ensure that your audio will sound the best is to adjust each parameter by hand. But if you’re in a hurry, just set Noise Reduction to 50% and Reduce By to 15db. After you’ve set your noise print levels select Apply.
4. Send to Premiere
Now it’s time to go back to Premiere, but first you will need to save your audio out of Audition. Simply hit Command+S and your audio will be automatically saved and replaced in your Premiere Pro timeline.
5. Vocal Enhancer

Now that you’ve taken out most of your background noise, it’s time to enhance the vocals. Grab the Vocal Enhancer effect in your effects panel and drag it onto your audio clip. You will need to adjust the vocal enhancer for your subject.
Navigate to the Effects Control panel and select the dropdown arrow under Vocal Enhancer until you see the custom setup option. Click the Edit button. You will see a box that pops up. Select Male or Female, depending on your subject.

6. Set All Peaks

Now that your audio is sounding great, it’s time to level it for your individual production. To do this, simply right click on the audio and select Audio Gain. Select Normalize All Peaks and set the level to -6db. You should now have decent audio that’s perfect for corporate videos, quick commercials, or news packages.

Have any tips for quickly adjusting audio? Share in the comments below.