
How To Create Realistic Old VHS Footage

Here’s how to use After Effects to capture the distorted retro vibes of authentic VHS footage.
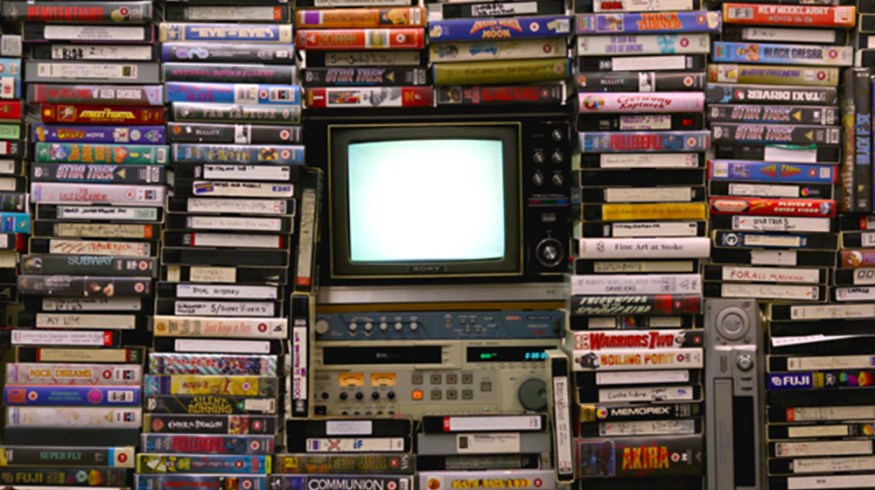
Top image via Bob Jaroc
There’s always been an affinity for the old, for the retro, for the look of yesterday. While technology pushes forward and picture quality is increasingly improved, we often see companies offering services and tools to make that incredibly sharp image look, well, less sharp. You can acquire film grain, light leaks, film burns, color washes, interference layers, static noise, and so forth. The list goes on.
As we move forward toward the end of the 2010s, the VHS/camcorder look of the 80s and 90s is starting to become a lost relic of time. I bet that made some of you feel old, right? You can download all kinds of templates and plugins to make your footage look like the VHS tape has distorted it, but nothing beats using the real source material.
A lot of people tend just to throw an overlay onto their footage and call it a day, but there are a few fundamental elements that also need to be included.
Video via BELGIANHIPHOPCHANNEL
After looking at the amateur VHS footage above, it’s important to note that while there is some visible VHS interference in the shape of white lines running across the screen, the prime characteristic is the skewed distortion of the footage itself.
To some extent, it wobbles like jelly. The displacement of the picture itself is often missed and is key in making footage look like it’s come from an old VHS tape.
How to Give Your Footage an Authentic VHS Look in After Effects
Many kind people on the internet have uploaded real captured VHS noise. I like to use these two, which are both free to download: Heavy VHS interference, and Light VHS Bad Tracking. (Our friends at RocketStock offer a free template as well.)
Step 1: Get Your Distortion
When you’ve downloaded them, rename the first file Heavy VHS and the second file Light VHS, as their interference difference is very apparent. When you’ve acquired your noise, open up After Effects and create a new composition based on your footage size. If the VHS footage is smaller, just increase the scale.
Import your footage and the two VHS layers into After Effects and place them within the composition in the following order.
- Light VHS
- Footage
- Heavy VHS
Then change the blend mode of Layer 1 to Add. Your sequence should now look something like this:

You have the classic VHS stripes running across the footage, but it still doesn’t look very convincing. Don’t worry… It will soon.
Step 2: Displacement Map
In the Effects panel, type in Displacement Map and drag that onto your actual footage layer. You may need to realign your footage and increase the scale to 105%, so it fills the entire composition.
In the Effects control panel, set the following settings.
- Displacement Map Layer: 3. Heavy Noise
- Use for Horizontal Displacement: Luminance
- Max Horizontal Displacement: 20
- Use for Vertical Displacement: Luminance
- Max Vertical Displacement: 20
You can increase the displacement values by increasing the numerical values. Or decrease the VHS glitching by lowering those values. This is the result of using the Displacement Map.
You can see in the image above that the shot now looks a lot more like it’s part of the VHS footage. However, it’s still too sharp. Therefore, insert an Adjustment Layer and add a Gaussian Blur of 7.5.
Step 3: Color Fringe
There’s one final step to take. The VHS format ages poorly, and if the footage has been passed from camcorder to VHS, you can expect some color fringing — not much, but some.
To do this:
- Duplicate your video footage three times
- Add the Set Channels effect to each layer
- On the first footage layer, Set Red to Source 1’s: Red
- On the second footage layer, Set Green to Source 2’s: Green
- On the third footage layer, Set Blue to Source 3’s: Blue
Your Set Channels should look something like this:

Your footage will likely look like it’s just come from a Tarantino scene in Kill Bill. To fix this, set the blend mode for the first two footage layers to Screen. To get the color fringing, you need to slightly offset the two layers.
Do this by rotating the first layer by 0.7 (R on the Keyboard), and move the second layer over to the right with one nudge of the right arrow on the keyboard. This will give you a very subtle color fringe.

Finally, download this 4:3 letterbox for a 1080p timeline and insert this beneath the adjustment layer.
This is the before and after of using the above guide.
Do you have any tricks and tips for making contemporary media look like it was shot on equipment from the past? Let us know in the comments.


