
Lighting Tips to Consider Before Shooting Your Next Film

Lighting is the number one factor to take into account when crafting a cinematic image. Follow these lighting tips to get the most out of your shot.
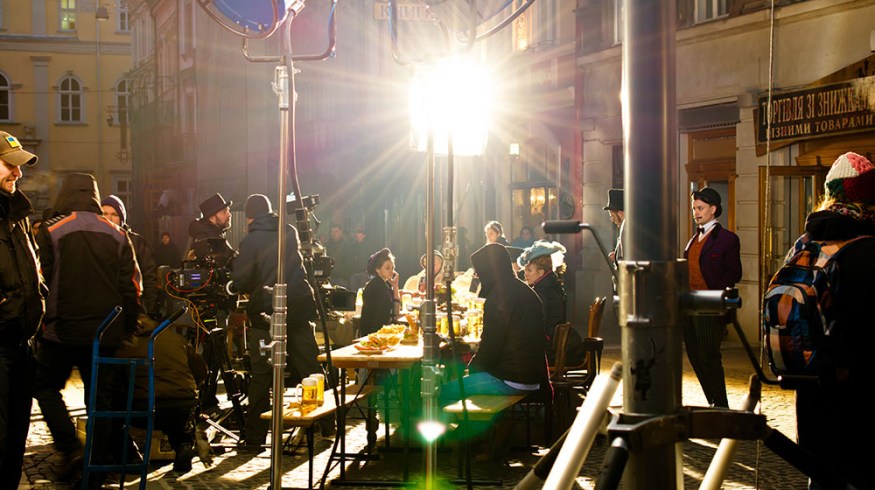
Lighting is one the most most critical components of cinematic design. Proper manipulation of light is vital to delivering the intended sentiment of a scene, and therefore can have a great emotional impact on how our stories are received by an audience. 
Image from Shutterstock
We all know this, yet so many of us make some really poor decisions when it comes to lighting. One of the biggest issues that seems to plague indie films today is a general lack of lighting, usually as a result of attempting to shoot with high sensitivity cameras like the Sony a7S or Canon C300.
It’s common for filmmakers today to feel that lights are no longer as crucial of a part of the filmmaking process as they once were, seeing as even with nighttime exteriors, high sensitivity cameras are able to expose the image properly without the use of a proper light setup.
Unfortunately though, this type of corner cutting never yields good results… Just because an image isn’t noisy, or is technically exposed properly, doesn’t mean that it looks good or that it is the right look for the story. So here are a few key lighting tips to take into account before lighting your next film.
Choose between Soft and Hard Light

Image from Shutterstock
One of the best things that you can do when approaching the lighting setup for any film is deciding whether you want to go for a soft or hard aesthetic. Obviously you can change the lighting setup from scene to scene, but for the most part, if you want your film to have any sort of consistency, the lighting will largely fall into one or these two categories.
It’s pretty easy to make lighting decisions that will help you achieve the look that you have in mind. But the important first step is often overlooked. A lot of indie films end up having no choice but to use hard lighting on their film, as they haven’t thought things through enough and didn’t budget for powerful HMI lights. Or maybe they didn’t spend enough time in pre-production to come up with solutions to combat the harsh sunlight.
In some cases, projects can benefit by going with a hard lighting aesthetic (think Breaking Bad), and will intentionally work with direct sunlight and other bright sources to create dramatic shadows. Or, in other cases, loads of silks and diffusion is used to create more forgiving, soft light sources.
There is no right or wrong way to approach soft vs. hard light, but the big takeaway here should be that you need to define your look early on. Only then will you be able to take the necessary steps needed to execute your look.
Use practical lights for interiors

Image from Raised On HD
Just because you don’t have a big lighting budget doesn’t mean that you can’t light your film. The benefit of high sensitivity cameras (like the Canon C300 or Sony A7S) isn’t so much that they can shoot in no light, but rather that they excel in low light situations. Those two scenarios are very different. What that means is that if you need to shoot your film without a proper film lighting kit, you can certainly get away with that – but in order to maintain a visually pleasing look to the film, you’re going to at least need to know how to use practical lights to craft the image.
If you don’t already know, practicals are any lights that actually appear in the shot or on the set. So these could be overhead lights, desk lamps, floor lights, or any other typical light that you might find in your average interior location. A whole lot can be done with practical lights to shape the mood of your scene, and in many cases they are preferable to film lights as you can set things up in a way that gives your actors more flexibility on set, allowing them to have more freedom to improvise and be less specific with their marks.
In order to really nail practical lighting though, you can’t just simply show up and expect the lighting to work for your needs – it still takes a lot of effort. You’ll want to get various types of household bulbs in varying strengths to use in your fixtures, gels, black wrap, and other tools to help you control the output, color temperature, and spill of the practicals just like you would with film lights.
LED Panels for night exteriors

Image from Shutterstock
Night time exteriors are probably the most poorly executed type of setup on most low budget indie films. This is especially true of films that attempt to shoot on ultra high sensitivity cameras, without the use of light. As I touched on earlier in this post, just because you don’t need lights to properly expose your image doesn’t mean that you’re going to wind up with a final product that looks good.
You still need at least some light to create the right highlights, shadows, and overall mood in your shot, and no matter how clean your camera may be in low light, there is no substitution for actually lighting your scene properly.
The good news is that if you are shooting with a camera like the a7S or C300, you can easily get away with using a minimal lighting setup (such as battery powered LEDs) and still get great results. If your camera can expose a clean image in a very low light situation, then that will get you most of the way there, but be sure to use additional lights such as LED Panels to kick in a key light or a rim light on your talent. These panels are relatively affordable and will go a very long way in helping to shape your image.
I’ll leave you with this video, in which Film Riot’s Ryan Connolly shares some tips on low-budget lighting:
Looking for a few more lighting tips and tricks? Check out these articles from PremiumBeat:
- Filmmaking Tips: Lighting With LED Panels
- Add Drama to Your Lighting Setup with Negative Fill
- Softer than Softboxes: How to Create Book Lighting
Got any lighting tips of your own? Please share them in the comments below!


