

Premiere Pro CS6: Panasonic P2 Footage & the Media Browser

Discover a quick and easy way to browse Panasonic P2 Footage in Adobe Premiere Pro using the Media Browser.
If you’re reading this article you probably already know that the Panasonic P2 folder structure is a little … intense. For instance, here is how it’s laid out using my Windows Explorer:

As you can see you have a list of P2 files but you can’t actually see the footage this way! Totally not efficient for preview.
One option for previewing P2 footage is using Adobe Bridge:
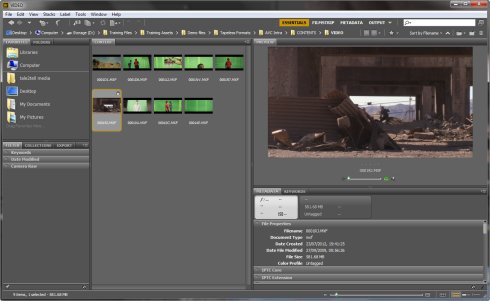
However, that takes time, requires you to open another application, navigate to the footage and you can’t hover scrub the clips to get a good look!
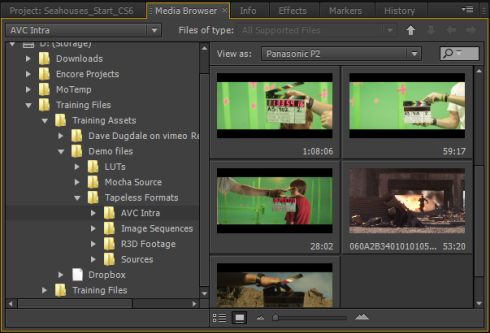
So, what’s the best way to preview P2 footage in Adobe Premiere Pro? Adobe gave us the Media Browser which is located as a tab in the same frame as the Project and Effects Panel (at the bottom left of the UI).
It’s here that the P2 magic happens. All you need to do is browse to a folder that has the full P2 folder structure and footage in it (such as our AVC Intra folder). The, the Media Browser automatically selects to browse P2 footage and you can see the end result.
Media Browser Showing P2 Footage
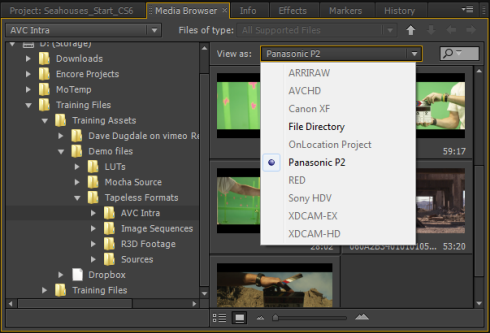
If it didn’t automatically select to browse P2 footage you can always select P2 from the drop-down ‘view as’ directory menu …
Media Browser ‘View As’ directory menu
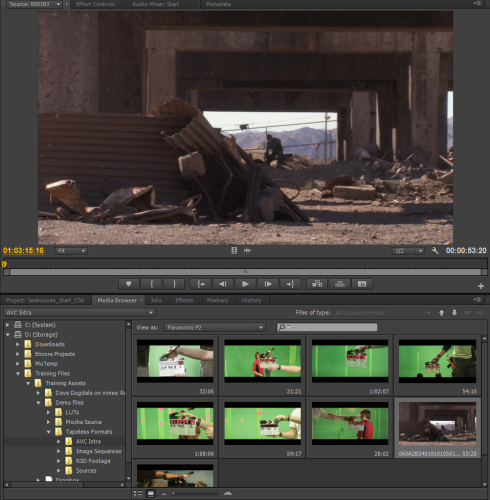
Now, by simply browsing to the appropriate folder that had your full P2 folder structure (just as shown in the pics at the start of this blog) Premiere Pro knows what you want and cuts through any folder confusions…giving you access to the footage you want to see quickly and simply.
Not only that, but you can even hover scrub the footage to see if you have the right clip. You can’t set in and out points in the Media Browser (as that’s a function reserved for the Project Panel) but at least you can quickly and easily find your footage and view it. This ends up being a HUGE timesaver!
So, now you’ve found the piece of footage you want to use – how do you get it into your Adobe Premiere Pro project?
You could double click it to view it in the source monitor if you wished to see a bigger version- but please note that just because it’s open in the source monitor does not add it to the project! To add it to the project from the source monitor either drag the footage from the source monitor to the project panel or drop the footage on the timeline which will also add it to the project.
Footage in Source Monitor BUT NOT ADDED TO PROJECT YET
The other way is simply to right click on the clip you want and choose ‘Import’ or, drag the footage to the Project Panel tab at the top of the frame. While you hover over the tab the Project Panel will come to the fore and you will be able to add it to the Project Panel or any bin in the Project Panel.
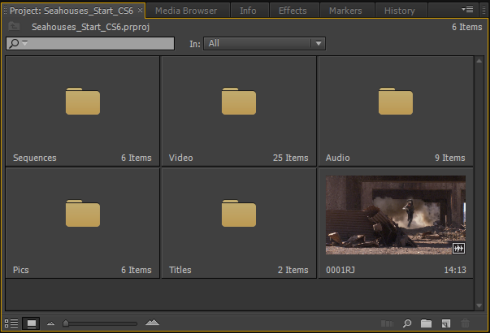
Footage in Project Panel
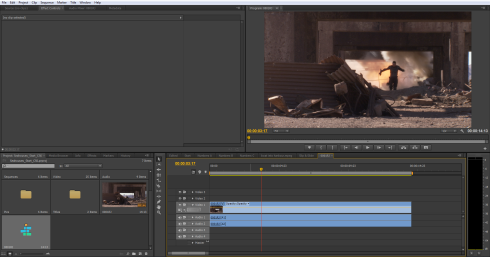
Then, all you need to do is hover scrub, set in and out points and finally drag the footage to the ‘New Items’ icon and your sequence is automatically created with the footage on the Adobe Premiere Pro timeline, respecting your in and out points.
Footage in a sequence
And so that’s how Adobe Premiere Pro, with its intelligent Media Browser, makes Panasonic P2 viewing and editing simple!
Was this tip helpful for you? Have a Premiere tip to share?
Let us know in the comments!


