

Recording Audio into Premiere Pro

Premiere Pro is actually an extremely capable audio recording studio, allowing you to record onto as many tracks as you like. Here’s what you need to know to get started.

Ever needed to record a quick voiceover for your video editing projects? Like other non-linear video editing applications, Premiere Pro makes it easy to record audio directly into the application.
The first thing you need to do to get your audio to record into Première Pro is to visit your preferences and make sure that you have the appropriate inputs and outputs setup. When in your Preferences go to the ‘Audio’ tab …
Audio Preferences
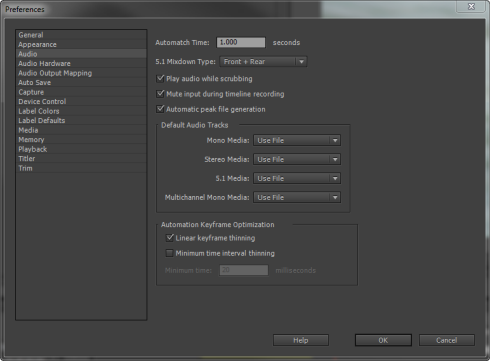
Preference Choices
As you can see from the image above, I have all three boxes checked including the ‘Mute input during timeline recording’. I have this checked to ensure that when I’m recording audio in Premiere it isn’t fed back out of my speakers causing a feedback problem.
It can get quite wearing on longer projects to continuously have the audio playing when scrubbing to a new part of the timeline. The advantage of being able to turn this off using “Play audio while scrubbing” is that you don’t then need to mute the audio channels – which can cause you a problem later if you forget to turn them back on again before outputting your project!
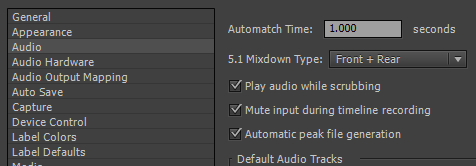
Next, go to the ‘Audio Hardware’ tab. This tab will look different depending if you’re using Premiere on a PC or a Mac. Essentially it’s about making sure you have the correct input and outputs available from your system. Below I’ll show you the PC options but for more details and if unsure what to do if on a Mac check out this help page from Adobe.
Audio Hardware Settings (PC) with the ASIO Button Clicked
As you can see, on a PC I have options to look at both the Input and the Output tabs to make sure I’ve selected whatever may be attached to my system.
Usually, the default settings will work fine. However, it is important to complete this step because if you don’t you won’t be able to select the appropriate input when it come to recording.
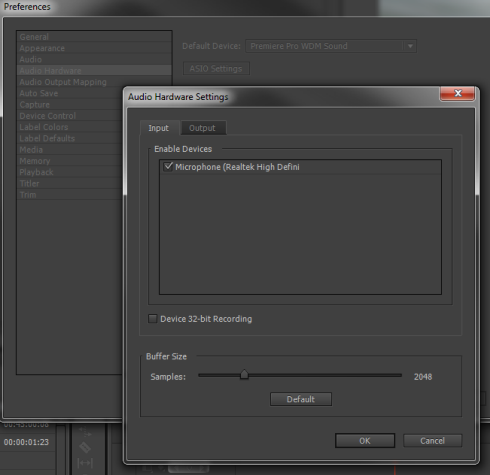
Now we need to turn our attention to Premiere’s ‘Audio Mixer Panel’ to set up ready to record. As stated above, one of the really nice features of Premiere Pro is that you can record narration while watching the timeline playback – just as long as you’ve set your system up correctly first.
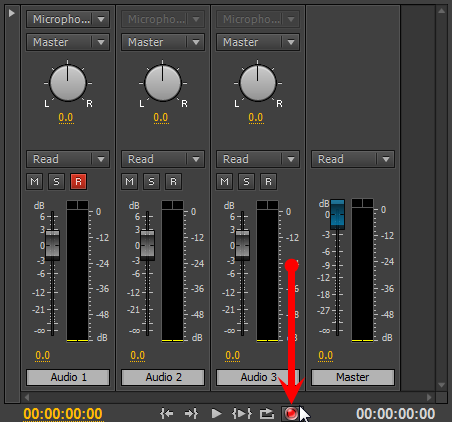
In the mixer panel you will see three little buttons under the panning dial and the drop-down saying ‘Read’. These are M = Mute this channel, S = Solo this channel & R = Set this channel ready to record.
Three Little Buttons

When you hit the R button a new drop-down will appear at the top of the channel as shown below.
New Drop-down Showing Recording Device Options
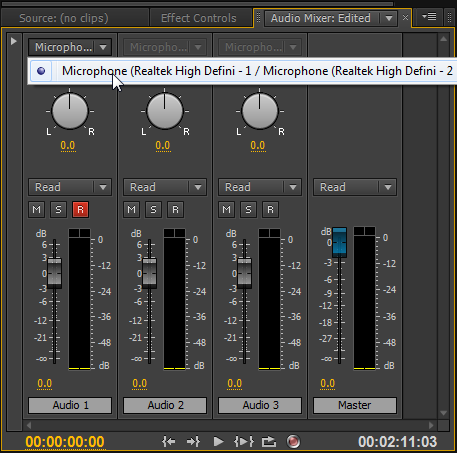
If you have more than one audio device enabled on your system then you will need to select the device you wish to use for this recording. If only one device is enabled, then that device will be the one Premiere Pro assumes you wish to use.
Next, you need to click the red ‘Record’ button which sets Premiere Pro up to record on any tracks that have the ‘R’ button selected and a recording device selected. However, this will not start the actual recording yet …
Select the Record Button to Prepare for Recording
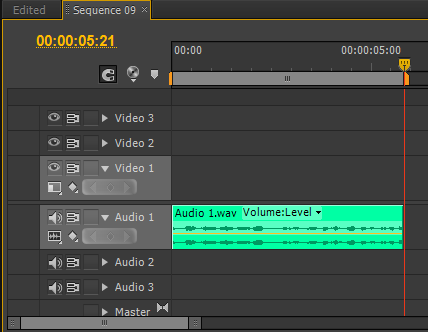
To start the actual recording, all you now need to do is hit the spacebar! However, don’t be alarmed if you see the play-head moving but no waveform being created in the timeline. The waveform will appear when you stop recording by hitting the spacebar once again.
Audio Recorded Into the Timeline
At this point it may be wise to give a couple of words of warning when recording audio into a Premiere Pro timeline.
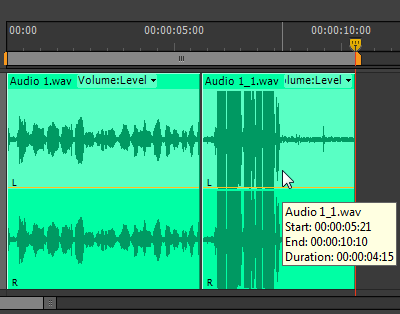
First, don’t hit the spacebar to stop recording until you’ve given Premiere Pro a moment to process the audio it has just recorded. It is bad practice to stop recording as soon as you finish any recording anyway, but in this instance, if you stop too quickly after finishing speaking Premiere Pro may actually cut off the end of what you’re saying (as you will not have given it enough time to process the audio). Always give it a beat or two so that it can process everything.
Second, always do a test first and and make sure that when you record your speech that you are creating a waveform that is large enough to give a good ‘signal-to-noise’ ratio (i.e. the signal is much larger than the noise of the computer so that you can easily get rid of any noise at a later date if needed). Also ensure that it isn’t distorting by being too loud! You can always see if something is too loud by either looking in the timeline and see the top and/or the bottom of the waveform peaking or flattening off. You can also play back what you have recorded and look at it in the Audio Mixer Panel to see if it ‘peaks’ into the red part of the Audio Mixer as shown below.
Good Signal-to-noise Waveform & Distorted Waveform
Distorting Waveform in Audio Mixer
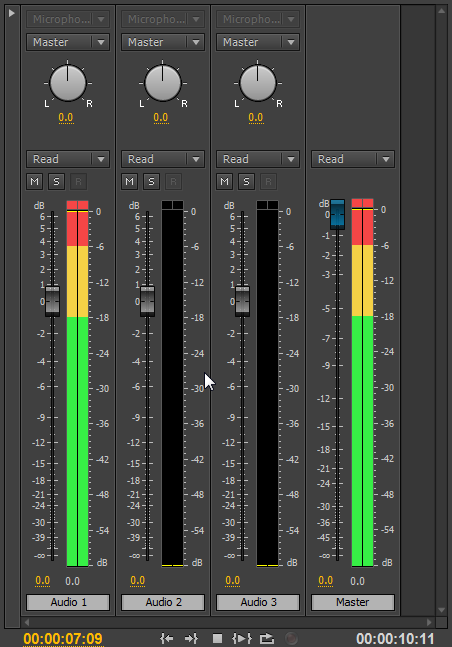
If the recording level is too high and you are getting a distorted (squared off) waveform as shown above, then go back to your Audio Mixer Panel and pull down the slider for the channel you’re recording on and do another test. Keep pulling down the slider until you no longer get any distortion but still manage to get a ‘healthy’ looking waveform where the audio you’re recording is much louder than any background noise.
Once you’ve recorded audio into Premiere Pro it’s time start thinking about your mix, and possibly bringing your project into Adobe Audition for additional audio work.


