

Creating Title Styles and Title Templates in Premiere Pro

Discover how to create title templates in Premiere Pro to save time in post and create design consistency between projects! In this post we share tips for creating unique title styles and saving them as templates in Premiere.

So, you’ve gone out of your way to create that drop-dead gorgeous text that’s got the ‘wow factor’. Now you’d like to use the same text style for a series of lower thirds for your project. What are the options that will save you time in this project…and future Premiere Pro projects?
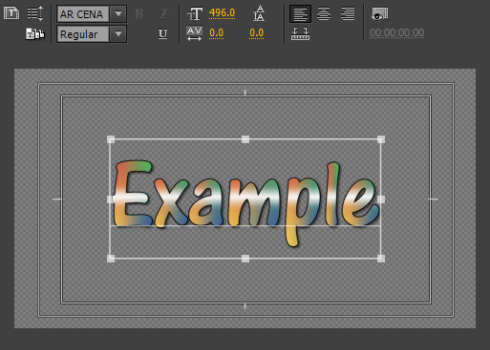
Titles Created in Premiere Pro (check out this stylized and gaudy example!)
Title Based on Current Title
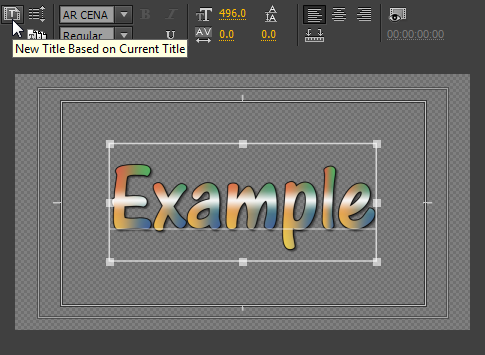
If you try to reuse a title in your timeline and make any changes, those changes will affect every instance of that title in the timeline, so in a way every title is a ‘one shot’ event. However, most editors require there to be continuity between titles in any production and with this in mind Premiere Pro has a simple button at the top of the title creation window that allows you to create a new title based on the current title.
New Title Based on Current Title
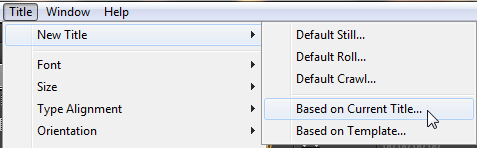
You can also get this option through the title option in the menu bar:
New Title Based on Title Menu
Selecting this option will bring up the new title naming box and create a new title icon in your project panel with the name you give it. The new title will look exactly the same as the old one, but any changes you make will be to the new title only leaving the old title unchanged. This is a fast way of making multiple titles that all use the same parameters for the text and formatting with ease. However, unless you export the title it is restricted to your present project only.
Creating a New Text Style
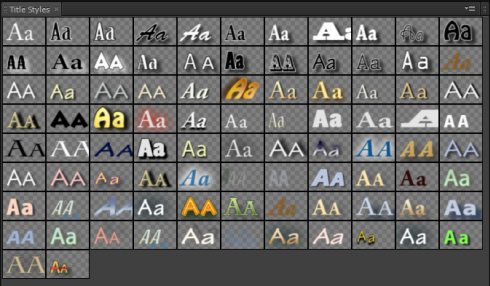
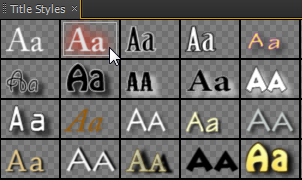
However, sometimes the title style you have created is so good that you want to use it in multiple ways…not just in the present project but potentially in many other projects. For this, it is wise to create a new ‘Title Style’ which will appear at the bottom of the title styles in your title creation window.
The Title Styles Panel
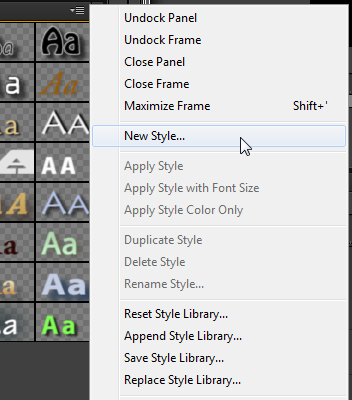
To create a new style simple select the element that you want to use to create the style (in this case the text but it could be any item in the title such as a coloured bar under the text for a lower third) and then go to the panel menu for the title styles panel. Click the little icon in the top right of the panel ( a series of lines with a little down arrow to the left) and from the menu that appears select ‘New Style…’.
Menu Options in the Title Styles Panel Menu
Once selected, a ‘New Style’ naming box will appear with details of the font that you used to create the style as a default name. At this point it is important to use a name that means something to you so that you know what it is and why you created it!
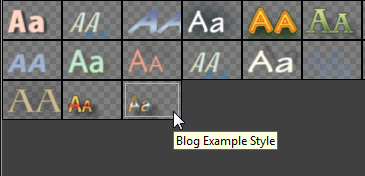
Once you’ve named it and clicked OK, the new title style will appear at the bottom of the title styles panel and when you hover over it you will see the name you gave it.
New Title Style With New Name
OK, so now that you’ve created your style you are free to start having a look at how all the other title styles look in your project, knowing that with the click of a mouse you can return to the style you created and not lose anything. To try out them out simply click on any of the other title styles in the panel and see how your title looks. If it looks better but isn’t quite right, you can still go into the properties for the chosen style and tweak them to suit. In fact, using a title style is actually a great way to start creating titles as it gives you something creative to work on instead of trying to come up with something from scratch.
Just a side note, you can also rearrange the order of the title styles in this panel simply by clicking on any style and dragging it to the place you want it to be. This can be very useful for organizing your titles into an order that you use in different projects.
Moving a Style 1

Moving a Style 2
Creating a Title Template
The last approach to re-using titles in other projects is the option to create a template of your title, so that it can be opened from any project on your machine and have all the elements in place for something like a complex lower third ready to go.
Example Lower Third
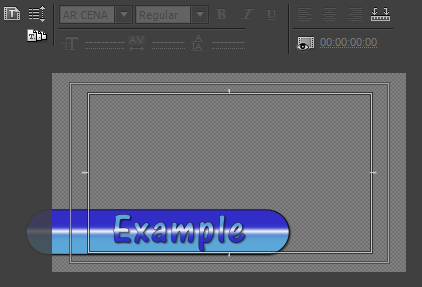
So let’s say that we want to use this example lower third in a whole series of episodes of a documentary series we’re working on (I know in reality no-one would touch a lower third like this, but for examples sake it will suffice!). This is the way to make it a ‘Title Template’.
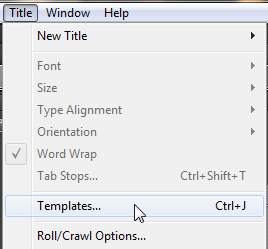
You could go to the title option in the main menu bar and select ‘Templates…’ from that menu (note the keyboard shortcut).
Title Menu Option
Or else you can click this button in the title creation window:
![]()
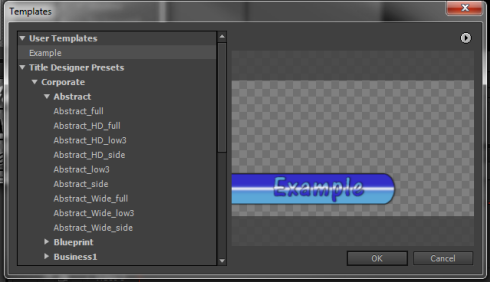
Both will bring you to this templates dialogue box.
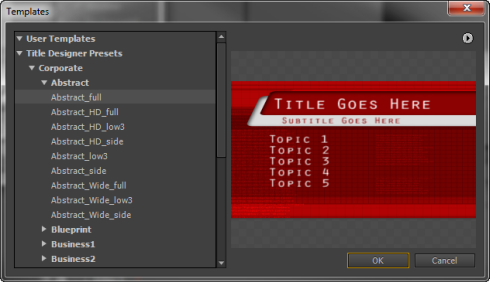
If you don’t have your content loaded you won’t be able to see any of the templates that ship with Premiere Pro. However, that won’t stop us saving our present title as a template.
What you need to do is click the little sideways pointing arrow icon in the top right of the window to get yet another menu:
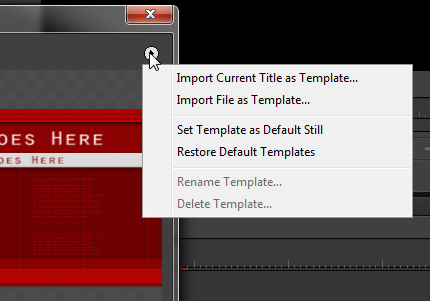
From this simply choose ‘Import Current Title as Template…’ and then you will get another dialogue box asking you to name your template.
Naming the Template
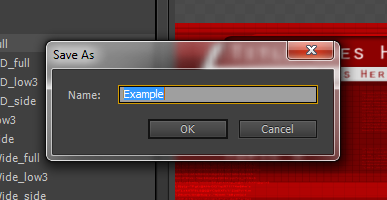
Then once you have used a good name that means something to you for the template – click OK and the template will appear at the top of the window under ‘User Templates’ and you will see it displayed as shown below.
New Template Added
Now that you have this title as a template, to use it in a future project – create a new title, click the templates button and choose the template you have created and click OK. Then the template will be ready for you to modify as needed. Using these techniques, Adobe Premiere Pro makes it easy to create and save high quality text templates, saving you time in post. Happy title creation!


