

Color Grading: Using DaVinci Resolve’s Multiple Split Screens

DaVinci Resolve has a little-known tool known as Split Screen which can be useful at various points in your color grading sessions.
See different graded versions of the same shot in DaVinci Resolve. In this post we’ll delve into Split Screen, and demonstrate its various modes and how each can be practically used when color grading.
Split Screen can be accessed by clicking on the little three-by-two icon above the main image viewer, between Image Wipe and Highlight.
Access Split Screen by clicking on that little grid: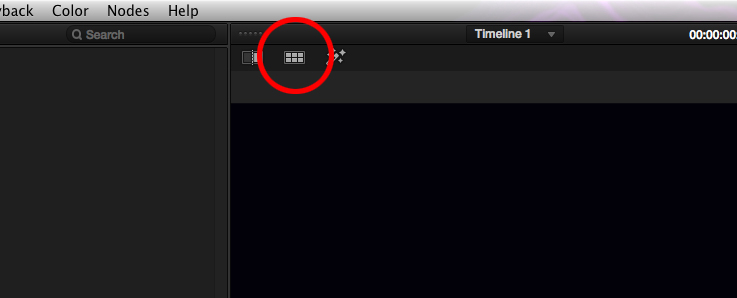
Selecting this will kick us into our first option called Versions, which can display up to sixteen versions of the shot selected in the timeline. Sixteen versions is probably more than your creative mind can run through, so for all purposes we can hardly call this a limitation. Versions is useful at the session’s beginning if you have a client that is unsure of what look they want. The current version you have selected will be highlighted in the monitor with an outlined gray box.
For instance, I can show four versions of a shot to the client right when she comes in:
Certain fashion jobs may have no still image campaign to match the video to, so often the director will be open to grading suggestions. Fashion jobs also may not have a clear answer as to where the grade wants to head due to their often otherworldly shooting environments. If you have time before the director comes in, roll through a bunch of tasteful options and select Versions when she comes in. It’s a great way to show a bunch of different styles and palettes. You may not get the palette right, but it’s still a useful talking point. Upon seeing the various grades the director will typically respond in one direction more strongly than another. At least, they should, if they’re a decent director.
Versions and Original is similar to Versions, simply showing the ungraded clip for comparison. Further into the session, this might be something you wouldn’t want to keep showing, although it always seems to amaze clients when you show them how far the image has come. Endless tweaking will do that.
Comparing the four grades against the original uncorrected image:
A word of warning. While showing six, eight or even sixteen clips at a time might look impressive, don’t try to play all the clips at once at the risk of getting playback at a crawl, or worse, a software crash. Simultaneous video streams are subject to your graphics cards and the speed of your system and hard drives. Show the stills to the client, then apply the grade and play it down for them on a single clip.
The Groups option shows up to sixteen clips that have been manually grouped together by the colorist. This option is useful for quickly evaluating how consistent similar clips in a setup are. It can also be used to rapidly determine lighting changes for, say, an exterior interview setup shot in the middle of the day, in a way that the Lightbox view can’t, since it’s cluttered with the rest of the clips in the sequence.
Grouping clips beforehand (denoted by the green chainlink) allows me to use Groups effectively:
Selected Clips, as the name implies, includes clips the colorist has selected using command-click. Again, up to sixteen clips can be evaluated. This is useful as above for identifying inconsistencies, but with clips you don’t want in the same group, like opposing angles in a two-character dialogue scene.
Selected Clips uses clips you’ve command-clicked as well as the current clip in its view: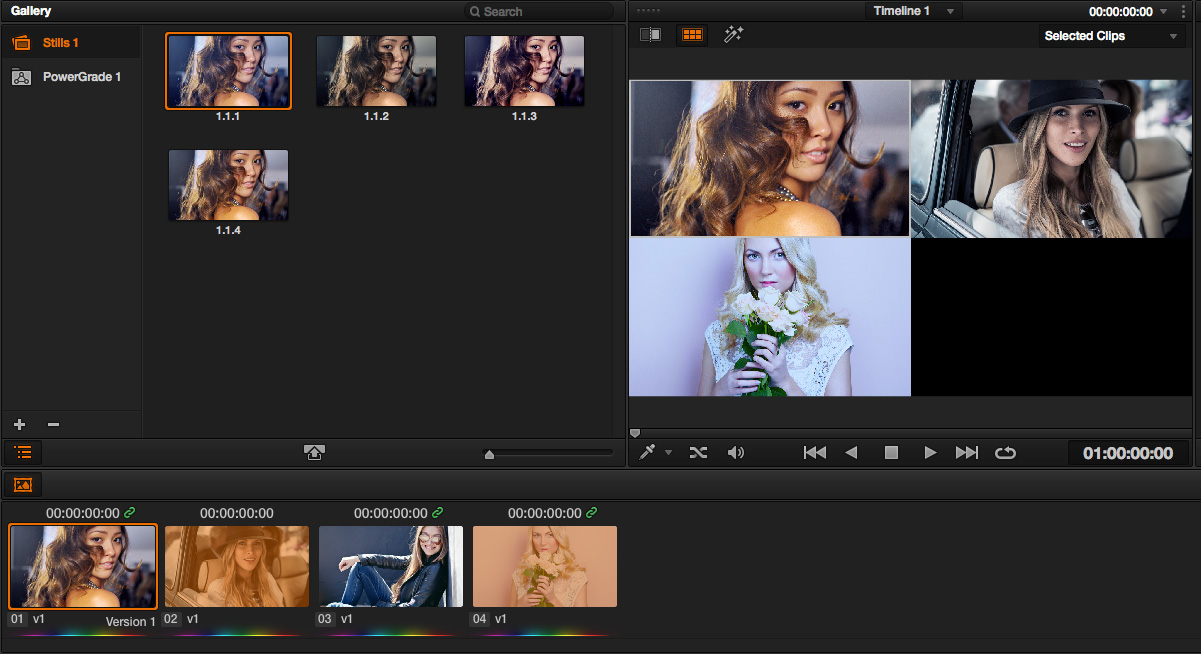
Neighbor Clips doesn’t require any clicking or grouping. This option shows the current clip in the lower left corner. The previous two clips are shown at the top and the next clip in the sequence is on the lower right. After all, you may not be concerned with lighting changes in an exterior interview if those clips are never shown side by side, compared to the clips immediately preceding and following them. This option is best when working with a pretty locked cut, as opposed to grading dailies. This option works whether or not you have black space in between the clips.
Clips next to and including the current clip in the timeline are shown:
Gallery Grades compares your current shot with any gallery still. This is a great way to roll through a bunch of options without necessarily committing to any of them. If you have a bunch of PowerGrades in your arsenal, you can click through and see which would be appropriate for this shot. Or, you might have already done an amazing grade on shot one but wonder what the grade for shot two would be. Creating another version, only to delete it when a grade is applied and doesn’t work, can be clunky. Gallery Grades makes testing out grades a snap.
The only issue with this option is that it doesn’t pay attention to the grading you’ve already done on the clip, so this is best used in the very beginning of the session, before you’ve even balanced your shot.
A side-by-side comparison of the current clip (with its grade) and a gallery grade:
Lastly, Highlight Modes allows you to see detailed information on the current shot’s mattes. The top left shows the shot as it has been graded. When you select a node with a matte in the tree, you will see the two types of mattes in the right quadrants of the screen: the gray matte and the high-contrast matte. You probably have set the preference for which matte you prefer in the General Options preferences, but here you can see both, if that’s your thing. The fourth quadrant on the lower left shows the key’s effect by displaying a difference matte of the graded versus the original shot.
Highlight Modes gives you the current shot’s grade, the two types of key display views on the right, and the effect of the key on the bottom left:
These various Split Screen modes, while far from being Resolve’s most essential feature, are great to incorporate into a workflow to make the task of managing grades and presenting options to clients a breeze.


