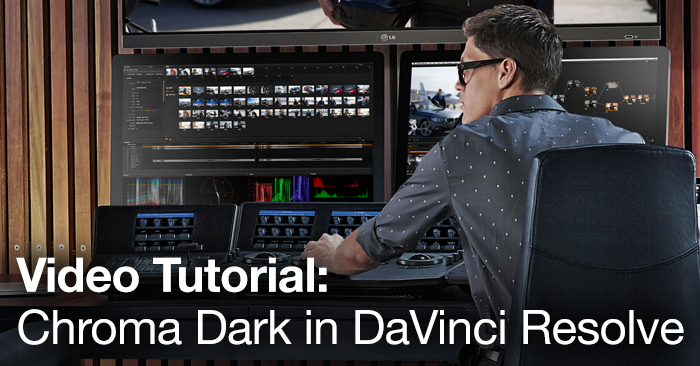
Video Tutorial: Using Chroma Dark in DaVinci Resolve
There’s one DaVinci Resolve feature that I keep in my back pocket for dealing with footage with messy blacks. In this video tutorial learn Chroma Dark!

There are a lot of hidden features in DaVinci Resolve, and some that are downright confusing. The average Resolve user may have little use for “Printer Lights Hotkeys,” the “easyDCP” tab, or the Resolve Live features. However, there’s one feature called Chroma Dark that I keep in my back pocket for dealing with footage with messy blacks, often found in the blue channel.
Chroma Dark is a preset in DaVinci Resolve, but it’s different from the presets found in the Gallery page. This preset serves to modify part of the image as opposed to applying a stylized grade to an entire shot. Think of it as a node, not a look. To see what it does, go ahead and perform a primary correction on your shot, and create a new Serial Node. Assuming you’re in the Color page, Chroma Dark is under the Color menu, then under Presets, and then “Preset – Chroma Dark.” This applies to both Resolve version 10 and 11.
Chances are you won’t like what the resulting image looks like, and that’s fine…in fact it’s normal. Good practice dictates we should always tweak a shot after we apply a general preset. You can see what Chroma Dark does at the middle bottom of the screen inside the Qualifier tab. The preset pulls a luminance key on the bottom half of the image, and desaturates that bottom half completely. For Chroma Light, this effect is essentially reversed, although the cutoff point for the luminance is a little different. The effect is simple, but we also only want it to do one thing: control that volatile, noisy blue channel. The saturation at zero is not going to help in most contexts, but it allows us to analyze what the effect is doing.
The blue channel has always been the weakest of the three color channels, based on the way camera sensors are constructed and capture imagery data. This is part of the reason why professionals shoot using greenscreen more than bluescreen. Check out the video tutorial below for a demonstration of the preset at work. I use a clip from Gramatik’s music video for “Solidified” which you can enjoy here.
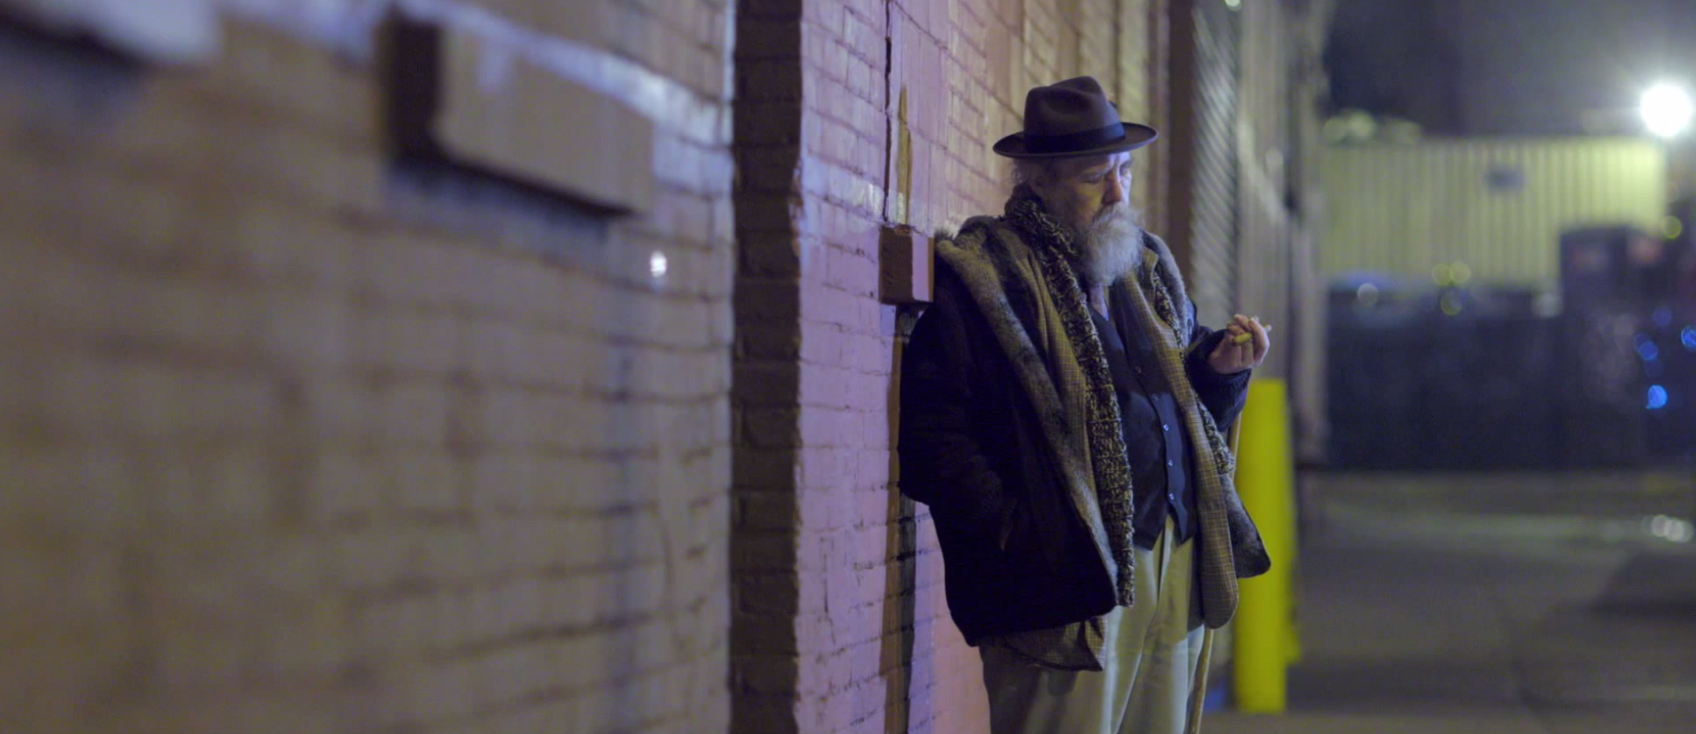
The noise in the blacks is pretty nasty. When we apply our preset, the noise gets a little less rowdy, but it goes too far and needs tweaking. I find that moving the saturation back to about the 20-25 range cleans the image but puts a healthy amount of saturation back in without looking artificially processed.
Try combining this preset with the temporal noise reduction (not available in the Lite version) which has become awesome over the past few versions. It’ll really clean up your footage, especially night exteriors that use a lot of natural lighting.
Have you had success using Chroma Dark? Have you found any other applications for it? Let us know in the comments.


