DaVinci Resolve Tip: Use Color Keys to Fix White Balance

Fixing color issues when working with mixed color temperature footage can be simplified utilizing color keys in DaVinci Resolve.
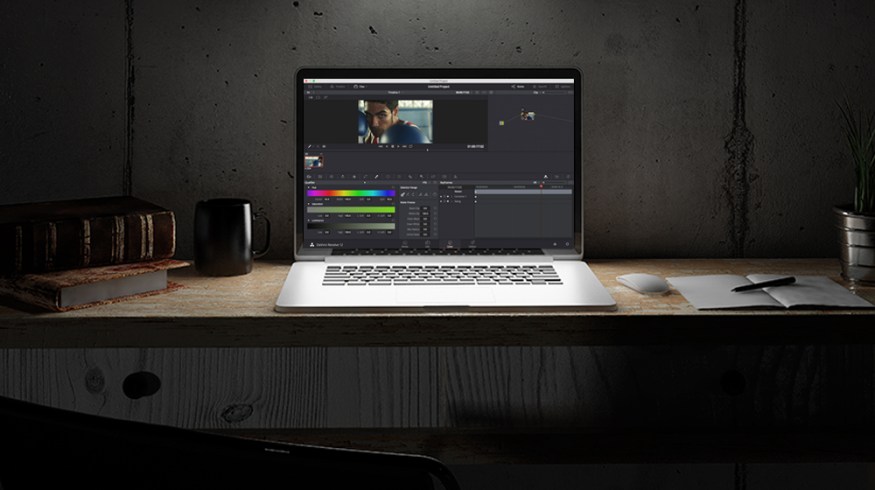
Top image via Shutterstock
Attempting to color grade footage that suffers from mixed color temperatures can be quite difficult to say the least. Often you may be faced with a color-grading scenario where the footage you’re working with is relatively well lit and properly white balanced, but there’s a light source somewhere in the frame that throws off the color balance.
A common example of this occurs when shooting inside a home that’s lit completely with tungsten lights (which are around 3200K). If a window is present in the shot, and there’s daylight spilling through (at 5600K), the window light will appear very blue in contrast to the warm tungsten lights.
This is just one of countless examples, as mixed color temperature issues can occur in so many different ways. No matter what your specific issue may be with mixed color temperature, the remedy will always involve the following three steps.
1. White Balance for Skin Tones

In a worst case scenario when you have multiple light sources intersecting (each of which has a different color temperature), you can’t simply set your white balance to 3200 or 5600 and hope for the best. You’ll need to use your eye to adjust your color wheels until the overall balance feels relatively neutral, and most importantly so that the skin tones look natural.
If you’re adjusting your RAW settings and dialing in white balance numerically, you might end up with a number around 4300 or 4700 — it will likely be an arbitrary number that falls within the average range of all the sources that are lighting the frame.
Once you have your balance set (either using color wheels or a dedicated white balance setting), and the skin tones are looking natural, you can move on to the next step.
2. Color Keys

This is the most critical step of the process, as it will help you isolate the problem areas within your shot. Assuming the skin tones in your footage are now natural looking, chances are there’s an area of your frame that looks completely off. For example, as stated above, you might have a window in the background that appears a vibrant blue color, which is clearly going to be distracting to the viewer.
In DaVinci Resolve, you can simply use your qualifier tab to select the bright blue color in the background of your shot. As with any qualifier selection, you’ll want to refine things by adjusting the softness, symmetry, and other settings until you have perfectly isolated the problem area. From there, simply use your color wheels to adjust the color as needed. In the scenario described above, you’d likely want to push a lot of warmth into the highlights and midtones, and desaturate things overall.
3. Final Touches
By this point, your image should be looking pretty good. The skin tones should still look the same as they did in step one, but now, of course, your window light (in this example) has been adjusted to compensate for the color temperature issues. Even still, you’ll likely want to do some more work on your footage to help everything blend in together.
Often when working with multiple color keys, it’s a good idea to create an additional node in your structure to allow for some overall/global adjustments to be made. For example, you might want to do an overall color balance at this point and start to give your image some style. You may want to desaturate overall or warm everything up — all according to your creative preference. Regardless of what you choose, this step will help any color temperature inconsistencies disappear completely.
Always remember: fixing these types of issues in post will never look as perfect as getting it right on set. Working with footage that has been shot in a controlled lighting environment with a color card (or gray card) will always be the best option — and save you a lot of time in post.
For those of you also shooting your own footage, be sure to check out this short clip from Curtis Judd in which he showcases another useful white balance technique in DaVinci Resolve: