How to Get RED EPIC Quality Footage for Less Than $500
Use this filmmaking technique to create beautifully cinematic footage for less than $500.
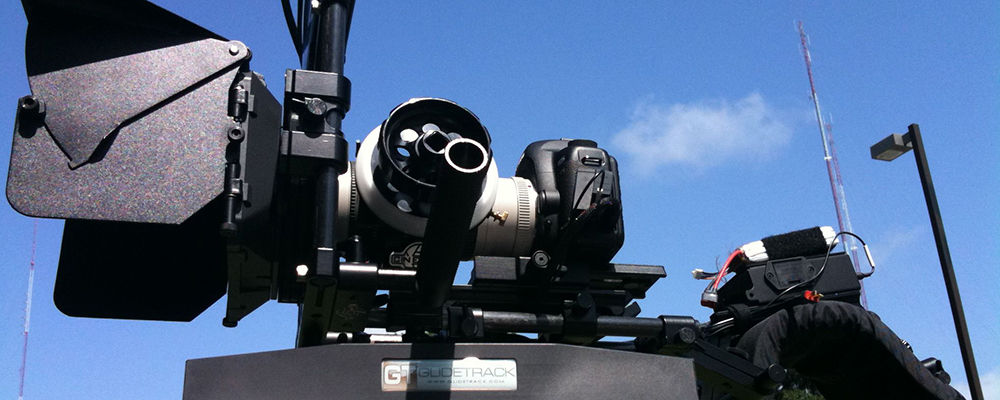
Top image via Dustin Kruisman
This cinematography technique combines a Canon DSLR and the Magic Lantern hack to produce a cinematic image with around 13 stops of dynamic range. The dynamic range produced by this method is comparable to the 13 stops of usable dynamic range found in the RED EPIC.
Let’s take a look how to get cinematic quality footage using a simple DSLR. While this technique shouldn’t be used on a professional film set, it’s a great way for beginner or intermediate-level filmmakers to get cinematic footage.
The Gear You’ll Need
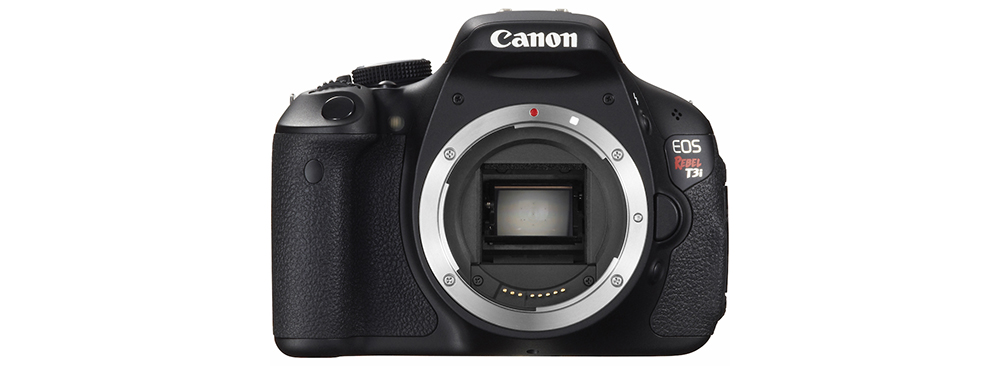
Canon T3i/600D
- Price: $350
The Canon T3i is the first DSLR in the T-series to feature a flip-out LCD screen. While the camera certainly shoots good video, you wouldn’t necessarily call the footage produced by the T3i cinematic without using the Magic Lantern hack. This camera also shoots pretty decent photos, so if you’re wanting to jump into the photography game as well, it’s a great camera to start out with. You’ll also want to make sure your new camera comes with batteries. If not, you’ll have to buy some.
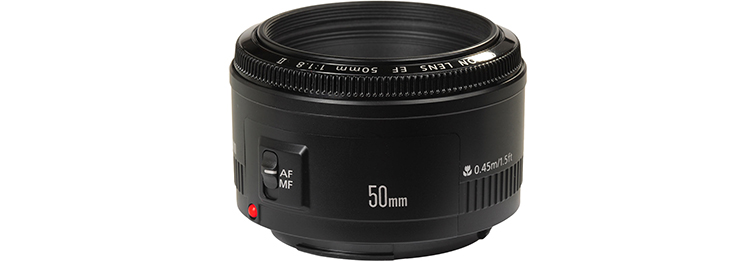
Canon 50mm 1.8
- Price: $64
The Canon 50mm 1.8, or Nifty-50, is one of the most popular lenses in the world. This ultra-affordable lens is actually an incredible tool that can produce professional-quality results at a fraction of the price of other ‘cine’ style lenses.
64 GB 1000x SD Card
- Price: $39
Of course, the last thing you’ll need is an SD card to record data. The technique mentioned in this article uses a RAW format. Because of this, you’re going to want to make sure your SD card has at least an 80 MB/s write speed to write RAW data to your card. It’s really important when you’re picking out an SD card to make sure that the write speed is fast enough. If not, you won’t be able to record your video for more than a few seconds. To install the Magic Lantern for the first time, you’ll need an SD card that is 32GB or smaller. The read and write speed isn’t very important for that step, so a cheaper SD card will work just fine.
The Workflow
This workflow is meant to help you get amazing footage on a budget — but with a limited budget comes added frustrations. This workflow isn’t ideal, but if you’re on a tight budget, it’s the best bang for your buck.
Step 1: Install Magic Lantern
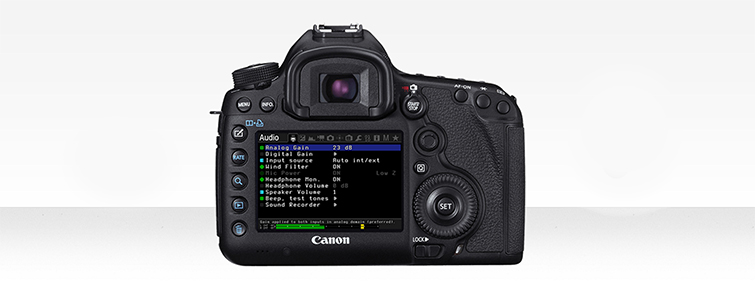 Image via Magic Lantern
If you’re not already familiar with the Magic Lantern hack, here’s the easiest way to put it: Magic Lantern is a third-party firmware hack that unlocks features in Canon cameras that are impossible to use otherwise. Notable features include video overlays, zebra peaking guides, vectorscopes, custom audio controls, focus peaking, and (the big one) RAW recording capabilities.
It should be noted: because Magic Lantern is a community-driven firmware, it shouldn’t be considered 100% safe for your camera. Practically speaking, this means there’s a small — but legitimate — chance that Magic Lantern may freeze your camera forever. That said, I’ve installed Magic Lantern on all of my personal Canon DSLRs and have never had an issue. This warning is simply for legal purposes.
Installing Magic Lantern is a multistep process that requires a computer, an SD card under 32GB, and your camera. In a nutshell, you need to place the Magic Lantern code onto your SD card and install the hack onto your camera. There’s actually a really great explainer post found on Magic Lanterns forum page. Go check it out for a detailed step-by-step walkthrough. If you like a video tutorial better, the following video explains how to install the firmware onto your camera.
After you install Magic Lantern onto your camera using the small SD card, you can install EOSCard onto your 64GB card. More details about this process can be found in the previously mentioned Magic Lantern forum post.
Before we go any further, we need to talk about the limitations of shooting video using the Magic Lantern hack. Unfortunately, this hack will push the limits of what your T3i/600D is capable of doing. Because of this, you won’t be able to record in 1080p. Instead, you can only record 940 x 560 in 24fps if you choose to shoot 16:9. If this sounds like small footage, well, it is. This is simply a limitation of recording RAW footage on a T3i. You will also want record audio separately from you camera.
Step 2: Set up the Camera
Image via Magic Lantern
Once you have the hack installed onto your camera and cards, it’s time to set up your camera for shooting video. On your camera, you’ll want to set your sharpness, saturation, and contrast down as low as possible. This is simply because cameras manipulate the recorded image with computer algorithms to save space and make it more convenient for the user. Because we’re shooting in RAW, we want the most control possible — so turn these settings as low as they’ll go.
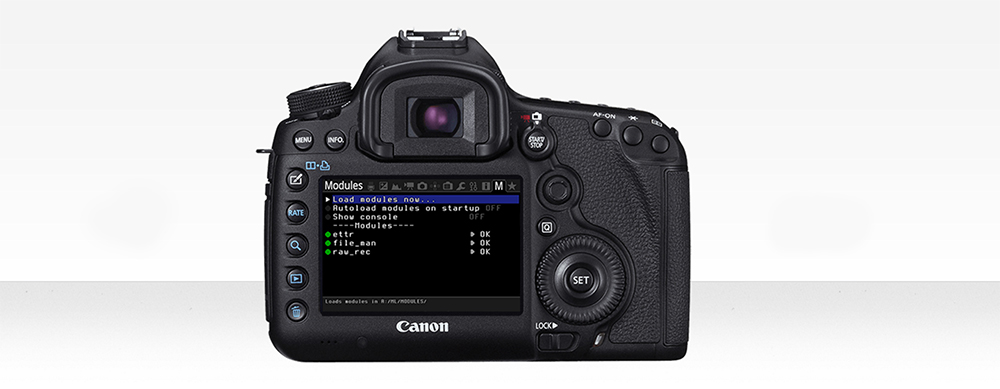
You’ll also want to go into the Modules (M) tab and turn on ‘raw_rec.’ This enables RAW recording. After this, navigate to the Move tab and make sure you have ‘Raw Video’ set to ‘On, 940×560.’ Now you can record your footage. If you want your aspect ratio to be skinnier than 16:9, you can adjust it in the Video tab.
Step 3: Shoot Your Video
Image via Magic Lantern
The next step is simple (well, relatively simple): shoot your footage. You’re going to be limited in terms of how long you can shoot, depending on your SD card size. In our example, we’re using a 64GB card. That should get us around 28 minutes of recording — which isn’t a lot, so be sure to pack extra cards just in case.
Step 4: Offload, Apply LUT, and Convert
Image via Magic Lantern
After you shoot your footage, it’s time to get that video data into an editable format. While some editing applications (like Premiere) do support RAW file editing, it isn’t ideal for most editing scenarios; it will bog down your computer. Usually it’s better to apply a LUT to your footage that can convert your RAW data to a graded format and export the footage to a more manageable file format like ProRes.
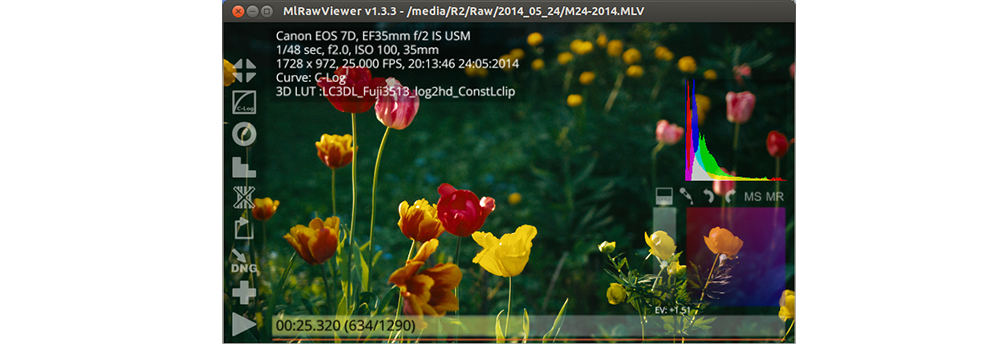
To do this, we’ll use a software called MlRawViewer. This software ingests RAW files from a Magic Lantern shoot, allows you to apply a LUT, and exports — all in the same program. It’s free, handy, and available for Mac, PC, and Linux. You can find the download links and more information about using MlRawViewer from the previously mentioned Magic Lantern forum post.
Quick Note: Some people like using a RAW-to-DNG converter to perform a similar task. The RAW-to-DNG technique is fine, but it does limit your potential video outputs.
There are a lot of LUTs out there, but few are designed to convert Canon Magic Lantern RAW footage into a cinematic color grade. The most popular ones to use right now are the Hunter LUTs. You can download them by navigating to the Hunter LUT download page. Here’s a quick demo of the LUTs in action on a 5D Mark III. The T3i footage won’t be quite this good, but it will be close:
Some people like using other LUTs designed for other cameras, like the Blackmagic LUTs found in DaVinci Resolve. These can produce amazing results — just keep in mind that the colors might turn out weird; the T3i doesn’t shoot color the same way a Blackmagic URSA does. You may have to tweak the colors a little in order to get the perfect look. This video used DaVinci Resolve with After Effects to preserve upscaling and Film Convert to add grain:
Another option: convert your RAW files into DNG using MlRawViewer and apply a LUT to your project in After Effects or Adobe Lightroom. You could then apply a grain effect in your NLE and create a nice analog film emulation as a result. This slick video is a great example of this technique using VSCO, After Effects, and FCPX for grain.
Step 5: Edit, Color, and Sharpen as Usual
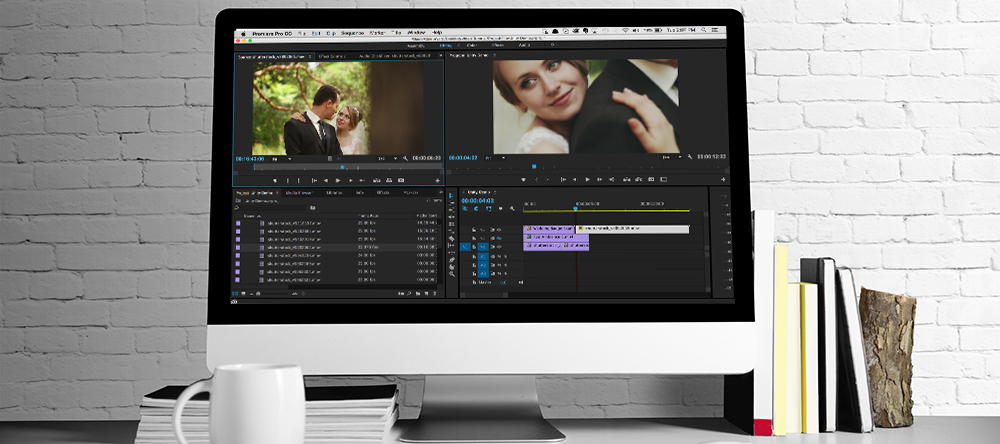
Image via Magic Lantern
After you export your footage from MlRawViewer, DaVinci Resolve, or After Effects, all you have to do is edit your footage as you normally would. The hard part is over. Just keep in mind that you may want to upscale your footage so that it’s in a normal 1920×1080 format before you export from your NLE. After Effects has a great ‘Detail-preserving upscale’ feature that allows you to upscale footage with minimal detail loss. I recommend using this feature if you want to export your footage in HD, as this is an improvement over simply scaling your footage.
Have any tips for working with Magic Lantern on a T3i? What’s your favorite way to get cinematic footage under $500? Share your experience in the comments below.


