
How to Use a Gray Card

Have you ever seen a behind-the-scenes shot with a model holding a gray card (or a color chart with a gray card included) and wondered what that was? Here’s the scoop.
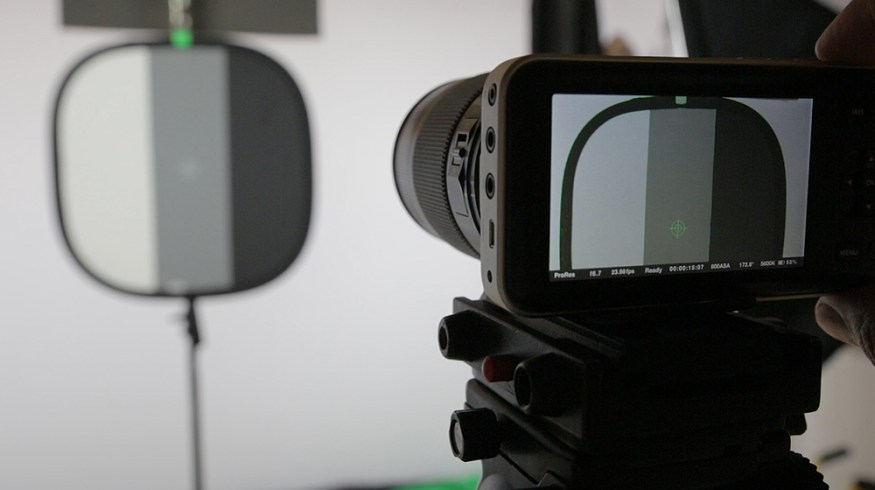
Top image via Dave Dugdale
A gray card (primarily used by photographers) is an item of neutral color, also known as a middle gray reference. There are of course several shades of gray (there’s a missed opportunity for a joke here), but this particular hue falls into the center of the gray chart, and as such, the camera processing system can reference it better than any other color. The camera can then base this reference under different lighting circumstances and correct either the color cast or exposure. Sometimes both.

Gray cards in filmmaking are typically used for the film color timers and colorists. You would set the gray card up at the start of the shot, making sure it’s illuminated by the light source that you want to define as your white/natural light (which the colorist can use as a base reference in post). There is an important issue regarding the gray cards and lighting gels.
Author Blain Brown of Cinematography Theory and Practice says:
A gray card should be lit specifically as a grading reference or as an exposure reference. For example, suppose you are lighting a scene with the key as moonlight blue — which you intend to be very dark and shadowy. If you then place the gray card in this moonlight blue and shoot it, the colorist or film timer would have no choice but to make the card neutral gray as it is supposed to be. This would be done by taking out all of the blue and raising the exposure to lighten it up: everything you have done with the lighting would be erased. This is a key point that crews sometimes don’t understand or forget.
Therefore, to preserve the intended look of the scene, it is important to remove the gels before taking the shot with the gray card included.
The Importance of White Balancing

Blain talks about using the gray card as a reference point in post-production, but with cameras of the HD generation (especially DSLRs), we can use the gray card to correctly set our white balance in camera before we’ve even started filming.
Is it important to do this? With automatic white balancing and several other automated features, it would be easy to think that this process is redundant. The automated WB feature (and built-in WB presets) in most cases work fine, but this is a security check to get that 100%.
We live in a culture of fixing something in post, and DSLRs aren’t specifically designed for filmmaking, so you want to get as much right in camera as you can. The chroma subsampling of many HDSLRs is going to throw away the unused color information, and later changing your color balance from 6000k to 3000k will likely degrade your image to some extent.
You can get a gray card for next to nothing. I use the 12-inch Ezybalance Card from Lastolite. You can pick this up on eBay for as little as $25.
Using A Gray Card To Set White Balance
Follow the steps below to get yourself perfect white balance.
- Place your gray card in front of the camera and make sure it’s being illuminated by the light which will illuminate the scene. You want the gray card to fill the majority of the composition. Some camera models will require the gray card to fill the entire frame.
- Take the photograph.
- Head to your settings to select custom white balance.
- Choose the photograph you have just taken (some camera models ask for the photo after you have chosen to obtain a white balance reading from a gray card).
- Your white balance should now be correctly set at a pure white light setting.
In the video above at 3:20, Curtis Judd runs through the setup menu with a Canon and Nikon. Perfect if you’re unsure on where to find the custom WB settings.
If you’re having trouble correctly setting the exposure, and you don’t have a light meter, you can also use the gray card to help assist you. Please remember that this technique will help you capture good exposure, not ideal exposure. If your scene is intentionally dramatically underlit, then the gray card will be of no use.
Using A Gray Card To Set Exposure
- Set your DSLR to the spot metered reading mode.
- Set the DSLR capture setting to manual.
- Fill the gray card within the majority of the shot.
- Use the onscreen exposure reading to balance the shot.
For a further look into using a gray card for obtaining correct exposure, check out Calebs Pike’s video from DSLR Video Shooter.
It’s very simple and very inexpensive, but a gray card can help better your pictures (moving or still) dramatically.
Got any tips for working with gray cards? Share them in the comments below!


