Creating a “Ken Burns” Pan and Zoom Effect in Premiere Pro
Learn how to create the zoom and pan effect made popular by documentary filmmaker Ken Burns. Using this effect makes plain and static subjects come to life with simple zooms and movement.
In this post, we learn how to create the popular Ken Burns effect in Premiere Pro. To create this roving effect in Adobe Premiere Pro, we will be using something VERY useful in all video editing: keyframes. Keyframes are points where the start and end of an animation takes place. Keyframes can be used for virtually any attribute in Premiere Pro; zooms, position, audio levels, color filters…anything.
To create a Ken Burns pan and zoom effect in Premiere Pro, we’ll be using keyframes for the zoom and position parameters.
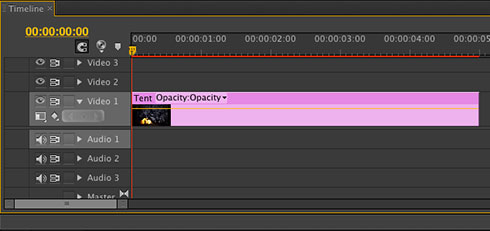
First, lets start by adding our image or footage to the Premiere Pro timeline.
Add your clip to the timeline:
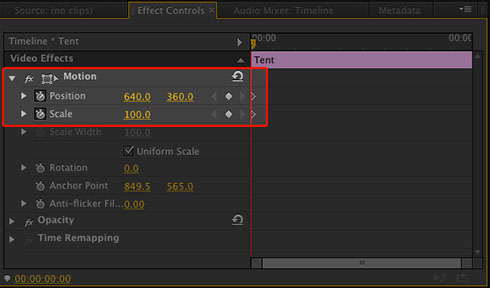
Next, with the clip selected, we’ll navigate to the very FIRST frame of the clip. This will be where our FIRST keyframe is placed. In our effects controls window, click the stopwatch icon next to the SCALE and POSITION parameters. You just added your first keyframe for the scale and position of the clip.
Add keyframes at the beginning of your clip:
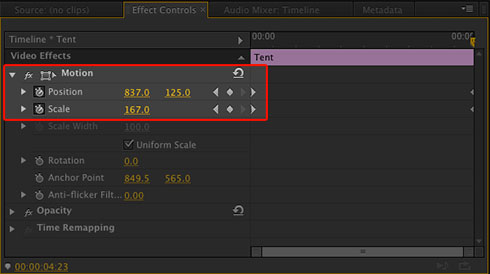
After you click and enable the stopwatch for a parameter Premiere Pro automatically adds keyframes when a parameter is adjusted. So, all we have to do now is navigate to the LAST frame of the clip and adjust our scale and position parameters. As soon as you adjust the parameter, a new keyframe is automatically added at the current time.
I usually scale up just a little bit and adjust my position to zoom into the main subject of the image.
Add keyframes at the end of your clip:
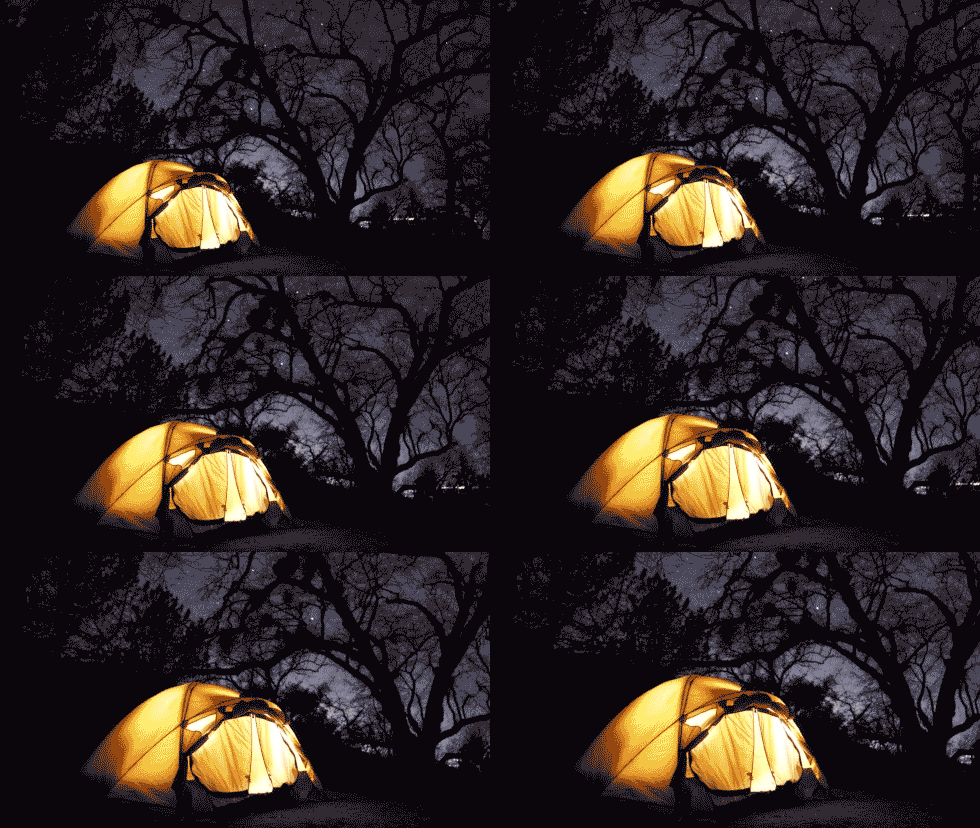
For bonus points, save this Ken Burns animation as a preset to use quickly later.
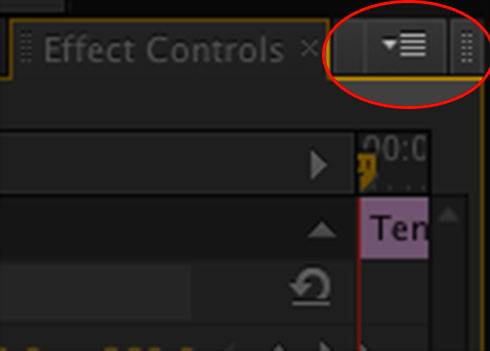
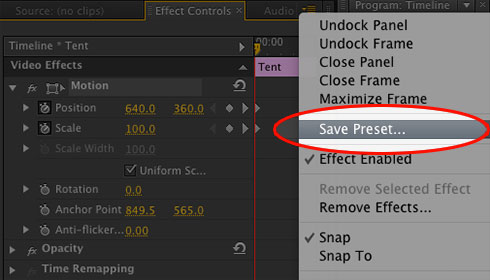
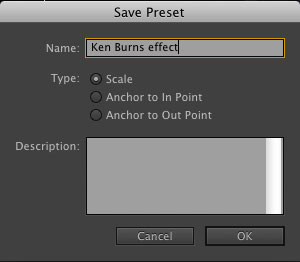
In the “Effect Controls” window, with “Motion” selected, click on the panel menu at the top right. Click “Save Preset.” Make sure that you choose “Scale” as the type of preset. This will rove the animation for the entire duration of the clip. Name the preset something relative, like “Ken Burns effect” or “scale up 100-120%.
Click the panel menu in your “Effect Controls” window:
Click “Save Preset…”
Name your preset.
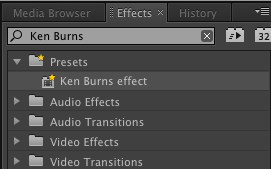
Now, whenever you need to achieve the Ken Burns effect again, just look in your presets folder in your effects window.
Keep in mind, you can also reverse the effect we just did, and have the image zoom out. This is good for revealing certain things in the image over time. You can also add keyframes for other things to make it more interesting, such as rotation. In Premiere Pro, like most video editing applications, you can even get really creative and add keyframes to things like color effects, blurs, etc.
The Ken Burns effect is subtle, yet effective. I often do a very slow zoom in towards the end of an emotional piece. It helps to draw the viewer’s attention in, as if they are leaning in closer to the subject. As you can see, creating the Ken Burns effect in Premiere Pro is really simple and only takes a few seconds.


