
Non-Technical Video Editing Tips That Will Dramatically Improve Your Work

The magic of all great films happens in the editing room, and your ability to understand the theory of editing – not just the technical side of things – is what will dictate your project’s success.
Top image via Shutterstock
While many people mistakenly consider the work of an editor to be primarily technically oriented, a great editor needs to be equally as in touch with human nature and audience behavior. Great editors not only make their choices with the story and characters in mind, but more importantly with a great empathy for their audiences.
A seasoned editor knows what an audience wants and how to surprise them. As such, they’re able to piece together and build compelling stories in a way that is true to the original screenplay, but still brings a new layer or texture to the film that wasn’t there before.
I have written a number posts over the past year that focus on the technical aspects of post-production and editing, but for the purpose of this article, I really want to focus on some non-technical editing tips and fundamentals, as they are equally as important.
Know When to Favor Wide Shots Over Closeups
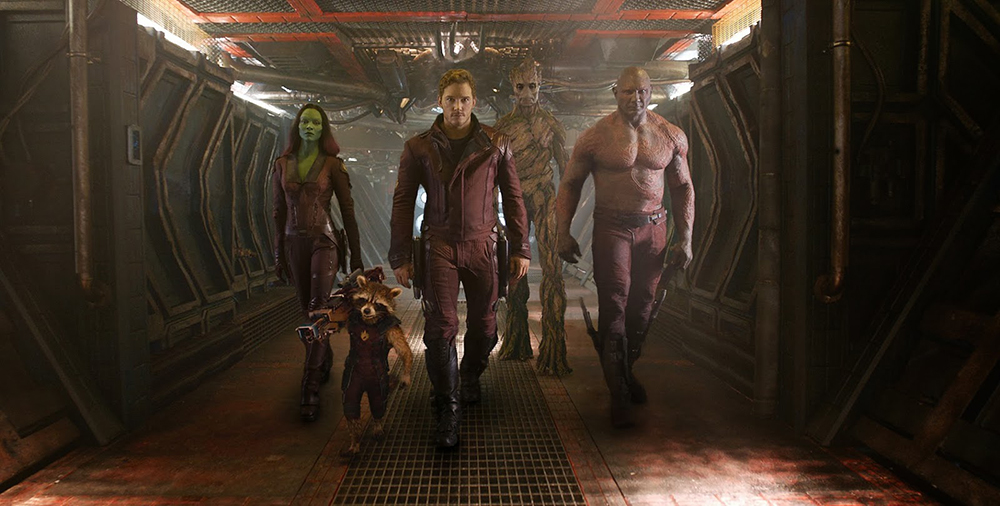 Image from Guardians of the Galaxy via Forbes
If you’ve been editing for any substantial amount of time, you probably have fallen into some sort of rhythm or workflow that helps you get through every project. Many editors are accustomed to choosing their shots based on general editing principles that will always get the job done, but don’t always translate to the best final product.
For example, the most common approach to a scene would be to use a wide shot to introduce it, then cut to the coverage of each respective character (usually closeups), inject cutaways as needed, and possibly go back to the wide to end the scene. This formula in my opinion is very TV-like and doesn’t leave a lot of room for creativity.
There are many issues that come along with working in this fashion, but perhaps the biggest oversight when editing this way is that the wide shot is completely underused. While there may be instances that you want to intentionally avoid wide shots in the edit to create a certain mood, in many cases they can give the audience a break from the usual coverage and help to emotionally guide them through the scene.
Cutting to a wide is especially helpful during comedic moments that might live in a dramatic film (and that you don’t want to feel too funny), as the wide shot will make it less personal and allow the viewer to feel more like an observer than a participant.
Less is More: Don’t Use All the Coverage
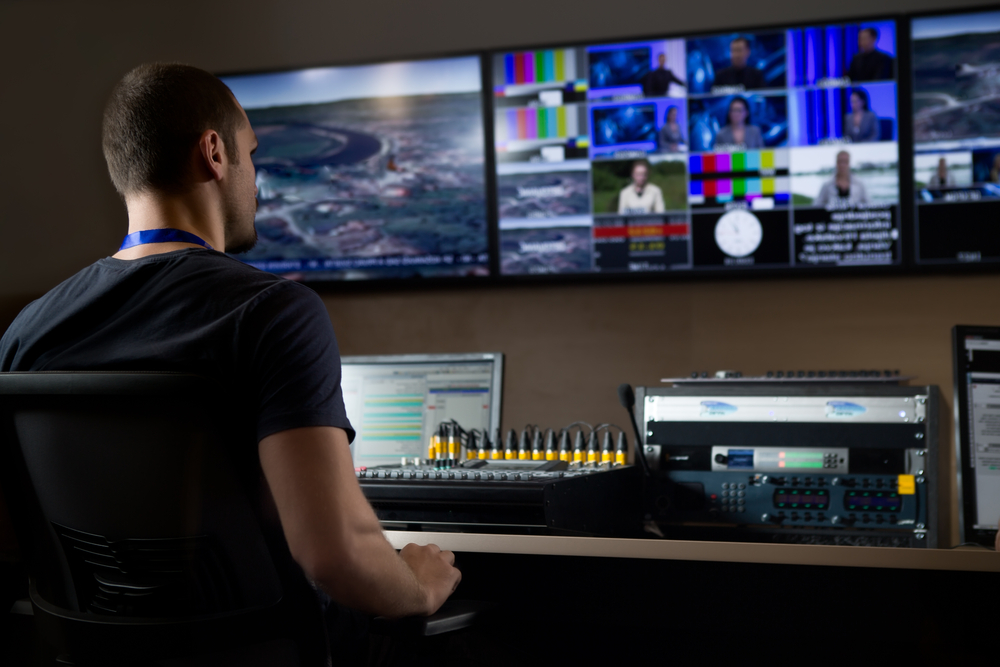 Image from Shutterstock
Most productions these days are shot with a ton of coverage – mainly because shooting digitally allows producers and directors to keep rolling without consequence. That said, make sure you don’t fall into the trap of overusing the coverage, as it will not sit well with your audience in most circumstances.
While it’s nice to have access to all of the coverage in the edit bay for those instances where you do need to bridge together two parts of a scene or sequence that would have otherwise been clunky, in 90% of cases you are better off using a minimal amount of coverage that is strategically chosen. For example, if you are working with a one minute scene that was shot from 10 angles, you can image how difficult the scene would be to follow if you decided to use a substantial amount of that footage.
The better approach would be to select a handful of shots that work well when juxtaposed, and only tap into the additional coverage when absolutely necessary. This will keep the viewer engaged and will make the editorial choices feel far more purposeful, and less mechanical.
Don’t Be Afraid to Take the Slow-Burn Approach
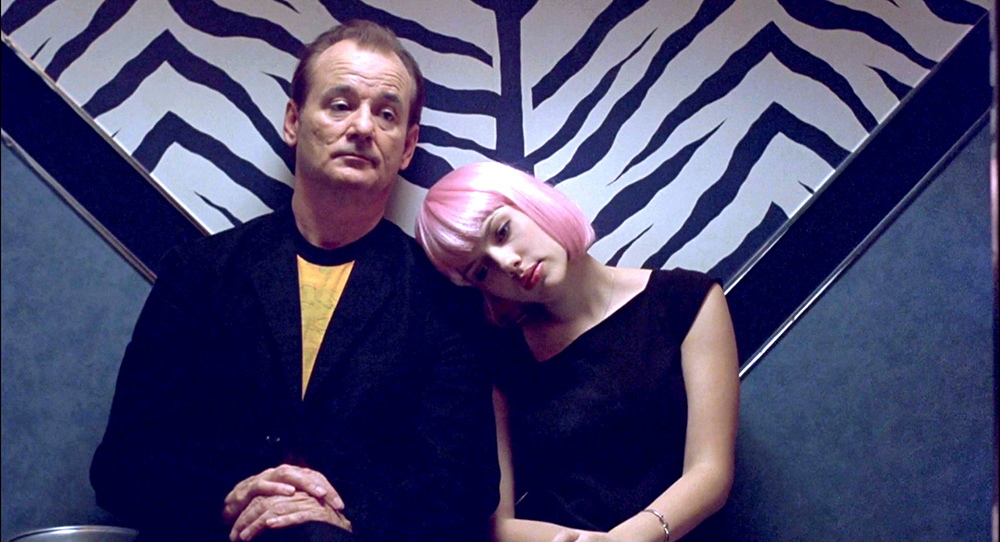 Image from Lost in Translation via Vice
One of the biggest issues that I have with many indie-film editors today is that they over do their cuts. In other words, they are scared to land on a shot for more than a few seconds at a time, and end up cutting together scenes with shots averaging only 1 – 2 seconds in length.
The truth is, when your entire edit looks like this, you wind up with a final product that no longer feels like a feature film, but instead feels more like a music video or an art film. Again, there are exceptions to every rule and in some cases using loads of quick cuts can work really well – but never do it just because you like the style, as your choices ultimately need to serve the story.
Personally, I feel that taking the complete opposite choice is a much more bold approach and can pay off massively if done right. If you are able to hold on a wide shot or a two shot for the duration of a scene (or at least a good chunk of it), then why not go down that path instead? Assuming that you are cutting a scene that was well performed by the actors, holding on shots longer and taking what I would call a “slow burn” approach will let your audience pick up on intricacies of the actors performances that otherwise would have disappeared in the chaos of cutting back and forth to coverage too often.
This technique may not be the right choice for every scene or film, but I do think that taking a minimalistic approach to editing more often than not yields better and more engaging results than the opposite approach – which involves over using cuts unnecessarily.
The Take Away
Whether you are a producer/director that will be having a say in the editorial process, or you are a dedicated picture editor, hopefully the three notions outlined above will help you to become a stronger storyteller and a bigger asset to your production.
For more insight into the world of editing, check out the following links. See you in the comment section.


