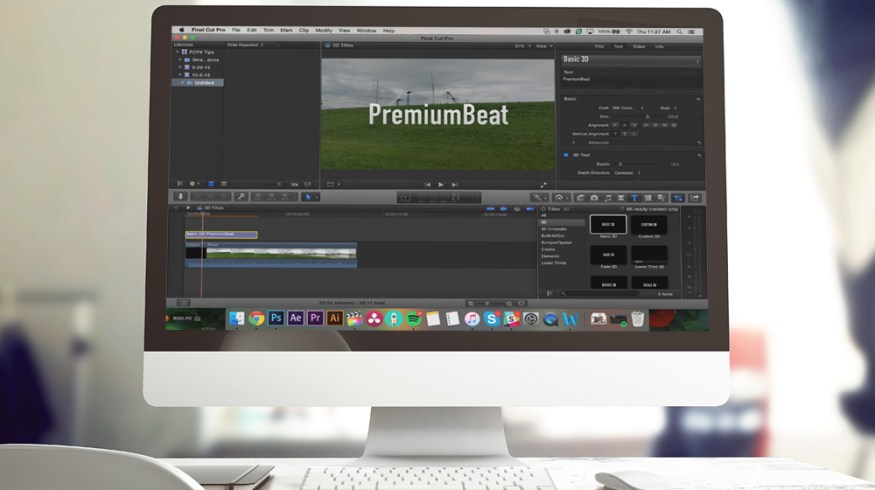
Pro Tip: Add 3D Text in Final Cut Pro X
If you haven’t been using FCPX, you may have missed how great some of the new features are. Here’s how you can simply drag and drop 3D text into your video!
Ever since Apple updated Final Cut Pro X to 10.2, it’s become incredible easy to add 3D text to your project. Here’s how you can put 3D text into your Final Cut Pro X sequence.
How to Add 3D Text
Adding 3D text in Final Cut Pro X can be as simple as dragging and dropping into your project timeline. In this 30-second tutorial from Ben Kayam, you’ll see just how easy it is.
1. Open the Titles Browser
On the right hand side of your screen, open the Titles Browser to view the available options.

2. Select 3D Text
In the Titles Browser, select the 3D folder.

3. Drag and Drop
Drag and Drop the 3D Text of your choice into your project.

4. Add Your Text
With the 3D selected, go to the Text panel in the top right corner. Type in the text you want to add.
5. Adjust and Alter the Text to Your Liking.
For an in-depth tutorial on altering the text, check out this video from Larry Jordan.
Want more Final Cut Pro X tips like this? Let us know in the comments below.


