The Art of Lens Whacking
Lens whacking can elevate your shot in seemingly magical ways, from adding light leaks to creating a vintage look. Here’s everything you need to know about the technique.
Top Image via UglyMcGregor
Lens whacking. It sounds like something that will cost you a night in jail. However, it is indeed a very creative use of the camera and lens which can help produce a gorgeous in-camera effect which can never be replicated as organic in post.
What Is Lens Whacking?
All images are captured after the light has passed through the lens and hit the sensor (or film). The light passes through many elements within the lens that have been engineered in a very specific way. A 20mm has different elements than an 85mm. Nonetheless, the light passes through in an orderly fashion.
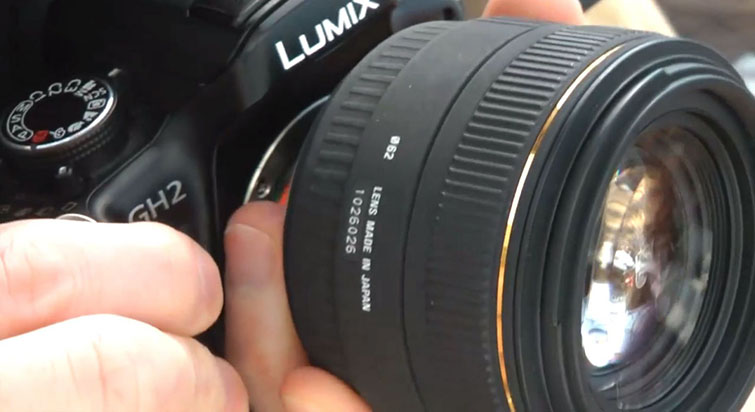
Lens whacking is where you remove the lens and physically hold it in front of the sensor. Light then passes through both the lens and the gap between the lens and the camera body. This essentially causes a light leak.
As you are partially pushing one part of the lens forward to let in the light, it also will cause a section of the image to fall out of focus, and, to some extent, produce a slight tilt-shift effect. This is entirely done by hand, and as a result of this, no two takes are going to look remotely the same — it’s wildly unpredictable, and as a result, it’s great fun.
How To Do It
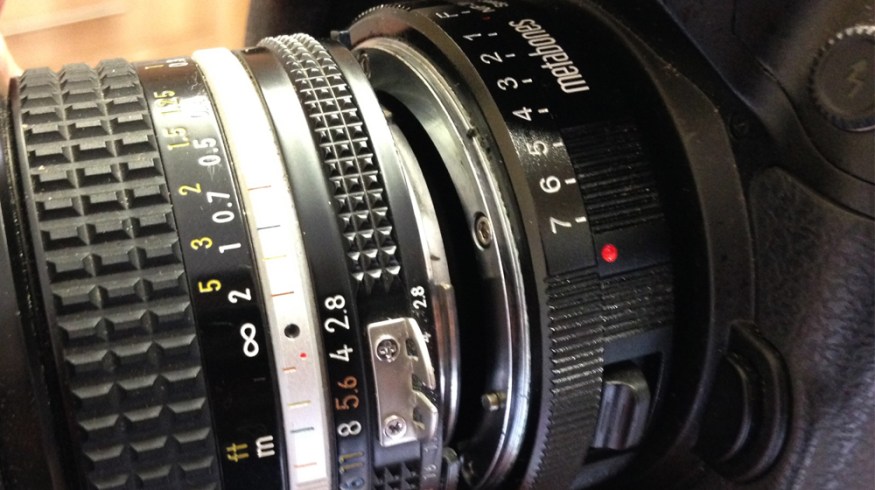
The lens choice is the first important step to undertake. Lens whacking a 200mm, well, it’s not going to happen. Not successfully, anyway. Lenses that have a short focal length are ideal for lens whacking, as you want the focus window to be as wide as possible. If you were to use a lens such as an 85mm, you might find yourself trying to find the subject in the viewfinder more than perfecting the light leak. Older lenses with manual aperture and focus are preferred, as it can be quite a pain to have to keep reconnecting your lens to the camera if you wish to change the aperture.
You want to set your lens to have the smallest aperture available to you. Again, this is to stop the extremity of your subject falling too much out of focus.
Set up your framing, start recording, and then remove the lens from the camera. You only want your lens to be detached from the camera like the cover image above. If you open the gap too much, you’ll flood the sensor with light and wash out the image. (Although, that in itself can work very well for a creative transition.) The best method for lens whacking is not to keep the lens fully removed from the camera at all times, but to bring it in and out every so often. The shot can become very distracting if there’s a constant light-leak focus-loss throughout the entire shot.

Image via SLR Lounge
For the best results, try removing your lens to the side where light is hitting the camera. You’ll have a much more powerful flare. Alternatively, if you find that the light leak is too strong, place a finger over the gap you’ve created. The light will still find its way to the sensor, but your finger will diffuse most of it, creating a softer light leak.
Many lens whacking examples often have the camera free in the hands of the operator, which in most cases, causes shaky footage. I would recommend locking the camera down onto a tripod for a smoother shot. You can then delegate panning/tilting to another person while you take the sole focus of the lens whacking.
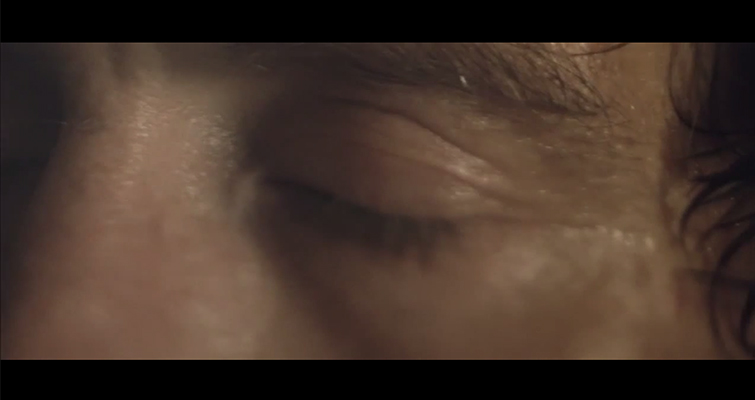
If needed, you can also take lens whacking to the extreme, and cause mass blur and washout. Just remove both sides of the lens away from the body. I recently used this method to put emphasis on how dazed and confused a character was. He’s awoken after watching himself die, enough to cause confusion to anyone, I would imagine. The character is going to be in a state of confusion, and he’s not going to understand why he is alive. To emphasize this, I removed the lens quite far away to completely wash out the image at points to add to his hysteria while he was coming around.
Why Do It?
The most important aspect of any filmmaking choice is asking, “Will this further the story?” Or, “Will this enhance the emotional impact?”
If the answer is no, then at most times it’s probably best to ditch that idea. While lens whacking is extremely popular with music and fashion videos, it’s also ideal for many creative storytelling elements. Here’s a small list of scenarios where you can creatively implement the technique.
- The character has been poisoned.
- The character is under the influence of drugs.
- The character is disoriented.
- The character is dying.
- A dream sequence.
- A scene involving magic.
- A flashback.
The list is almost endless; I’m sure there are many other creative applications to lens whacking that haven’t even crossed my mind. In the still below from Killing Them Softly by Andrew Dominik, the character is under the influence of drugs, and lens whacking (along with several other in-camera effects) has been applied to help portray his state.

There are some considerations to take into account. This effect is, of course, in camera, and there’s no removing or “fixing” it if you change your mind later on. Test and practice the effect within your free time. If you have an important job coming up and think the lens whack effect may look great on a few shots, but you’re not 100% confident, have a look at a few digital elements you can use to help mimic the effect in post.
Have you used lens whacking within your projects? Post your clips in the comment section below.


