
The Basics of Building a Color Correction Suite

Color correction tools like DaVinci Resolve are more affordable and accessible than ever, but working with color takes more than just the right software. Here are three tips for building a color correction suite that will improve your output.
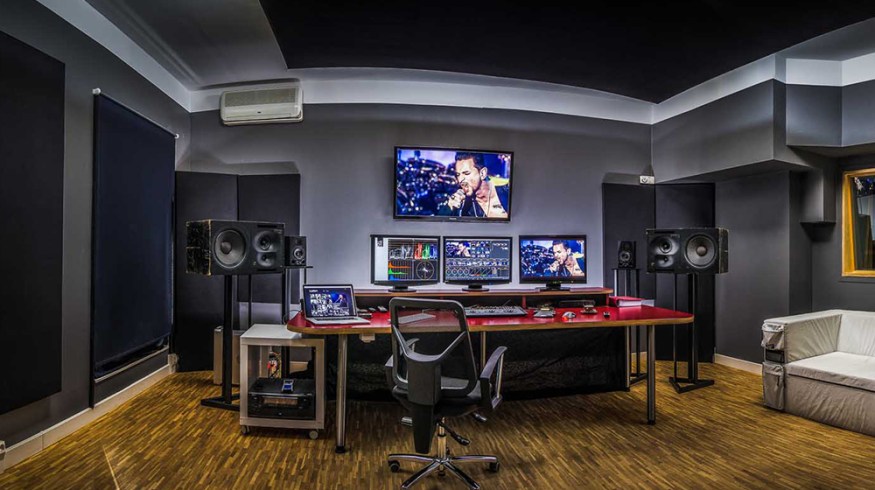
Top image via Digital Production
Much like editing bays, color correction suites come in all shapes and sizes. On the top level, a color room at a high-end facility might have hundreds of thousands of dollars worth of equipment in it, while an at-home setup will naturally be more modest. With that said, just because you might be working from home or from a small facility doesn’t mean that you shouldn’t follow the same principles as the larger color suites.
You may not need a $30,000 color board or a 4K projector, but what you do need are a number of basic components that will make or break the quality of your work. Let’s take a look at three of the most important aspects of any color suite.
1. Light Control

Image of The Vanity VFX color grading station in Toronto via BTL News
If you come from an offline editing background, then you might be used to editing on your laptop on set, in a coffee shop, at the kitchen table, or anywhere else you can find space to set up shop. Unfortunately, things aren’t as simple when working with color, as ambient room light can pose big challenges when handling color work.
Imagine attempting to color correct a photo on your iPhone in a dark room. Now imagine trying to color the same photo on your iPhone in broad daylight. Obviously you’ll have a much tougher time working outside, since the glare from the sun makes a perfectly clear view of your screen nearly impossible. The same principle applies inside your color room.
Any little bit of light that seeps into your room through a window, door, or elsewhere will negatively impact your color session. Not only does ambient light make it more difficult to view your monitor properly, but it’s inconsistent nature will also throw off your results. For instance, you might start your session in the morning while the sun isn’t yet overhead — but by noon, it’s shining straight through the window. Whether you realize it or not, you’ll be compensating for this extra light in the room by making color adjustments in your footage.
For these reasons and more, the first thing you need to do when setting up your color suite is control the light. Buy blackout blinds and install them on every window in your suite to block any and all uncontrolled light. With the house lights off, your room should be pitch black inside, so make whatever changes you need to ensure that your space achieves this.
2. Room Color

Image via the Toast Agency
Ambient light isn’t the only variable that can affect your ability to see color objectively — the colors in your room can pose just as many challenges.
If you’ve ever worked in a professional color suite, you know that almost all of them have walls that are painted grey. The reason for this is quite simple: if your room is any color other than a neutral grey, your eyes will adjust to the ambient color of the room. Therefore, you’ll be making inaccurate judgements when it comes to coloring your footage.
Think of what happens when you wear blue sunglasses for more than a few minutes and then take them off — everything now appears yellow, or warm. This is because your eyes have an ability to “white balance,” so to speak, and this phenomenon can occur just as obviously when you’re inside your color suite.
If you were to attempt to color a project in a room that’s painted a bright vivid color (let’s say cherry red), there’s no question that your images would all have a very distinct color cast to them. Your eyes would adjust to the red in the room pretty quickly. In an unconscious attempt to balance the color of the image to your eyes, you’d be inadvertently adding more red to your images than called for.
So, if you plan on doing professional color work, be sure to paint your room neutral grey to avoid headaches and technical issues with your projects. It’s also ideal to use light fixtures that have a color temperature of 6500K for greater consistency and accuracy.
3. Calibrated Monitor

Even if your room is light controlled and painted neutral grey, you aren’t quite out of the woods yet. The other huge variable to consider when working on color projects your monitoring system set up — more specifically, how it’s calibrated.
Regular computer monitors are not designed for critical color work. Some monitors are warmer than others, some have too much contrast, others are oversaturated, and so on. The bottom line is that a $150 monitor from Best Buy is never going to display colors to meet a professional standard, and attempting to use monitors like this to color with is ill-advised.
If you’re serious about color, you really need to invest in a proper broadcast monitor that can take an SDI video signal and be calibrated professionally. You may not need to invest in a color board right away, or a huge office space to work in, but investing in a monitor is an absolute must. In many ways, your monitor is the heart of your color operation — so if there’s one area you’re going to want to invest your money, it’s here.
Interested in learning more about color grading? Check out the color grading section of the PremiumBeat Blog.


