Translating Your Photography Skills to Cinematography
Many photographers have ventured into video production and cinematography since the DSLR video revolution. There’s a fairly steep learning curve, but it can be overcome.
On the surface, photography and cinematography seem very similar. After all, in many cases you can shoot high resolution stills and video on the same camera, and many general principles (such as lighting) remain relatively consistent between the two formats. However, there are some notable differences between the two art forms that seem to challenge photographers who are breaking into cinematography.
While there are endless tips, workarounds, and suggestions out there for photographers transitioning to video, I’m going to focus on just two issues that are fairly common: stabilization and lighting.
1. Rethinking Stabilization
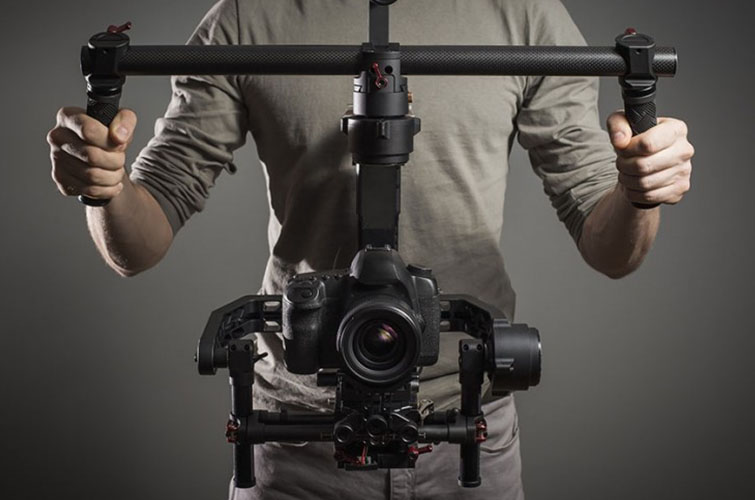
For photographers, stabilization devices (most commonly tripods) are used as a means to capture photos with slower shutter speeds (such as low-light shots) without generating any motion blur. Outside of these types of situations, many photographers prefer to shoot handheld whenever they can because it allows them to work quickly and organically.
Once photographers start shooting video, most quickly realize they can’t shoot handheld nearly as much as they’re used to… or at least not in the same way. Micro-jitters and rolling shutter become problematic when shooting handheld (no matter how steady your hands) so consider investing in a shoulder rig, cage, glider, or any other type of stabilization device if you plan on shooting handheld with a camera that has a small form factor.
Strobes vs. Continuous Lighting
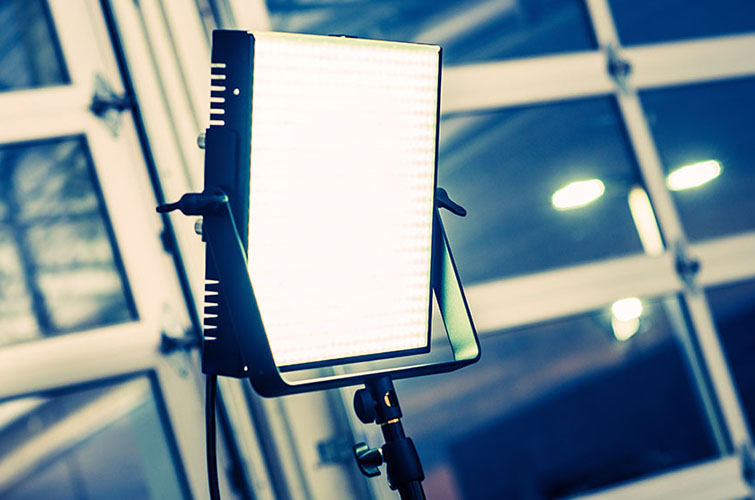
Most photographers primarily use strobes (as opposed to continuous lights) and therefore need to understand some of the quirks of lighting with traditional film lights. There are many differences that you need to get used to, even though many of the same principals remain — lighting ratios, color temperatures, etc.
One of the biggest issues to look out for is light flicker. With still photography, flickering lights are not an issue as a still frame obviously will never exemplify that problem. With video, however, it can be a real issue. For example, you may be shooting under a fluorescent light source and not realize until you’re in the editing room that your footage has a terrible flicker-effect on it. Always keep your eyes peeled for this potential issue, especially when dealing with fluorescent lights or LEDs, as they’re prone to flickering on camera.
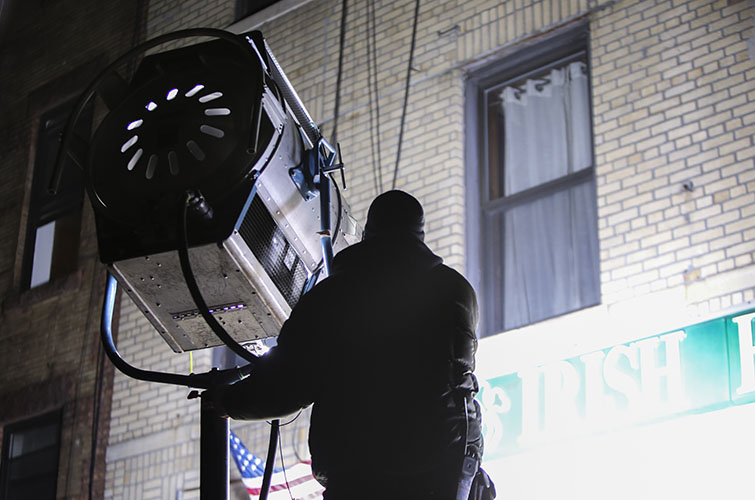
Another thing to be aware of is the amount of power needed to run continuous lights. Sometimes photographers are used to working with off-camera flashes, which are battery powered and can be taken just about anywhere. It can be frustrating when they realize lighting even the most simple scene on location can become that much more difficult when you’re dealing with lights that require a generator to run.
There are countless little snags like this that you’ll experience when transitioning to video, but like anything — with experience it will all become second nature.
Got any tips for folks jumping from photography to video production? Share your experiences in the comments below! If you need stock photos, check these beautiful royalty-free photo collections at Shutterstock.


